
Introduction
Shower waterproofing is crucial for maintaining a leak-free and long-lasting bathroom. Waterproofing not only prevents water from seeping into the walls and foundation but also saves you from costly repairs down the line.
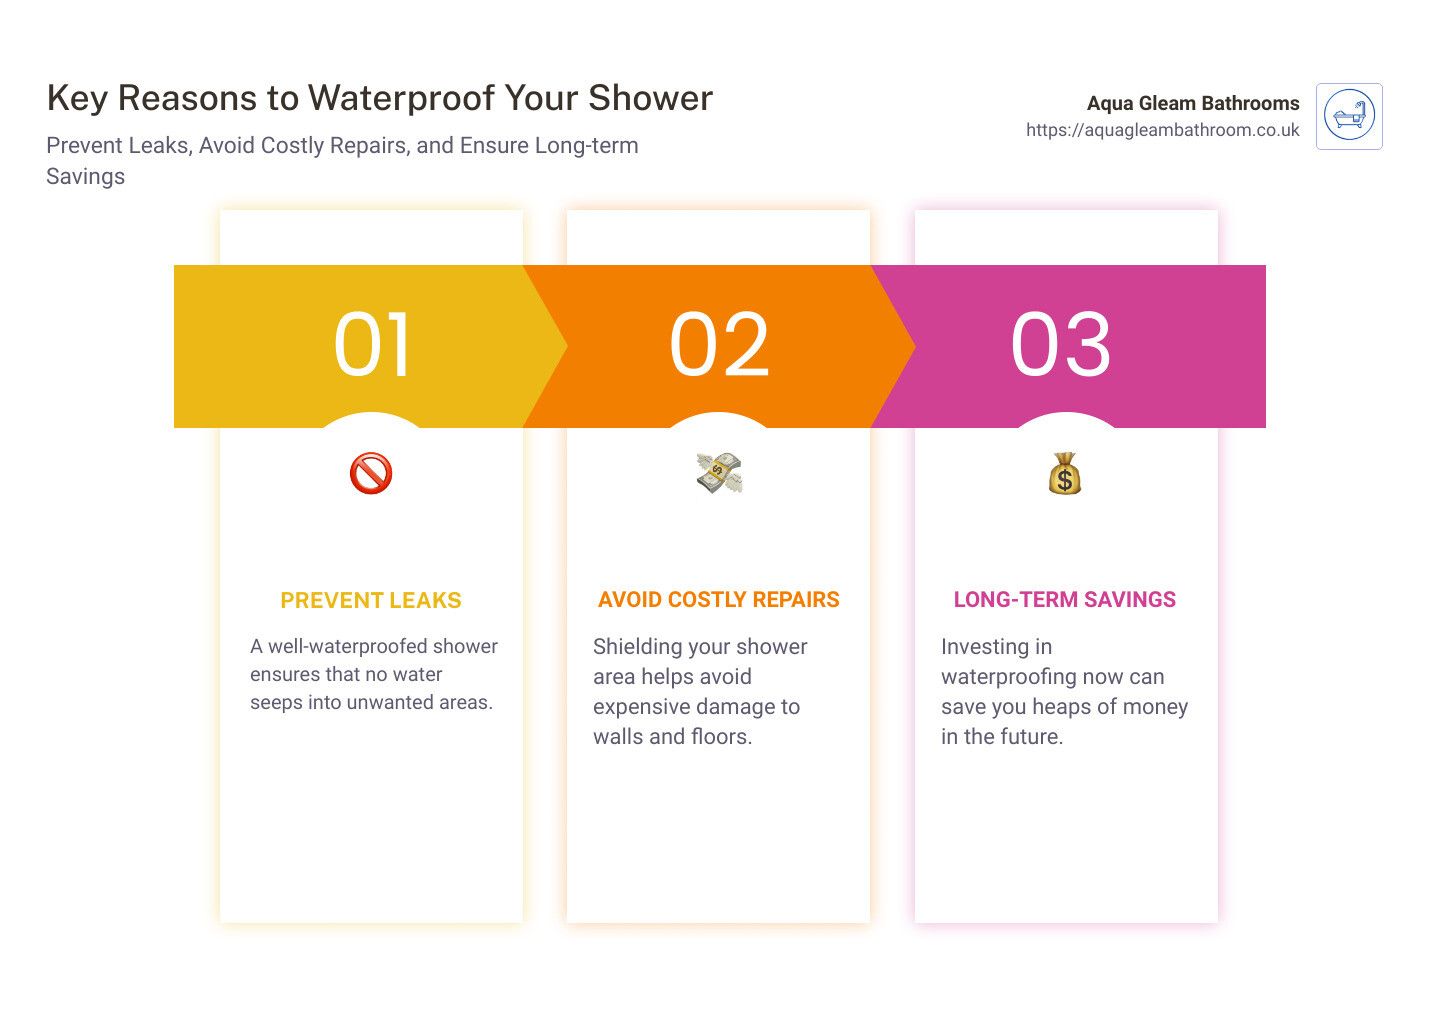
Key Reasons to Waterproof Your Shower:
1. Prevent Leaks: A well-waterproofed shower ensures that no water seeps into unwanted areas.
2. Avoid Costly Repairs: Shielding your shower area helps avoid expensive damage to walls and floors.
3. Long-term Savings: Investing in waterproofing now can save you heaps of money in the future.
Proper waterproofing adds a protective layer to your shower enclosure, plugging any gaps, cracks, and penetrations where moisture could sneak in. Without it, even the most minor water infiltration can lead to significant damage.
Effective waterproofing doesn’t have to drain your wallet. With the right techniques and affordable solutions, you can fortify your shower against leaks without breaking the bank.
What is Shower Waterproofing?
Shower waterproofing is a method to protect your shower enclosure from water damage. It involves adding a protective coating that seals gaps, cracks, and penetrations. This keeps moisture from seeping into the walls and foundation, preventing potential leaks.
Why is this important? Because even the smallest amount of water infiltration can cause significant damage over time. Left unchecked, water can lead to mold growth, structural decay, and costly repairs.
Protective Coating
A protective coating is applied to shower enclosures to create a barrier against water. This coating ensures that water stays where it belongs—inside the shower. It also keeps moisture out of the enclosure’s joints, cracks, and seams.
Sealing Gaps, Cracks, and Penetrations
Waterproofing involves sealing all the tiny gaps and cracks where water or water vapor can enter. This includes the seams between tiles, around the shower base, and any areas where pipes penetrate the walls. Without sealing these areas, water can seep in and cause damage to the underlying structure.
To achieve effective sealing, materials like silicone caulk are often used. This ensures that every possible entry point for water is securely closed off.

In summary, shower waterproofing is a crucial step to protect your home from water damage. By adding a protective coating and sealing all gaps, cracks, and penetrations, you can ensure your shower remains leak-free and your home stays dry.
Benefits of Shower Waterproofing
Shower waterproofing is more than just a protective measure; it’s a smart investment for your home. Here are some key benefits:
Reduces Maintenance Costs
Water damage in your shower can be expensive to fix. Replacing a damaged shower can cost thousands of dollars. By waterproofing your shower, you can avoid these high costs. Effective waterproofing ensures that water stays where it belongs, reducing the need for costly repairs.
Fewer Maintenance Issues
The shower is one of the most frequently used rooms in a home. This constant use makes it prone to wear and tear. Waterproofing minimizes the risk of damage to walls and floors, leading to fewer maintenance headaches. It’s a proactive way to keep your bathroom in good shape.
Fewer Cleanup Issues
Waterproofing your shower can significantly reduce the need for frequent and messy repairs. When your shower is properly sealed, you won’t have to deal with water leaks that cause unsightly stains and mold. This means less time spent on cleanup and more time enjoying your bathroom.
Less Damage to Interior Walls
Water that seeps into the walls can cause serious damage to your home’s structure. Over time, this can lead to mold growth and even structural decay. By waterproofing your shower, you prevent water from penetrating the walls, protecting the integrity of your home. This not only saves you money on repairs but also maintains the overall health of your living environment.
Shower waterproofing is a simple yet effective way to protect your home from water damage. It reduces maintenance costs, minimizes issues, and keeps your bathroom clean and safe. Next, let’s explore the different methods available for waterproofing your shower.
Risks of Not Waterproofing Your Shower
Waterproofing your shower might seem like a chore, but skipping this step can lead to severe problems down the line. Here are some of the biggest risks you face if you don’t waterproof your shower properly:
Expensive Repairs
Water damage is not always costly to repair, but it can be. A small leak left untreated can cause significant damage over time. For instance, a leak from your shower can seep into the walls and floors, leading to rot and decay. Fixing these issues can cost several thousand dollars, depending on the extent of the damage.
Mold and Health Effects
Mold and mildew thrive in damp environments. If your shower isn’t waterproofed, excess moisture can create a breeding ground for these harmful fungi. Mold isn’t just unsightly; it can also cause respiratory problems. Studies show that mold is present in nearly 50% of shower walls in U.S. homes. Prolonged exposure can lead to health issues like asthma and allergies.
Foundation Damage
Water that leaks from your shower can eventually reach your home’s foundation. Foundation damage is a severe issue that can compromise the structural integrity of your home. Water can also damage the subfloor and other foundational components, leading to costly repairs.
Pest Infestations
Moisture attracts pests like termites and carpenter ants. These pests can cause significant damage to your home. Hiring pest control to deal with an infestation can be expensive. By waterproofing your shower, you can prevent these pests from making your home their own.
Structural Decay
Untreated leaks can lead to structural decay, which is both dangerous and costly to repair. Water can weaken the wooden structures in your home, leading to sagging floors and walls. This decay can make your home unsafe to live in and require extensive repairs to fix.
In summary, not waterproofing your shower can lead to expensive repairs, mold growth, foundation damage, pest infestations, and structural decay. By ensuring your shower is properly waterproofed, you can avoid these issues and keep your home safe and sound. Next, let’s explore the different methods available for waterproofing your shower.
Types of Shower Waterproofing Methods
When it comes to shower waterproofing, there are several methods to choose from. Each method has its own benefits and can be suitable for different situations. Let’s dive into the most common types:
Sheet Membranes
Sheet membranes are made from various plastic compounds. They are often easy to install thanks to peel and stick technology. One of the key steps in using sheet membranes is to overlap seams by at least 2 inches. This overlap ensures that water cannot seep through the joints, providing a robust waterproof layer.
Pros:
– No drying time required
– Comes in standard thicknesses
Cons:
– Seams must be carefully waterproofed
– Can be tricky to install without wrinkles
Liquid Membranes
Liquid membranes are essentially waterproof paint that you apply with a roller. Once dry, this membrane forms a flexible layer that adapts to the surface. To get the best results, it’s crucial to apply each layer to the correct thickness and allow proper cure times between layers. Typically, it takes about a day for each layer to dry, although newer products are speeding up this process.
Pros:
– Easy to apply
– Flexible and adaptable to surfaces
Cons:
– Requires careful application to achieve the right thickness
– Longer drying times compared to other methods
Foam Wallboards
Foam wallboards are made from extruded polystyrene foam. These boards offer structural stability and are waterproof on their surface, preventing moisture from penetrating. They are lightweight and easy to install, making them a popular choice for shower waterproofing.
Pros:
– Lightweight and easy to handle
– No need for additional cement board
Cons:
– Seams need to be sealed with waterproof sealant or banding material
Foam Shower Bases
Foam shower bases are often sold as kits. These kits come with a membrane bonding drain and seam tape for a complete waterproof seal. The foam used in these bases is similar to that used in foam wallboards, providing a consistent waterproofing solution.
Pros:
– Pre-sloped and ready for tile
– Easy to install with included components
Cons:
– May not be as durable as custom-formed mud beds
Traditional Shower Construction
Traditional methods involve creating a mud-bed pan and using cement boards or fiber cement backer boards. The moisture barrier in this setup is usually a layer of plastic or tar paper. While more labor-intensive, this method has been trusted for decades.
Pros:
– Time-tested and reliable
– Customizable to any shower shape
Cons:
– Labor-intensive and time-consuming
– Requires skilled workmanship
Each of these methods has its own advantages and can be chosen based on your specific needs and budget.
Next, let’s look at how you can waterproof a shower on a budget.
How to Waterproof a Shower on a Budget
DIY Waterproofing Tips
Waterproofing your shower doesn’t have to be expensive or complicated. With a few simple steps and cost-effective materials, you can achieve high-quality results that will protect your bathroom for years to come.
1. Start with Seam Tape:
Begin by taping all the cement board seams with 2″ mesh tape. Make sure it is alkali-resistant and moisture-resistant. This helps create a solid surface and prevents flexing, which can cause cracks.
2. Apply Thinset Mortar:
Use a small putty knife to apply thinset mortar over all taped seams and screw heads. This step is similar to mudding drywall joints. Make sure to cover all gaps and smooth out the seams.
3. Use a Liquid Waterproof Membrane:
A popular and effective option is RedGard, a liquid waterproof membrane. Apply two coats over the cement board. One gallon typically covers 55 sq ft, making it a cost-effective solution for most shower sizes.
4. Proper Ventilation:
Ensure your bathroom has good ventilation to help the waterproofing materials cure properly. Use fans or open windows to speed up the drying process.
5. Check for Leaks:
Before tiling, check for any leaks by spraying water on the waterproofed surface. If you notice any wet spots, address them immediately.
Affordable Waterproofing Products
1. RedGard Waterproofing and Crack Prevention Membrane:
– Cost: Around $80 for a 1-gallon container.
– Coverage: 55 sq ft per gallon.
– Ease of Use: Easy to apply with a paint roller or brush.
2. VersaBond Thinset Mortar:
– Cost: $18 for a 50 lb bag.
– Features: Quick-drying, durable, and highly rated for wet areas.
3. Mesh Seam Tape:
– Cost: Approximately $8 for a roll.
– Features: Alkali-resistant and moisture-resistant, essential for long-lasting results.
4. Paint Tray and Rollers:
– Cost: Around $2 for a paint tray liner and $6 for disposable paint brushes.
– Use: Essential for applying the liquid waterproof membrane smoothly.
5. Seam Tape:
– Cost: About $8.
– Use: Helps to create a solid, crack-resistant surface.
By following these DIY tips and using budget-friendly products, you can achieve a waterproof shower without breaking the bank. Aqua Gleam Bathrooms offers a range of affordable and high-quality waterproofing products to help you get the job done right.
Next, let’s tackle some frequently asked questions about shower waterproofing.
Frequently Asked Questions about Shower Waterproofing
How much does it cost to waterproof a shower?
Waterproofing a shower can vary in cost depending on the method and materials you choose. For a DIY approach, you might spend around $88 using products like RedGard, which includes the cost of the waterproofing membrane, seam tape, and necessary tools.
Breakdown of Costs:
– RedGard Waterproofing Membrane: Approximately $80 for a 1-gallon container.
– Seam Tape: Around $8.
– Miscellaneous Supplies: About $10 (paint tray liner, disposable brushes).
For professional installation, costs can range from a few hundred to several thousand dollars, depending on the complexity of the job and the materials used.
Can I waterproof my shower myself?
Yes, you can waterproof your shower yourself, especially if you’re comfortable with DIY projects. Using products like RedGard, you can follow simple steps to apply a liquid waterproof membrane to your shower walls and floor.
Steps to DIY Waterproofing:
1. Prepare the Surface: Clean and dry the shower area.
2. Apply Seam Tape: Place tape on all joints and seams.
3. Apply Waterproof Membrane: Use a paint roller or brush to apply the membrane. Apply at least two coats, allowing 24 hours between each coat.
DIY waterproofing can save you significant labor costs and give you the satisfaction of completing the project yourself.
What is the best waterproofing method for a shower?
The best waterproofing method depends on your specific needs and budget. Here are a few options:
1. Liquid Membranes:
– Pros: Easy to apply, flexible, and cost-effective.
– Cons: Requires proper thickness and curing time.
– Best For: DIY projects and smaller budgets.
2. Sheet Membranes:
– Pros: Durable, easy to overlap seams for a watertight seal.
– Cons: Can be more expensive and require precise installation.
– Best For: Long-term durability and professional installations.
3. Foam Wallboards and Shower Bases:
– Pros: Provide structural stability and a waterproof surface.
– Cons: Higher initial cost.
– Best For: New constructions or complete bathroom remodels.
Expert Tip: Combining different methods, like using a liquid membrane with foam wallboards, can offer double the waterproofing protection.
For more detailed guidance and high-quality products, Aqua Gleam Bathrooms provides a range of solutions tailored to fit various needs and budgets.
Conclusion
Proper shower waterproofing is not just a luxury; it’s a necessity for maintaining a healthy, damage-free home. Water leaks can lead to costly repairs, mold growth, and even structural damage. That’s why investing in quality waterproofing solutions is essential.
At Aqua Gleam Bathrooms, we pride ourselves on delivering high-quality workmanship and attention to detail. Our team uses the best materials and latest techniques to ensure your shower is fully waterproofed and built to last. We understand that every home is unique, so we tailor our services to meet your specific needs and budget.
Whether you’re looking for budget-friendly DIY options or professional installations, Aqua Gleam Bathrooms has you covered. Our comprehensive range of waterproofing solutions ensures that your bathroom remains a safe and comfortable space for years to come.
For more information and expert guidance, visit our Bathroom Fitters Cardiff page. We’re here to help you achieve a worry-free, waterproof shower.
By choosing Aqua Gleam Bathrooms, you’re investing in peace of mind and the long-term durability of your home. Don’t wait until it’s too late—start your waterproofing project today!