

Introduction
Are you longing for a new look in your bathroom but are apprehensive about the daunting process? Not to worry, revamping your bathroom doesn’t have to be intimidating, particularly when you can use bathroom tiles which are not only visually appealing, but easy to install. The humble bathroom tile is a cornerstone of creating a clean, sophisticated space that is also resistant to the stresses of humidity, splashes, and moisture^[1^]. We’re here to tell you about the hidden marvels of bathroom tile easy installation.
Aqua Gleam Bathrooms is proud to champion the transformative power of exceptional tiles – they aren’t merely materials, but the building blocks of your personal sanctuary. Our commitment to superior quality materials and meticulous installation ensures you get a wholesome and durable solution^[2^]. After all, what could be better than giving your bathroom a makeover, without the hassle of a lengthy, expensive remodel?
Quick Information for ‘Bathroom Tile Easy Install’ Enthusiasts:
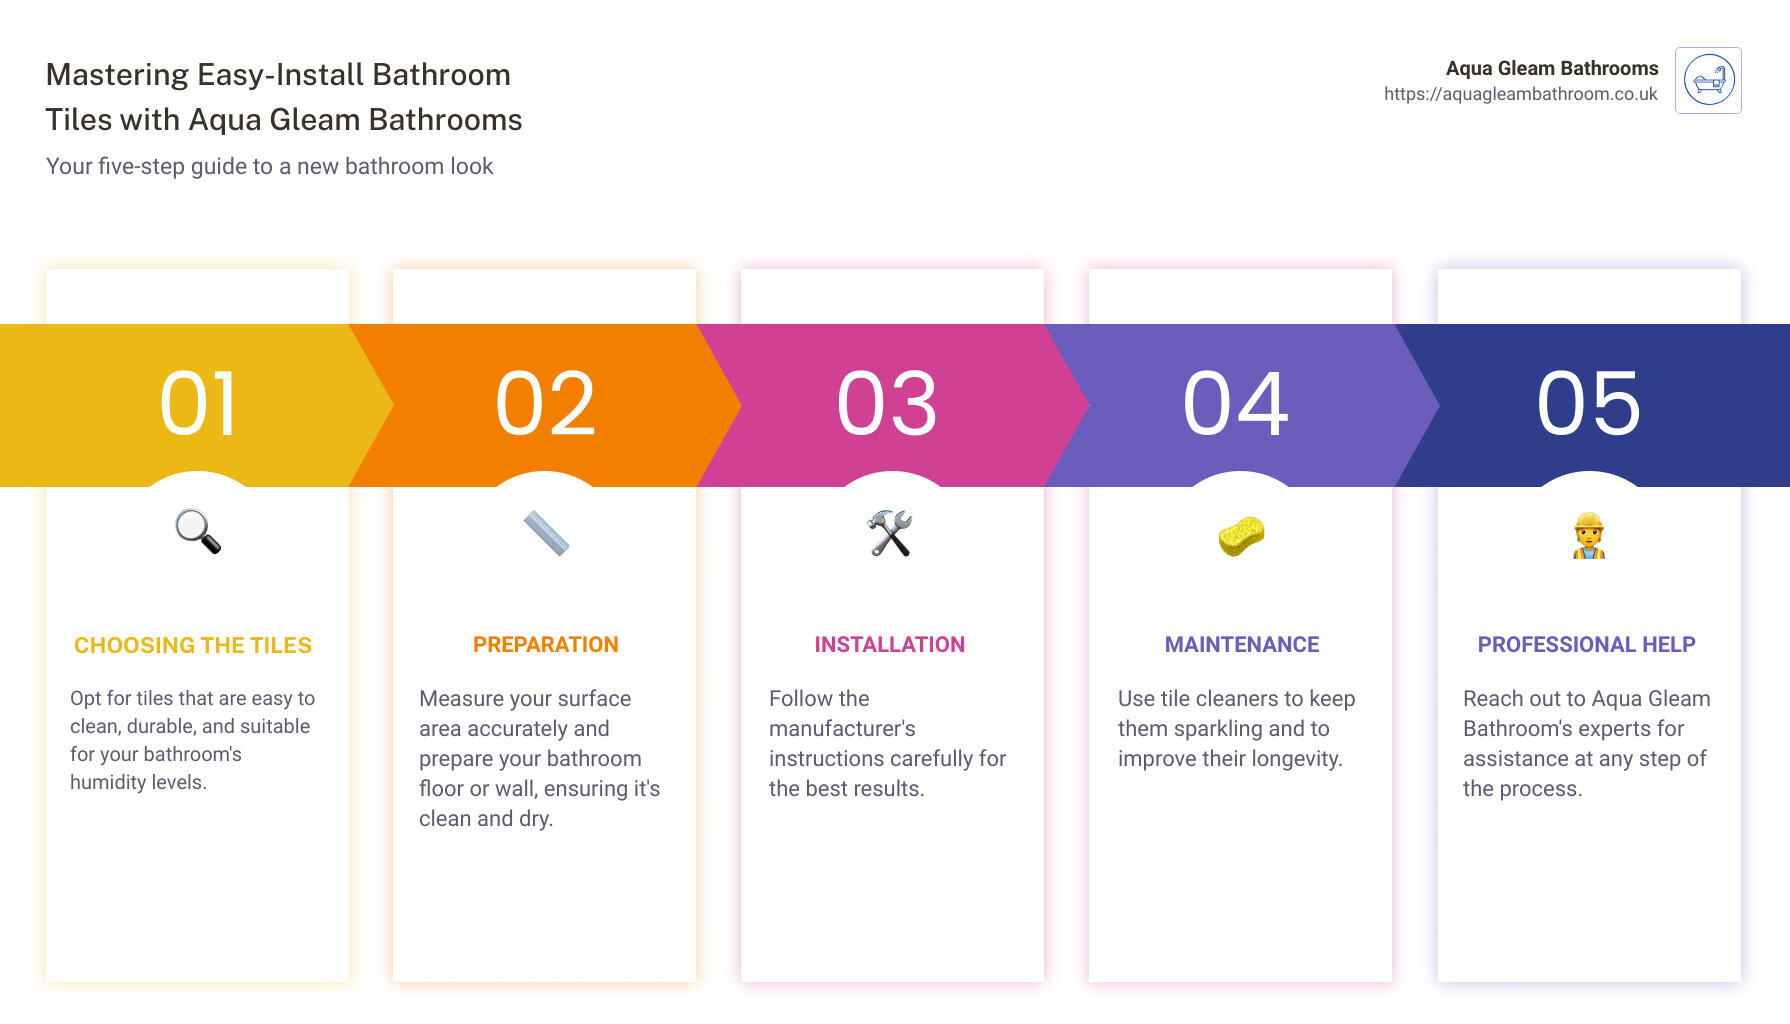
1. Choosing the Tiles: Opt for tiles that are easy to clean, durable, and suitable for your bathroom’s humidity levels.
2. Preparation: Measure your surface area accurately and prepare your bathroom floor or wall, ensuring it’s clean and dry.
3. Installation: Follow the manufacturer’s instructions carefully for the best results.
4. Maintenance: Use tile cleaners to keep them sparkling and improve their longevity.
5. Get professional help if needed: You don’t have to do it alone. Aqua Gleam Bathroom’s experts are just a call away to assist you at every step.
Embarking on the journey of installing bathroom tiles is an exciting opportunity to infuse your personality into your home while ensuring a high standard of hygiene and functionality. In the next few sections, we will guide you through mastering the art of easy-install bathroom tiles in just 5 days. Are you ready to bring your dream bathroom to life?
Footnotes
- B&Q bathroom tiles – Designed to withstand areas of splashes, humidity and moisture, ensuring longevity and ease of maintenance.
- Aqua Gleam Bathrooms – Committed to using high-quality materials, offering professional installation, and ensuring customer satisfaction.
Day 1: Understanding the Basics of Bathroom Tiles
Importance of Bathroom Tiles for Hygiene and Aesthetics
Bathroom tiles serve more than just a practical purpose; they play a significant role in defining the aesthetics of your bathroom. A well-chosen tile design can transform your bathroom from a plain, everyday space into a personal sanctuary. More than aesthetics, tiles in a bathroom are also hygienic and easy to clean and maintain. They are immune to areas of splashes, humidity, and moisture, making them an ideal choice for your bathroom.
Different Types of Bathroom Tiles and Their Pros and Cons
There are various types of bathroom tiles available on the market, each with its unique attributes. Common materials include ceramic, porcelain, glass, and vinyl. Ceramic and porcelain tiles are popular choices for their durability and water resistance. They are ideal for bathroom walls and floors as they are less absorbent and can withstand wet conditions.
Glass tiles, on the other hand, add a modern touch to your bathroom. They are stain-resistant and easy to clean but can be slippery when wet. Vinyl tiles are a cost-effective option. They are comfortable underfoot and come in a variety of designs. However, they may not be as durable as ceramic or porcelain tiles.
It’s important to consider the pros and cons of each material to determine what suits your needs best. At Aqua Gleam Bathrooms, we can help guide you through this process.
Why Easy-Install Tiles are a Good Choice
The bathroom tile easy install approach offers a practical and cost-effective solution for bathroom renovation. This method is especially beneficial for homeowners who want to give their bathroom a facelift without the need for complex demolition or installation processes.
Easy-install tiles are designed for straightforward application, often featuring peel-and-stick or self-adhesive mechanisms. This feature saves you significant time, effort, and potentially, the cost of hiring a professional installer.
However, while it might sound simple, installing bathroom tiles still requires preparation, precision, and understanding of the process. In the following days, we’ll guide you through these steps to ensure a successful installation and a beautiful result.
At Aqua Gleam Bathrooms, we believe that everyone should have the chance to transform their bathroom into their dream space. Whether you choose to DIY or hire our professional team, we’re here to support you every step of the way.
Footnotes:
Day 2: Preparing for the Installation
After understanding the basics of bathroom tiles, it’s time to gear up for the actual work. Preparation is key to achieving a successful bathroom tile easy install. This involves gathering the right tools, measuring your space accurately, and preparing the bathroom surface for tile installation.
Tools and Materials Needed for Easy-Install Bathroom Tiles
Before you start, ensure you have all the necessary tools and materials. This includes the tiles of your choice, grout, and thinset mortar. You also need a few standard tools: tile spacers, a tile saw, sponges, a level, cement board (as underlayment), a notched trowel, a grout float, and optionally, a grout sealant.
At Aqua Gleam Bathrooms, we can guide you through the selection process, ensuring you get the right tools for your project.
How to Measure and Calculate the Number of Tiles Needed
Accurate measurements are vital for a successful installation. Start by measuring the length and width of your bathroom floor or wall where you plan to install the tiles. Multiply these figures to get the total square footage.
Next, determine the area that each tile will cover. If you’re using square tiles, this is as simple as squaring the length of one side. For example, for a 12 inch by 12 inch tile, the coverage is 144 square inches (or 1 square foot).
Finally, divide your total square footage by the coverage of one tile to determine how many tiles you need. Always add an extra 10% to account for cuts and breakages during installation.
Preparing the Bathroom Surface for Tile Installation
A clean, level surface is essential for a smooth tile installation. Start by removing any old tiles, then vacuum and wipe down the area. If you’re tiling over a floor, you’ll want to apply an underlayment like cement board to provide a level ground for your tiles.
Mark the layout of your tiles on the underlayment. This will guide you during installation and help ensure a professional finish.
Now, you’re all set to begin the actual installation process. We’re here at Aqua Gleam Bathrooms to support and guide you throughout your bathroom upgrade journey.
Day 3: Installing the Bathroom Tiles
Now that you’ve prepared your bathroom and have everything you need, let’s dive into the actual installation process. Installing your bathroom tiles is a task that requires patience and attention to detail, but with the right approach, it’s completely manageable.
Step-by-Step Guide to Installing Easy-Install Bathroom Tiles
-
Apply Underlayment: Start by applying your selected underlayment to your sub-floor. Using an underlay like cement board provides a level ground to place your tiles.
-
Decide on the Layout: Decide the layout of your tiles and cut them to fit your space perfectly. A good tip for placing tiles is to use chalk and draw lines on your cement board to ensure expert installation.
-
Apply Thinset Mortar: Apply an even, thin layer of thinset mortar to the underlay that you applied to your floor. Use a notched trowel at a 45-degree angle for this.
-
Place Your Tiles: Slowly and carefully, start placing tiles as per your planned design, using spacers to keep them even. Remember to work with one small section at a time, as the thinset mortar can dry quickly.
-
Let it Dry: Once all tiles are placed, let the mortar dry for at least 24 hours.
Tips for Ensuring a Smooth and Even Tile Installation
-
Take Your Time: Rushing the installation process can lead to mistakes and uneven tiles. Take your time to ensure each tile is placed correctly and evenly.
-
Use Spacers: Spacers are a great way to ensure equal distance between each tile, leading to a more professional result.
-
Work in Sections: Only apply thinset mortar to small sections at a time. This prevents the mortar from drying out before you’ve had a chance to place your tiles.
How to Handle Tricky Areas Like Corners and Edges
Corners and edges can be tricky when installing tiles, but they’re not impossible to handle. Use a tile saw to cut tiles to the perfect size for these areas. If a tile needs to be placed around an obstacle, like a pipe or fixture, measure the space carefully and cut the tile accordingly. Always remember to measure twice and cut once to prevent any mistakes.
Stay tuned for the next step in our 5-day masterclass – grouting and sealing your tiles. We’re here with you every step of the way to ensure your bathroom tile easy install.
Day 4: Grouting and Sealing the Tiles
The Importance of Grouting and Sealing in Tile Installation
After successfully laying your bathroom tiles, the next crucial step in the bathroom tile easy install process is grouting and sealing. You may wonder why this step is so important. Grouting fills the gaps between tiles, creating a smooth, finished appearance and preventing water and dirt from seeping underneath. Sealing, on the other hand, protects the grout from staining and wear, prolonging the life of your beautiful new tiles.
Step-by-Step Guide to Grouting and Sealing Bathroom Tiles
Now, let’s get into the nitty-gritty of how to grout and seal your tiles. We are here to guide you through this crucial process:
-
Remove the Spacers: Start by removing all the tile spacers you used during tile installation.
-
Apply the Grout: Using a grout float, apply grout generously to all the spaces between the tiles. Ensure you work it into all the gaps for a solid fill.
-
Clean Excess Grout: Use a damp sponge to wipe away any excess grout from the face of the tiles. Be careful not to dig into the freshly filled gaps.
-
Let the Grout Dry: Allow the grout to dry for approximately 24 hours. Avoid walking on the tiles or wetting the area during this time.
-
Apply the Sealant: After the grout has completely dried, apply a grout sealant to the grout lines. This step is optional but highly recommended to protect your grout from stains and moisture.
Tips for Maintaining the Look and Durability of the Grout
Proper maintenance of your grout can keep your tiles looking new and extend their lifespan. Here are a few tips:
- Regular Cleaning: Clean your tiles and grout regularly with a mild detergent to prevent the buildup of dirt and grime.
- Prompt Stain Removal: If you notice a stain on your grout, address it immediately before it sets. Using a grout cleaner can be effective for this.
- Periodic Sealing: Depending on the type of sealant used, you might need to reseal your grout every one to two years to maintain its protective properties.
Every detail matters when it comes to bathroom installations. With Aqua Gleam Bathrooms, you can be confident that you’re in good hands. Our commitment to detail ensures that your bathroom installations are nothing short of perfect.
Now that you’ve mastered grouting and sealing, get ready for the final day of our 5-day masterclass where we’ll tackle maintaining your bathroom tiles.
Day 5: Maintaining Your Bathroom Tiles
How to Clean and Maintain Bathroom Tiles to Prolong Their Lifespan
Maintaining your bathroom tiles properly is crucial to extend their lifespan and keep them looking as good as the day they were installed. Regular cleaning and proper maintenance practices can save you money in the long run and keep your bathroom looking its best.
Start with regular cleaning, preferably once a week. Use a mild detergent and warm water for this task. Avoid using abrasive cleaners which can scratch the surface. For stubborn stains, you can use baking soda mixed with water to create a paste. Apply it on the tile surface, leave it for a few minutes, then scrub gently and rinse.
Sealing your tiles regularly is also key to their maintenance, especially for certain types like natural stone. The sealant helps to protect your tiles from staining and water damage. Be sure to follow the manufacturer’s instructions on how often to reseal your tiles.
Addressing Common Issues with Bathroom Tiles and How to Fix Them
Even with the best care, you may encounter some common issues with your bathroom tiles, like loose or cracked tiles. Don’t panic. These problems can be fixed without necessarily replacing your entire floor or wall tiling.
For loose tiles, you can simply reapply adhesive to the back and press it back into place. If a tile is cracked, you may need to replace it with a new one. Always remember to have a few spare tiles from your initial installation for such incidents.
When to Consider Replacing or Updating Your Bathroom Tiles
While a well-maintained tile can last many years, there comes a time when you may need to consider replacing or updating your bathroom tiles. If the tiles are outdated, severely damaged, or if you’re simply looking for a change, updating your tiles can refresh the look of your bathroom.
When it comes to installing new tiles, it’s crucial to consider the longevity and durability of the tiles, their resistance against wear, fading, and staining, and their maintenance needs. If you’re uncertain about the process, professional installation is always a good option.
At Aqua Gleam Bathrooms, we’re here to help with all your bathroom tile needs. From selection to installation and maintenance, we’ve got you covered. Whether it’s for a new project or an upgrade, we’re committed to ensuring that your bathroom tiles not only look great but also stand the test of time.
In conclusion, mastering the easy-install bathroom tile process is not just about the installation. It involves understanding your tiles, preparing for the installation, the actual installation, grouting and sealing, and finally, proper maintenance. With these steps, you’re well on your way to a beautiful and durable bathroom.
Conclusion
Now that we’ve walked through the journey of an easy-install bathroom tile project, let’s recap the process. We started with understanding the different types of bathroom tiles and their benefits. Next, we gathered the necessary tools and materials and prepared the bathroom surface for installation. After that, we learned the step-by-step guide to installing the tiles, handling tricky areas, and applying grout and sealant. Finally, we discussed the importance of maintaining your bathroom tiles to prolong their lifespan and keep them looking their best.
Throughout this guide, we’ve emphasized the simplicity and convenience of easy-install bathroom tiles. By taking the project into your own hands, you’re not only saving on installation costs but also gaining a new skill. It’s an opportunity to make your bathroom uniquely yours, all while adding value to your home.
We know that taking on a DIY project can seem daunting, but remember, at Aqua Gleam Bathrooms, we’re here to help. With our expert advice and quality products, we believe that anyone can master the process of laying easy-install bathroom tiles.
In the end, the most important thing is that you create a bathroom space that you love and are proud of. Whether you choose to DIY or hire a professional, the choice is yours. Just remember, the journey is just as important as the destination. Embrace the learning, enjoy the process, and most of all, have fun.
For more home improvement tips and tricks, check out our blog. If you need more guidance, our professional tile installation services are just a click away.

Mastering the art of bathroom tile installation is a rewarding journey. It’s a process that requires patience, attention to detail, and a little bit of elbow grease. But with our guide, we hope we’ve shown you that it’s an achievable goal. Here’s to your next home improvement project! The only limit is your imagination.
Happy tiling!