

Bathroom transformation started by updating your bath mixer taps? Dealing with outdated and malfunctioning bath mixer taps can be a frustrating reality for many homeowners. But did you know that tackling this minor upgrade can lead to a massively revamped bathroom appeal? Not to mention, it only takes about 30 minutes of your time, and a knack for DIY.
Let’s dive into what you’ll need to pull this off:
- Standard spanner set
- 2 x back nuts
- 2 x rubber washers
- Handset (bath shower mixer only)
- Handset holder (bath shower mixer only)
- Hose (bath shower mixer only)
- Top hat washers (bought separately)
On average, hiring a tradesperson for this installation can cost you £100–£110. But with this simple guide, you can save that up!
Here at Aqua Gleam Bathrooms, we thrive on encouraging and helping our dear homeowners explore their DIY capabilities – delivering high-end results in the process. We understand the value of beautifully crafted yet functional fittings, especially when they’re able to serve a dual purpose like a bath mixer tap. A bath mixer tap not only adds a streamlined appeal to your bathroom, but the convenience it provides in facilitating both hot and cold water from a single tap can’t be overstated.
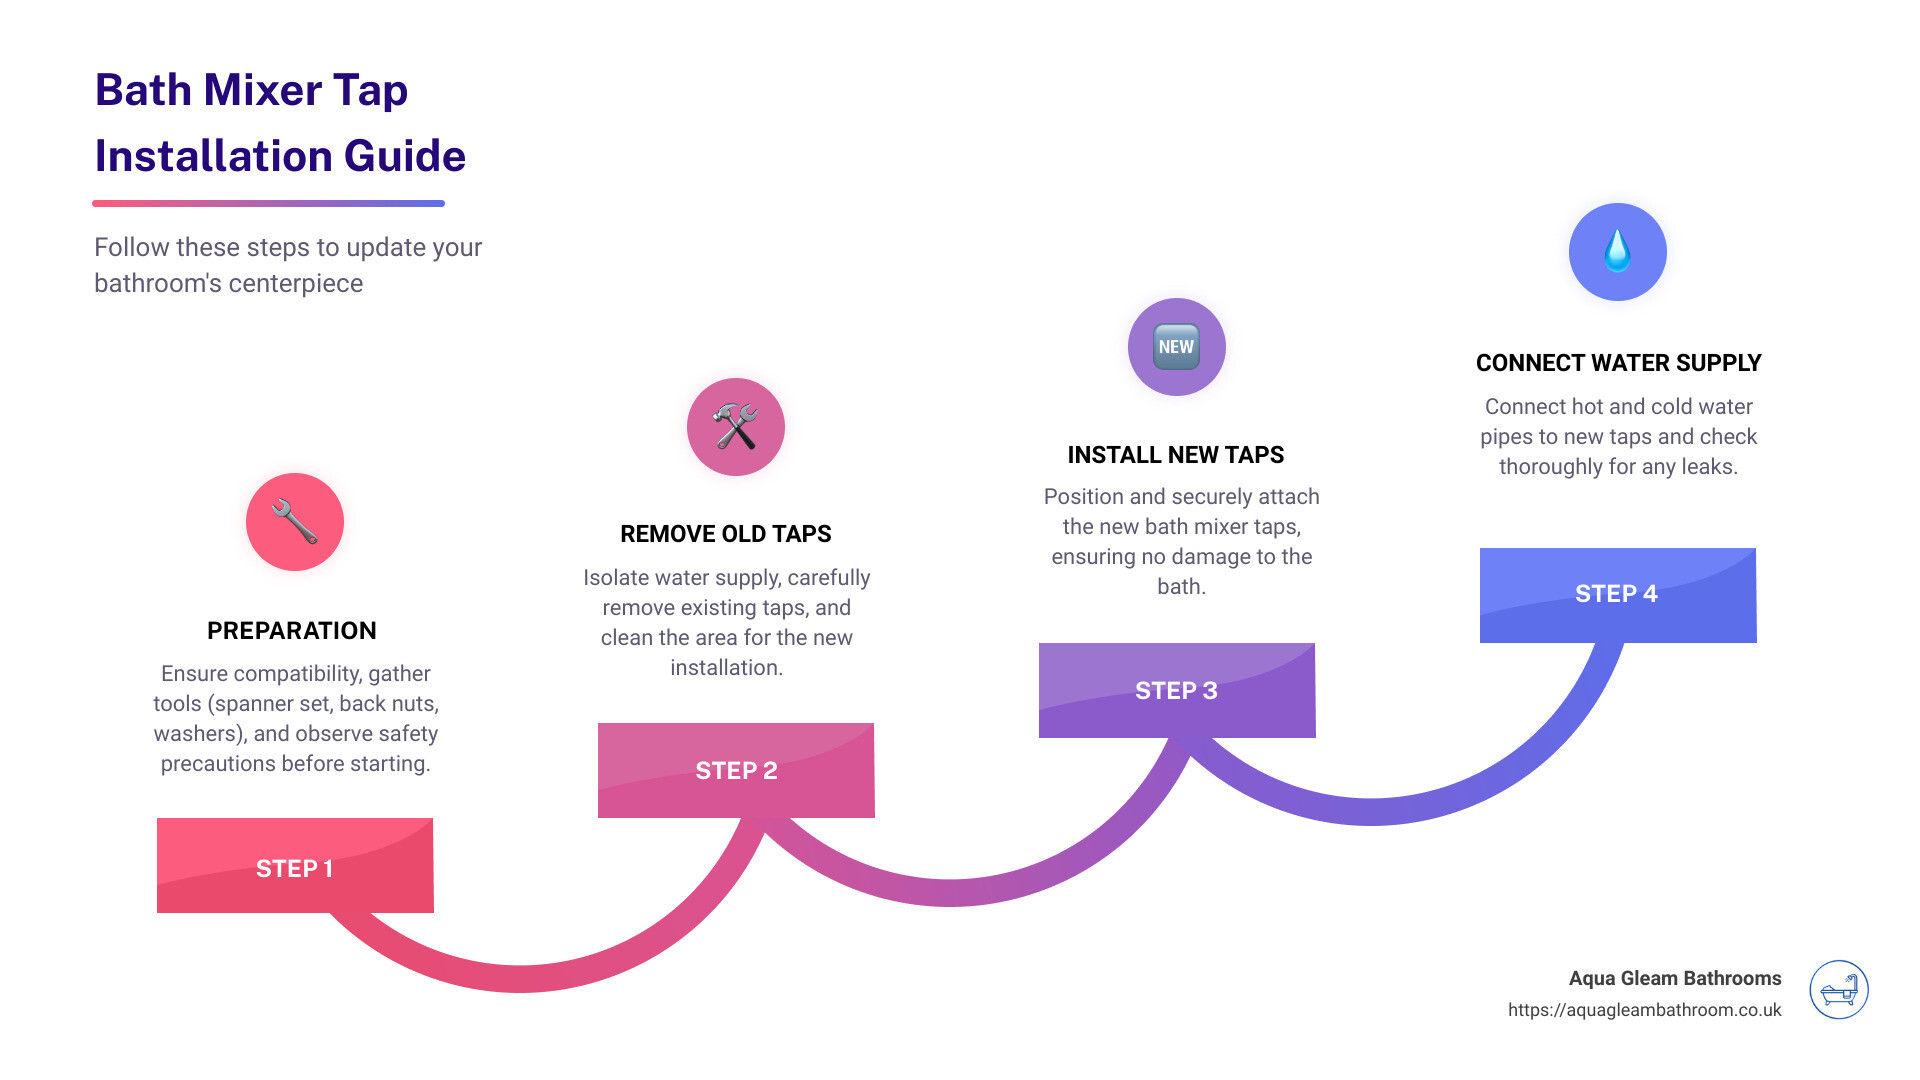
Let this article, backed by our team’s expert knowledge, guide you through the surprisingly straightforward process of fitting new bath mixer taps, converting your bathroom into a haven you’d always love to retreat to! Together, we’ll cover essential preparation steps, pointers on picking the right bath mixer tap, and crucial tips towards ensuring a flawless installation process.
Step 1: Preparation for the Installation
To ensure a smooth and successful installation, the first and most crucial step is preparation. This involves checking the compatibility of the new bath mixer taps with your existing plumbing, gathering the necessary tools and materials, and taking safety precautions.
Importance of Checking the Compatibility of New Bath Mixer Taps with Existing Plumbing
First things first, you need to make sure your new bath mixer taps are compatible with your existing plumbing system. Bath taps come in various styles, including mixer taps, pillar taps, and bath shower mixer taps. The type you choose should not only match your bathroom aesthetics but also fit seamlessly with your plumbing system.
A bath mixer tap combines hot and cold water in the body of the tap, making it larger than a basin mixer tap. So, ensure you have sufficient space for installation.
Tools and Materials Needed for the Installation
Next, gather your toolkit. You will need a standard spanner set and specific materials usually supplied with the tap, such as back nuts, rubber washers, and in case of a bath shower mixer, a handset, handset holder, and hose. You’ll also need to purchase top hat washers separately.
Take a moment to unpack your tap immediately after delivery and check for any potential damage or faults. It’s always better to spot these early, rather than during installation.
Safety Precautions and Preparatory Steps Before Starting the Installation
Safety is paramount. Always turn off your water at the mains before attempting any DIY in the bathroom. This is to prevent any accidental water damage during the installation process. Also, ensure your working area is clear and free of any potential hazards.
To prepare for the installation process, visualize your dream space and start measuring your bathroom to ensure your new bath mixer taps will fit comfortably in the available space. Accurate measurements are crucial for a successful installation.
Take time to remove any old installations, prepare the floor and walls, and mark the exact location of the drain and faucet for installation.
At Aqua Gleam Bathrooms, we understand that preparation is key to a successful installation. As part of our end-to-end service, we provide an in-store or online planning appointment to match you with an approved, fully vetted, and DBS checked local installer. This process ensures that everything is perfectly planned and prepared before installation begins.
So, now that we’re armed with the right tools and have taken the necessary safety precautions, it’s time to roll up our sleeves and get to work! In the next section, we’ll guide you through the process of removing your old bath taps.
Step 2: Removing the Old Bath Taps
In this second step of fitting new bath mixer taps, we’ll guide you on safely isolating the water supply, removing the old bath taps, and preparing the area for the new ones.
How to Safely Isolate the Water Supply to the Bath Taps
Before you start removing the old taps, it’s crucial to isolate the water supply to prevent any accidental water spillage. To do this, locate the stopcock, which is typically hidden behind the bath panel, and turn it off. Once done, open the taps to drain any water left in the pipes. This straightforward process ensures a dry and safe workspace for the rest of the installation.
Step-by-Step Guide on How to Remove the Old Bath Taps
With the water supply safely isolated, it’s time to remove the old bath taps.
-
Use an adjustable wrench to undo the tap connectors that connect the supply pipes to the tap tails.
-
Support the bath tap from above to prevent it from turning.
-
Loosen the nuts underneath using the appropriate tool and remove the tap.
This process might be challenging, especially in older bathrooms where connections might have become rusty or corroded. However, with a bit of patience and effort, you should be able to remove these pieces.
Cleaning and Preparing the Area for the New Bath Mixer Taps
Once you’ve removed the old bath taps, clean the installation areas. This step ensures a clean and smooth surface for fitting your new bath mixer taps.
Use a soft cloth to wipe away any dust, grime, or leftover sealant. Be sure to clean the tap hole thoroughly to ensure a secure fit for your new tap. If necessary, use a mild detergent or bathroom cleaner to help remove stubborn dirt.
Cleaning the area properly not only ensures a smooth installation process but also helps in creating a watertight seal when you install your new bath mixer taps.
Great job! You’ve successfully removed your old bath taps and prepped the area for the new ones. In the next section, we’ll guide you through installing your new bath mixer taps.
At Aqua Gleam Bathrooms, we’re always here to help. If you need professional assistance at any step of the process, don’t hesitate to get in touch with us.
Step 3: Installing the New Bath Mixer Taps
With your old taps successfully removed and your bath area cleaned and prepared, it’s time to start fitting new bath mixer taps. The process involves positioning the new taps, securing them and taking precautions to avoid any damage to your bath.
How to Correctly Position the New Bath Mixer Taps
First, take your new bath mixer tap and hold it upright. Depending on the tap model, you may need to fix a washer to the bottom. Then, position the tap over the tap hole in your bath or countertop, ensuring it is at a 90-degree angle to the rim of the bath.

Detailed Instructions on How to Securely Attach the New Bath Mixer Taps
Lower the flexible tap tails and fixing studs through the tap hole. From below the tap hole, attach a washer and retaining plate onto the fixing studs. Screw nuts onto the fixing studs by hand. Once you’re satisfied that the tap is in the correct position, tighten the nuts using a spanner. Be careful not to overtighten as this could damage the bath or the washer, leading to leaks.
If you’re installing a bath shower mixer tap, you can now attach the hose to the tap and fit the handset holder using washers.
Tips on How to Avoid Damaging the Bath During Installation
When fitting new bath mixer taps, it’s crucial to avoid damaging your bath. Here are a few tips:
- When tightening the nuts, turn them just until they are snug. Over-tightening can damage the bath or the washers.
- Use the correct-sized spanner for the nuts. Using a spanner that’s too large or too small can strip the nut and make it difficult to remove or adjust later.
- If you’re using a metal spanner, consider wrapping the ends with tape to prevent scratches.
Finally, always remember to double-check your work. Installing a bath mixer tap is a task that requires precision and patience. If you feel unsure at any point, don’t hesitate to contact us at Aqua Gleam Bathrooms. Our team of expert bathroom fitters is always ready to assist you.
Step 4: Connecting the Water Supply Pipes
After successfully installing the new bath mixer taps, the next step is to connect the water supply pipes.
How to Properly Connect the Hot and Cold Water Supply Pipes to the New Bath Mixer Taps
-
Identify Your Pipes: Before connecting, it’s important to identify which pipe supplies hot water and which supplies cold water. As you face the taps, the hot water is usually on the left and the cold water on the right.
-
Attach Flexible Tap Tails: Flexible tap tails, if not already attached to your taps, should be fitted at this point. These flexible connectors allow for easy connection to the water supply pipes.
-
Connect the Tails to the Water Supply Pipes: Once the flexible tails are in place, you can then connect them to the water supply pipes. Make sure to tighten the connections, but be careful not to overtighten as this could damage the rubber seal.
Fitting new bath mixer taps is a task that requires precision. Always double-check all connections before proceeding to the next step.
Importance of Checking for Leaks After Connecting the Water Supply Pipes
Once you’ve connected the hot and cold water supply pipes, it’s crucial to check for leaks. To do this, turn the water back on at the mains and slowly turn on the taps. Look for any signs of water escaping from the connections.
In the unlikely event of a leak, you may need to tighten the connections a bit more. However, if a leak persists, it may be a sign of a more serious problem, and you should contact a professional plumber for help.
At Aqua Gleam Bathrooms, we understand the importance of a leak-free installation. Rest assured, our team has the skills and experience to handle any plumbing issues that may arise during the installation of your new bath mixer taps.
The small drip that seems insignificant can cause significant damage over time if not addressed promptly. Therefore, do not underestimate the importance of checking for leaks after connecting the water supply pipes to your new bath mixer taps.
Stay tuned for the final step in our guide to fitting new bath mixer taps, where we discuss the final checks and finishing touches to ensure a successful installation.
Step 5: Final Checks and Finishing Touches
After successfully attaching the water supply pipes to your bath mixer taps, you’re almost finished with the process of fitting new bath mixer taps. The next step encapsulates the final checks and finishing touches that will ensure your new bath mixer taps are functioning properly and are set to last.
How to Test the New Bath Mixer Taps for Proper Functioning
Before you celebrate, test your new bath mixer taps. Remember to turn your water back on slowly, as sudden high pressure can potentially cause damage. Once the water is flowing, check both hot and cold taps to ensure they are working correctly. Your new bath mixer taps should have a smooth operation, and the water flow should be consistent.
What to Do in Case of Leaks or Other Issues
Despite your best efforts, you might find minor leaks or drips after installation. Don’t panic! This is a common issue, and it doesn’t necessarily mean you made a mistake during the installation process. Instead, try tightening the connections a bit more and check again for leaks. Be careful not to overtighten as it may put unnecessary pressure on the pipework. If the leak persists, it may be beneficial to seek professional assistance from the Aqua Gleam Bathrooms team.
How to Maintain Your New Bath Mixer Taps for Longevity
After successfully installing your new bath mixer taps, keep them in good shape. Regular cleaning can prevent build-up of limescale and grime, which may affect the functionality of your taps. Use a gentle, non-abrasive cleaning product to ensure the finish of your taps is not damaged.
Furthermore, be mindful of unusual changes in water pressure or temperature, as these can be signs of underlying issues that need to be addressed. Regular maintenance will not only ensure your bath mixer taps stay shiny and new but also prolong their lifespan, saving you money in the long run.
We at Aqua Gleam Bathrooms know that the journey doesn’t end once the installation is complete. Proper post-installation care is essential to keep your bath mixer taps functioning efficiently and looking their best.
Congratulations, you’ve now completed fitting your new bath mixer taps! We hope this guide has made the process more accessible and less daunting. Feel free to reach out to the Aqua Gleam Bathrooms team if you have any questions or require professional assistance.
When to Hire a Professional Plumber
Situations Where Hiring a Professional Plumber is Recommended
While fitting new bath mixer taps can be a rewarding DIY project, there are instances where hiring a professional plumber becomes necessary. If your bathroom is old or the plumbing is in a hard-to-reach area, it can make the process challenging. Situations such as these require the skill and experience of a professional to ensure the task is completed correctly, avoiding any potential water damage or future issues.
Additionally, if you encounter unexpected plumbing complications during the installation process, like outdated pipes or structural issues, it is advisable to bring in a professional. These are problems that may not only disrupt the installation but could also potentially increase the overall cost of the project if not handled correctly.
How Aqua Gleam Bathrooms Can Help with Your Bath Mixer Tap Installation
At Aqua Gleam Bathrooms, we understand that not everyone is comfortable undertaking DIY plumbing projects, and that’s okay. Our team of experienced professionals is here to help with your bath mixer tap installation. We have the skills and the know-how to handle unexpected issues that may arise during the installation process.
We pride ourselves on our meticulous attention to detail and high-quality workmanship. We take the time to double-check all measurements before starting the installation, ensuring a smooth and efficient process. Our team treats your home with utmost respect, handling all fixtures and fittings with care to prevent any damages.
In the unlikely event of damage, we take full responsibility and ensure the issue is resolved promptly and to your satisfaction. With Aqua Gleam Bathrooms, you can rest assured that your bath mixer tap installation will be a stress-free and enjoyable experience.
Fitting new bath mixer taps is more than just a cosmetic upgrade. It’s about ensuring your bathroom functions optimally and continues to do so for many years to come. Trust us with your installation, and we’ll deliver a superior result with ease.
Conclusion
Recap of the Steps to Install New Bath Mixer Taps
To summarize, fitting new bath mixer taps involves a series of well-defined steps. Initially, preparations for the installation are made, ensuring you have the right tools for the job and that your new bath mixer taps are compatible with your existing plumbing. Safety precautions are taken and the water supply to the taps is isolated.
The next step involves the careful removal of the old bath taps, followed by cleaning and preparing the area for the new bath mixer taps. The new taps are then correctly positioned and securely attached, taking care not to damage the bath in the process.
Connecting the hot and cold water supply pipes to your new bath mixer taps is the next step, followed by a thorough check for any leaks. Lastly, the taps are tested for proper functioning and any final adjustments are made as necessary.
Final Thoughts on the Importance of Properly Installed Bath Mixer Taps
When it comes to bathroom fittings, the significance of properly installed bath mixer taps cannot be overstated. Not only do they provide a comfortable and enjoyable bathing experience, but they also play a crucial role in the overall functionality and longevity of your bathroom.
Performing the task of fitting new bath mixer taps correctly ensures that your bathroom remains a safe and efficient space. It prevents potential water waste and future maintenance issues, saving you time, money, and stress in the long run.
While some homeowners may feel confident undertaking this task themselves, it’s important to note that professional installation provides peace of mind and guarantees a high standard of workmanship. At Aqua Gleam Bathrooms, we pride ourselves on our meticulous attention to detail and commitment to quality service.
Should you require professional assistance, we invite you to explore our bathroom fitting services and get in touch with us for a personalized consultation. Our team of approved installers are ready to help turn your dream bathroom into a reality.
A well-installed bath mixer tap contributes significantly to the overall aesthetic and functionality of your bathroom. So, whether you choose to DIY or hire professionals, make sure it’s done right. Let’s work together to create a beautiful and functional bathroom that suits your lifestyle and needs.