
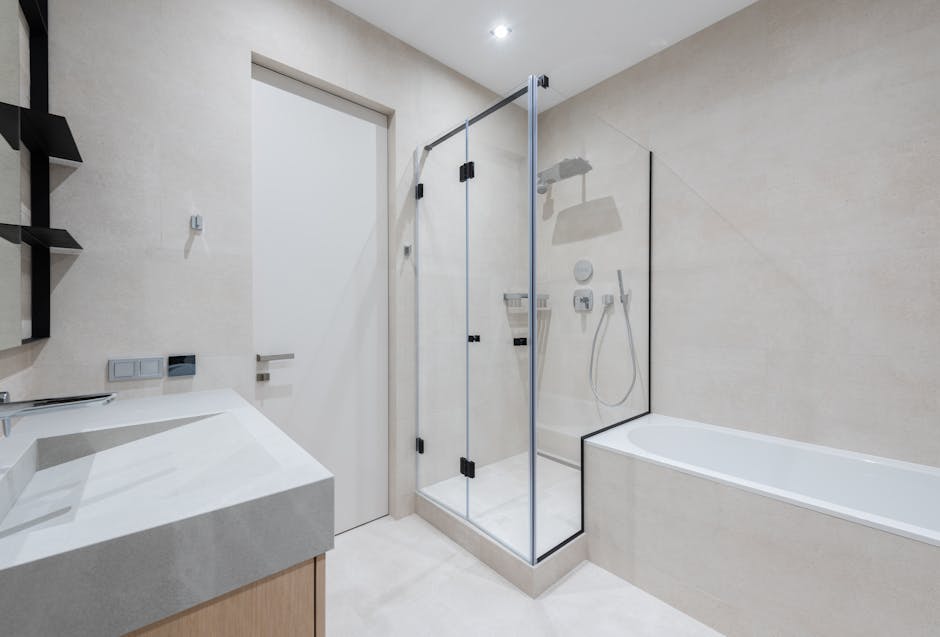
Transform Your Bathroom with Beautiful Floor Tiles
Tiling bathroom floors is a perfect DIY project to transform your space while adding durability and style. Whether you’re updating your guest bathroom or redesigning your main suite, tiling bathroom floors can refresh your entire home.
Key Benefits:
1. Durability: Tiles endure heavy traffic and resist moisture.
2. Aesthetic Appeal: Endless options to match any style.
3. Easy Maintenance: Simple to clean and maintain over time.
Why Choose Aqua Gleam Bathrooms?
When it comes to upgrading your bathroom, Aqua Gleam Bathrooms is a name you can trust. Our experienced team ensures a smooth and efficient installation, turning your vision into reality. From helping you choose the perfect tiles to professional fitting, we handle every detail with care and expertise.
Preparation for Tiling Bathroom Floors
Before you dive into tiling bathroom floors, it’s crucial to prepare the surface properly. This ensures a long-lasting, beautiful finish. Here’s how you can get started:
Clean the Subfloor
First, remove any dirt, dust, or debris from the subfloor. A clean surface helps the tiles adhere better and prevents future issues. Use a broom and vacuum to ensure no particles are left behind.
Level the Subfloor
A level subfloor is essential for a smooth tile installation. Uneven surfaces can cause tiles to crack or come loose over time.
- Identify High and Low Spots: Use a straightedge or level to find any uneven areas.
- Fill Low Spots: Pour self-leveling compound into dips and let it cure. This will fill low spots up to 1.5 inches deep.
- Sand High Spots: Use 60-grit sandpaper to sand down any high spots. This ensures a flat, even subfloor.
Remove Old Flooring
If your bathroom has existing flooring, it’s usually best to remove it. This includes old tiles, vinyl, or laminate. Removing old flooring ensures the new tiles will sit flush and adhere properly.
- Ceramic or Vinyl Tiles: Use a chisel and hammer to lift the tiles. Be careful not to damage the subfloor.
- Laminate Flooring: Pry up the laminate with a crowbar, starting at one corner and working your way across the room.
Waterproofing
Bathrooms are moisture-prone areas, making waterproofing a critical step. Proper waterproofing prevents water from seeping through the tiles and damaging the subfloor.
- Uncoupling Tile Membrane: Install an uncoupling membrane between the subfloor and tiles. This adds waterproofing and prevents cracks by breaking the bond between the subfloor and tiles.
- Sealant: Apply a waterproof sealant to the subfloor before laying tiles. This provides an additional layer of protection against moisture.
By taking these preparatory steps, you’ll set the stage for a successful tiling project. Clean, level, and waterproofed surfaces are key to achieving a professional finish that lasts.
Next, let’s move on to the essential tools and materials you’ll need for tiling bathroom floors.
Essential Tools and Materials
When it comes to tiling bathroom floors, having the right tools and materials is crucial for a successful project. Here’s a breakdown of what you’ll need:
Notched Trowel
A notched trowel is essential for spreading thinset mortar evenly. The notches create grooves that help the tiles adhere better.
- Size Matters: The size of the trowel’s notches depends on the tile size. Larger tiles require larger notches.
- Application: Use the flat side to spread the thinset, then switch to the notched side to create grooves.
Rubber Grout Float
A rubber grout float is used to apply grout between the tiles. It helps push the grout into the joints and smooths it out.
- Technique: Hold the float at a 45-degree angle to ensure the grout fills the joints completely.
- Clean Excess: Use the float to scrape off excess grout, leaving a clean surface.
Tile Spacers
Tile spacers are small pieces of plastic that help maintain even spacing between tiles. They ensure uniform grout lines and a professional finish.
- Sizes: Spacers come in various sizes, from 1/16 inch to 1/2 inch, depending on your grout line preference.
- Placement: Insert spacers at each corner of the tile to keep consistent gaps.
Wet Tile Saw
A wet tile saw is a must-have for cutting tiles to fit around obstacles like pipes and corners. It uses a diamond blade and water to make precise cuts without damaging the tile.
- Precision: Perfect for straight cuts, miters, and even curves.
- Safety: Always wear protective gear and follow the manufacturer’s safety guidelines.
Thinset Mortar
Thinset mortar is the adhesive that bonds the tiles to the subfloor. It’s a mix of cement, fine sand, and water.
- Mixing: Follow the package instructions for the correct water-to-mortar ratio.
- Application: Spread it with a notched trowel and press the tiles firmly into place.
Grout
Grout fills the spaces between tiles and helps lock them in place. It also prevents dirt and moisture from getting between the tiles.
- Types: Choose between sanded and unsanded grout. Sanded is for wider joints, while unsanded is for narrower joints.
- Mixing: Mix grout to a peanut butter-like consistency for easy application.
Uncoupling Membrane
An uncoupling membrane is a layer placed between the subfloor and tiles. It helps prevent cracks and adds waterproofing.
- Installation: Cut the membrane to size and adhere it to the subfloor with thinset.
- Benefits: It helps manage moisture and allows for slight movements in the subfloor without affecting the tiles.
By gathering these essential tools and materials, you’re well-equipped to tackle your tiling bathroom floors project with confidence. Each item plays a critical role in ensuring a smooth, professional finish.
Next, let’s dive into the step-by-step guide for tiling bathroom floors.
Step-by-Step Guide to Tiling Bathroom Floors
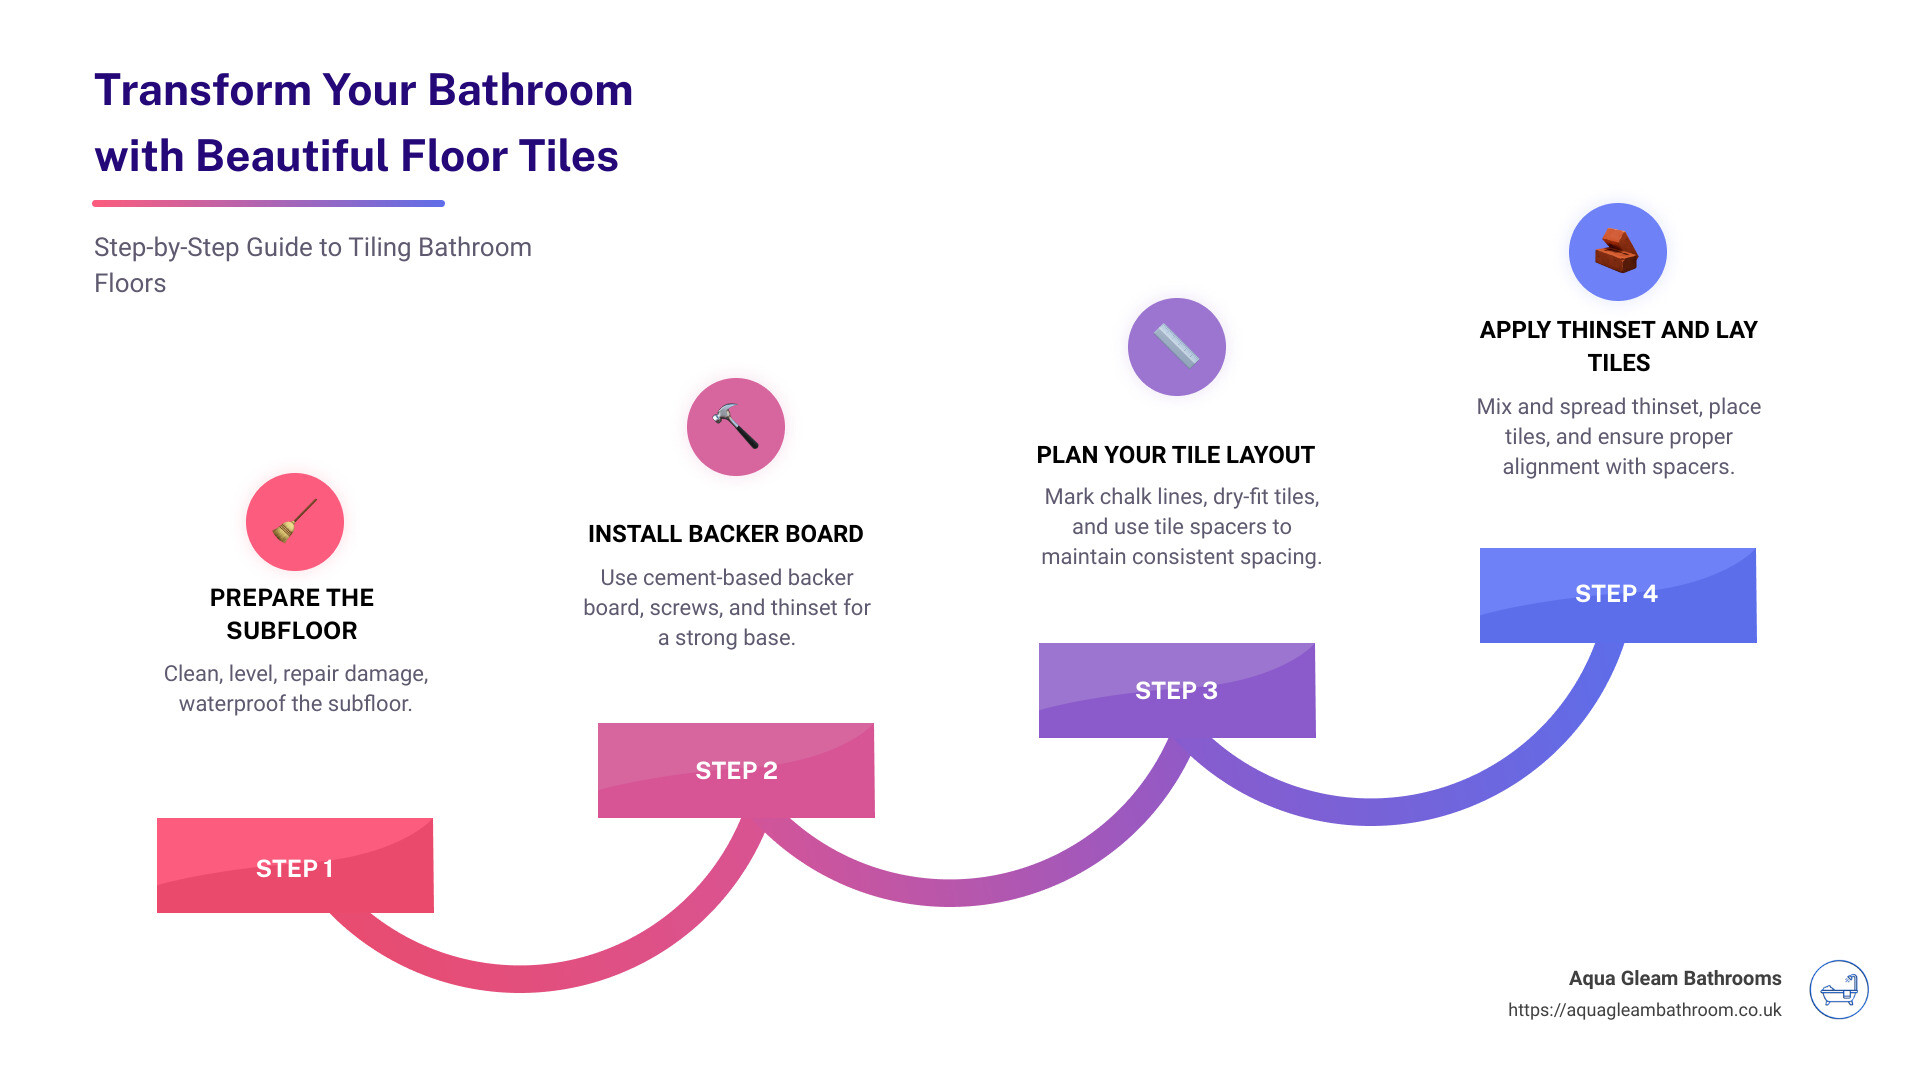
Step 1: Prepare the Subfloor
Before you start tiling, ensure your subfloor is clean, level, and free of damage. Any irregularities can lead to cracked tiles or uneven surfaces.
- Clean: Sweep and vacuum the subfloor to remove any dust and debris.
- Level: Check for dips or high spots using a straightedge. Use a self-leveling compound to fill any low areas and sand down any high spots.
- Repair Damage: Fix any holes or cracks in the subfloor. Small dips can be filled with a floor leveling compound.
- Waterproof: Apply a waterproof membrane or underlayment to prevent moisture from seeping into the subfloor. This step is crucial in bathrooms to avoid water damage.
Step 2: Install Backer Board
A cement-based backer board provides a stable surface for your tiles and prevents the subfloor from expanding and contracting.
- Cut to Size: Measure and cut the backer board to fit the bathroom floor.
- Apply Thinset: Using a 1/4″ notched trowel, spread a thin layer of thinset mortar on the subfloor.
- Lay Backer Board: Place the backer board onto the thinset and press down firmly.
- Secure with Screws: Use cement board screws to secure the backer board to the subfloor. Drive screws every 6 inches along the edges and in the center.
- Tape Seams: Use mesh tape to cover the seams between the backer boards and apply a thin layer of thinset over the tape.
Step 3: Plan Your Tile Layout
Proper planning ensures a professional and visually appealing tile layout.
- Find the Center: Measure the middle points of two opposite walls and snap a chalk line between them. Repeat for the other two walls to create a cross in the center of the room.
- Dry-Fit Tiles: Lay out the tiles along the chalk lines without mortar to see how they fit. Use tile spacers to maintain even gaps.
- Adjust for Cuts: Ensure you don’t end up with very small tile pieces at the edges. Adjust the layout as needed to avoid this.
Step 4: Apply Thinset and Lay Tiles
Now it’s time to start setting the tiles.
- Mix Thinset: Follow the manufacturer’s instructions to mix the thinset to a creamy, peanut butter-like consistency.
- Spread Thinset: Using a notched trowel, spread the thinset on the subfloor in small sections (about 2×2 feet) to prevent it from drying out.
- Place Tiles: Press tiles into the thinset, starting at the center and working your way out. Wiggle each tile slightly to ensure proper adhesion.
- Use Spacers: Insert tile spacers between tiles to keep consistent gaps for grouting later.
Step 5: Cut Tiles to Fit
For edges and corners, you’ll need to cut tiles to fit.
- Measure and Mark: Measure the space and mark the tile where it needs to be cut.
- Use a Wet Tile Saw: Cut the tiles using a wet tile saw for straight cuts or a tile nipper for small, intricate cuts.
- Smooth Edges: Use an abrasive stone to smooth any rough edges.
Step 6: Grout the Tiles
Once all tiles are set and the thinset has cured (usually 24 hours), it’s time to grout.
- Mix Grout: Mix the grout to a consistency similar to peanut butter.
- Apply Grout: Using a rubber grout float, spread the grout diagonally across the tiles to fill the joints completely.
- Clean Excess Grout: Wipe off excess grout with a damp sponge before it dries, working in small sections.
- Cure: Allow the grout to cure for 24-72 hours. Mist the grout twice a day for three days to help it cure slowly and prevent cracks.
Step 7: Seal the Grout
Sealing the grout helps prevent water damage and keeps your tiles looking great.
- Apply Grout Sealer: Use a foam brush or roller to apply grout sealer along the grout lines.
- Prevent Water Damage: This step is crucial in bathrooms where moisture is prevalent.
By following these steps, you’ll achieve a professional-looking tiled bathroom floor that’s both durable and beautiful. Next, we’ll explore some tips and tricks for a flawless finish.
Tips and Tricks for a Professional Finish
Creating a polished and professional finish when tiling bathroom floors can be achieved with a few expert tips and tricks. Here’s how to ensure your project looks like it was done by a pro.
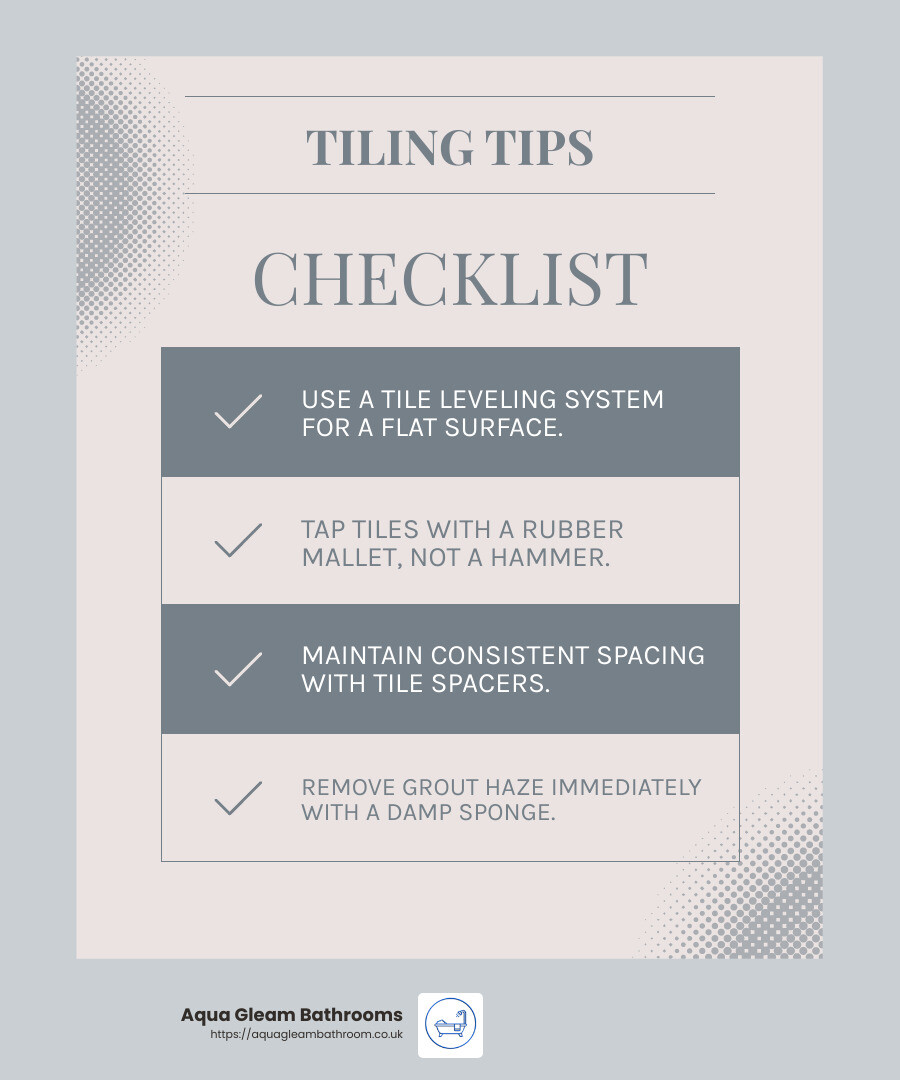
Tile Leveling System
A tile leveling system is crucial for achieving a flat, even surface. These systems prevent tiles from shifting as the thinset cures, which can result in an uneven floor.
- How It Works: Place the leveling clips under the tiles and then insert wedges into the clips. This holds the tiles at the same height.
- Benefits: It saves time and ensures a smooth, even finish, especially with larger tiles.
Rubber Mallet
Using a rubber mallet helps to set tiles firmly into the thinset without cracking them.
- Application: Gently tap the tiles with the rubber mallet to ensure they are properly seated.
- Pro Tip: Always use a rubber mallet, not a regular hammer, to avoid damaging the tiles.
Consistent Spacing
Consistent spacing is key to a professional-looking tile job. Tile spacers are essential for maintaining uniform gaps between tiles.
- How to Use: Place spacers at each corner of the tiles as you lay them. This ensures even grout lines.
- Removing Spacers: After the thinset dries (usually 24 hours), remove the spacers before grouting.
Grout Haze Remover
After grouting, a common issue is grout haze, a thin layer of grout that remains on the tile surface. This can dull the finish and is hard to clean once it dries completely.
- Clean Immediately: Wipe the tiles with a damp sponge as you grout to remove excess.
- Use Haze Remover: If haze persists, apply a grout haze remover solution with a soft cloth or an old T-shirt. This helps to restore the tiles’ shine.
By incorporating these tips and tricks, you can lift your tiling project to a professional level. Next, we’ll tackle some frequently asked questions about tiling bathroom floors to ensure you have all the information you need.
Frequently Asked Questions about Tiling Bathroom Floors
What should you put down before tiling a bathroom floor?
Before tiling bathroom floors, create a solid and stable base. This usually involves laying down a cement-based backer board.
-
Why Use Backer Board?: Plywood and other wood subfloors can expand and contract with humidity, causing tiles to crack. Cement-based backer boards provide a more stable and moisture-resistant surface.
-
How to Install: Apply thinset mortar directly onto your subfloor using a notched trowel. Lay the backer board on top and secure it with cement board screws, ensuring they are flush but not countersunk. Tape the seams with mesh tape for added stability.
Do you have to waterproof a bathroom floor before tiling?
Waterproofing is a critical step in ensuring the longevity of your bathroom floor. Bathrooms are exposed to high moisture levels, and without proper waterproofing, water can seep through the tiles and damage the subfloor.
-
Uncoupling Membrane: Installing an uncoupling membrane between the subfloor and the tile adds an extra layer of waterproofing. It also helps to break the bond between the subfloor and the tile, preventing cracks.
-
Waterproofing Steps: After laying the backer board, apply a waterproofing membrane. This could be a liquid waterproofing product or a sheet membrane. Make sure to cover all seams and corners thoroughly.
Can you lay tile directly on a plywood subfloor?
Laying tile directly on a plywood subfloor is not recommended. Plywood is prone to movement, which can lead to tile cracking and grout failure.
-
Why Avoid Plywood?: Wood expands and contracts with changes in humidity and temperature. This movement can cause the tiles to shift and crack over time.
-
Solution: Always install a cement-based backer board over plywood subfloors. This provides a stable, moisture-resistant base that prevents cracking.
By understanding these foundational steps, you can ensure your tiling project is built to last. Proper preparation, waterproofing, and the right materials are key to a successful bathroom floor tile installation.
Conclusion
Changing your bathroom with a new tile floor is a rewarding project that can significantly improve the beauty and functionality of your space. At Aqua Gleam Bathrooms, we pride ourselves on our high-quality workmanship and meticulous attention to detail. Whether you’re looking for a classic, modern, or unique design, our team of experts is here to help you achieve your vision.
Why Choose Aqua Gleam Bathrooms?
1. Expertise and Experience
With years of experience in bathroom and kitchen fitting, tiling, plastering, and plumbing services, we have honed our skills to deliver top-notch results. Our team is adept at handling all aspects of tiling bathroom floors, from initial preparation to the final touches.
2. Attention to Detail
As highlighted in our research, attention to detail is crucial for a flawless finish. We ensure accurate measurements, precise alignment, and neat application of materials to achieve a professional look. Our commitment to detail extends to every aspect of the project, ensuring durability and functionality.
3. Quality Materials
We use only the best materials, including ceramic and porcelain tiles, uncoupling membranes, and high-quality grout and sealers. These materials are not only beautiful but also durable and easy to maintain, ensuring your bathroom floor stands the test of time.
4. Customer Satisfaction
Your satisfaction is our priority. We work closely with you to understand your needs and preferences, providing personalized solutions that match your style and budget. Our goal is to make your bathroom renovation as smooth and stress-free as possible.
Ready to Transform Your Bathroom?
If you’re ready to start your bathroom tiling project, let Aqua Gleam Bathrooms guide you through the process. With our expertise and commitment to quality, you can trust us to deliver a beautiful and durable bathroom floor that you’ll love for years to come.
For more information or to schedule a consultation, visit our Aqua Gleam Bathrooms service page.
Transform your bathroom with Aqua Gleam Bathrooms, where high-quality workmanship and attention to detail meet to create stunning, lasting results.