

Introduction
Feeling the pinch of an outdated, dysfunctional bathroom setting and desiring a fresh, sleek easy installed bathtub? Or perhaps you’re simply looking to master the art of bathroom renovations? Whatever your case might be, you’re in the right hands.
Welcome to your definitive guide to mastering the art of an easy bathtub installation, brought to you by Aqua Gleam Bathrooms, where our mission is to blend function and fashion to transform your bathrooms from ordinary to opulent.
Brief Overview of the Article
This article is more than just a step-by-step guide. It’s a comprehensive beginner’s guide to how you can single-handedly transform your bathroom by effortlessly installing a new bathtub. From measuring your space accurately and selecting the right bathtub to comprehend the mechanics behind preparing for and installing the tub, we cover all bases. We’ll even throw in professional tips and tricks on maintaining your newly installed bathtub for long-term durability and luxury. In short, we’ve moulded a roadmap that will navigate you through the entire bathtub installation process, ensuring a stress-free DIY project.
Importance of Proper Bathtub Installation
The importance of proper bathtub installation cannot be overstated. Your bathtub is a focal point in your bathroom, offering aesthetic beauty and purposeful use. Having a correctly installed tub not only elevates your relaxation and wellness experiences but also significantly impacts your bathroom’s overall appearance and longevity.
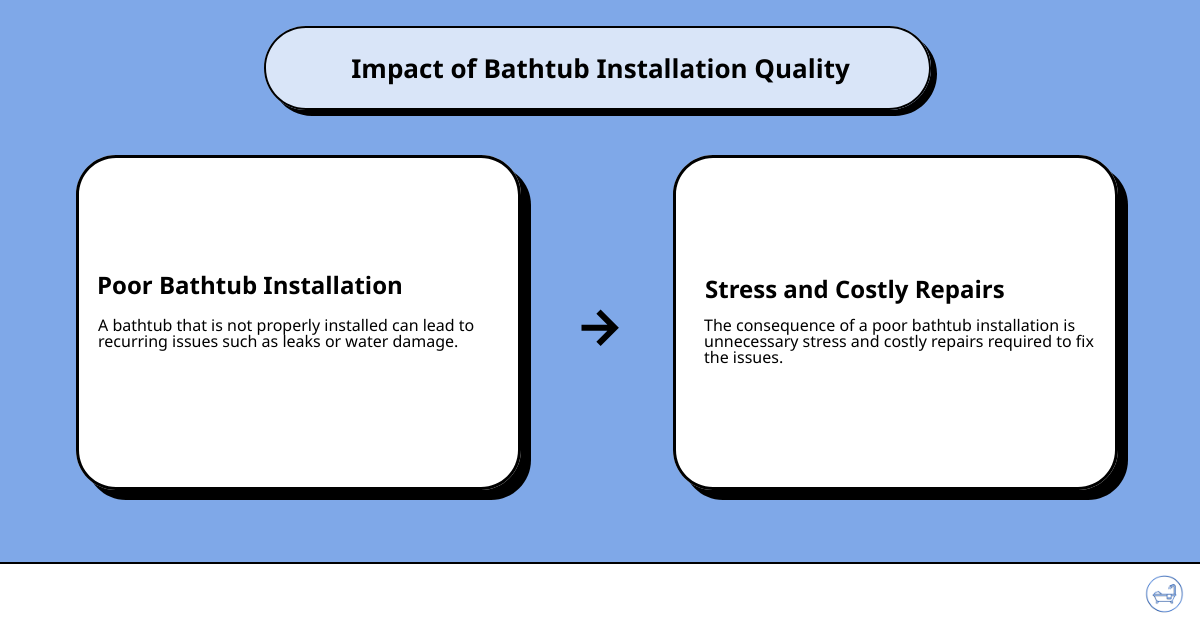
An easy tub install is far more than just aesthetics and function. It plays a pivotal role in ensuring your bathroom remains leak-free, fully efficient, and above all, a haven of tranquillity for years to come. A poorly installed bathtub can result in recurring issues like leaks or water damage, resulting in unnecessary stress and costly repairs.
Here are some key takeaways for an easy bathtub installation:
- Preparing for Installation: Check existing plumbing fixtures; determine optimal size and pipe placement.
- Choosing the Right Tub: Understand material pros and cons; select based on needs and budget.
- Installation Process: Carefully remove the old tub, set the new bathtub into place, anchor it to the wall studs, install the drain shoe, and ensure a leak-proof finish.
- Maintenance: Regular checks for clogs and rust, use mild cleaning products, and avoid harsh solutions.
With these bullet points in your arsenal and this guide in your hand, achieving an easy install bathtub is just a few steps away. Here’s to a creative, cost-effective, and personally rewarding bathtub installation journey.
Choosing the Right Bathtub for Easy Installation
So, you’ve decided to take the plunge and install your own bathtub. That’s great! But where do you start? The first step in any bathtub installation project is choosing the right bathtub. This involves understanding different bathtub materials, measuring your space accurately, and selecting the right bathtub based on your needs and budget.
Understanding Different Bathtub Materials
The right bathtub material can make a huge difference to your bathroom’s aesthetics, durability, and maintenance requirements. Bathtubs are commonly made of materials like acrylic, fibreglass, cast iron, and steel, each with its own pros and cons.
Acrylic and fibreglass tubs, for example, are lightweight, making them easier to install. Cast iron and steel tubs, on the other hand, are heavier but offer greater durability and a classic look that many homeowners love.
When choosing your bathtub material, consider factors such as the tub’s longevity, resistance to scratches and stains, and how it fits with your bathroom’s overall style and theme.
Measuring Your Space Accurately
Next up is a crucial step that many DIYers overlook: accurately measuring your space. The last thing you want is to purchase a bathtub that doesn’t fit in your bathroom!
Measure the length and width of the walls where you plan to install the tub, leaving at least 3/4 inch on every side for adjustments. Also, make sure your electrical outlets, if any, are properly positioned away from the tub’s final position.
Having accurate dimensions will help you select the right bathroom fixtures and avoid expensive and time-consuming mistakes down the line.

Selecting the Right Bathtub Based on Your Needs and Budget
Finally, select a bathtub that fits your individual needs and preference. From alcoves or corner tubs to stand-alones, there are several options to choose from.
Consider your budget as well. While a marble or high-end tub might offer a luxurious look, it might be beyond your budget. Alternatives like vinyl or engineered hardwood can provide a similar aesthetic at a more affordable cost.
Remember to consider installation costs as well, which can vary depending on the complexity of the job and the type of material used.
By carefully considering the material, size, and style of your bathtub, you are setting yourself up for a successful and easy bathtub installation. Just as we at Aqua Gleam Bathrooms prioritize careful planning and selection in our professional installations, so should you in your DIY project.
Up next, we’ll walk you through preparing for the bathtub installation, a critical step on your journey to mastering the art of easy install bathtub.
Preparing for Bathtub Installation
A good carpenter measures twice and cuts once, and the same principle applies when preparing for a bathtub installation. Proper preparation is the key to a successful, easy install bathtub. This involves examining your existing plumbing fixtures, determining the optimal size and placement of pipes, and preparing the adhesive, countertop, and floor.
Examining Existing Plumbing Fixtures
Before you start dreaming about relaxing soaks in your new tub, it’s crucial to examine your existing plumbing fixtures. Identifying the current setup will help you understand what changes need to be made, if any.
Remember to turn off the water at the main line before you start. Once the water is off, you can drain any remaining water in the lines by turning on the faucet in the shower or tub.
If you’re replacing an existing bathtub, you must carefully remove the old fixtures. These include the showerhead, tub spout, handle, and drain cover. Some of these may require a screwdriver or an Allen wrench for removal. If you plan on reusing any of the fixtures, handle them with care to avoid damage.
Determining the Optimal Size and Placement of Pipes
Next, it’s time to determine the optimal size and placement of pipes. This will largely depend on the specific model of your new bathtub. Accurate measurements are crucial for a successful installation. Make sure your new bathtub will fit comfortably in the available space.
Mark the exact location of the drain and faucet for installation. Use a level to ensure that the floor surface is level. This will help prevent any unevenness, which could lead to water pooling or worse, structural damage over time.
Preparing the Adhesive, Countertop, and Floor
The last step in the preparation process involves setting up the adhesive, countertop, and floor.
For the adhesive, pick a product that provides a waterproof bond between the wall and the tub, especially in high-moisture areas like bathtubs or showers. Your adhesive should be strong enough to hold the weight of your bathtub and any fixtures you plan to include later on.
The countertop is another important factor. Choose a good quality laminate or solid-surface counter to prevent water damage and mold growth over time.
Finally, make sure the floor has adequate support before setting up your new bathtub. It’s recommended to use rigid foam subfloor panels or Durock cement board for stronger support. Also, ensure the floor is level and sealed properly before the bathtub installation.
In conclusion, proper preparation greatly contributes to the ease of bathtub installation. At Aqua Gleam Bathrooms, we understand that preparation is key to a successful installation. Whether you choose to install your bathtub yourself or opt for our professional installation services, we’re committed to making your dream bathroom a reality.
Step-by-Step Guide to Installing a Bathtub
Ready to dive into the installation of your new bathtub? Here at Aqua Gleam Bathrooms, we’ve created a comprehensive guide to help you through each step of the process. Follow these steps closely to make your “easy install bathtub” project a success.
Removing the Old Bathtub and Surround
The first step is removing your old bathtub and surround. Start by disconnecting the water supply by closing the main water valve. Then, disconnect the drain, supply lines, and fixtures connected to the old bathtub. To avoid any accidental damage, cover your bathroom floor and any nearby fixtures with a thick canvas dropcloth. With the help of a family member or friend, carefully lift and remove the old bathtub from its location.
Setting the New Bathtub into Place
Now, it’s time to set the new bathtub into place. Start by positioning a 2- by 4-inch ledger board along the wall where the long edge of the tub will rest. This will provide support and guide the correct height for the new tub(https://www.wikihow.com/Install-a-Bathtub).
Anchoring the Tub to the Wall Studs
Next, secure the tub to the wall studs. Use the vertical lip around the outside of the bathtub to do this. It’s crucial to ensure the tub is level – use a level tool and adjust as necessary.
Installing the Drain Shoe
Once the tub is safely anchored, install the drain shoe. Apply a ring of plumber’s putty around the underside of the drain flange. Insert the drain flange in the designated hole at the bottom of your bathtub and secure it with the locknut and gasket provided.
Installing the Surround Panels
After the drain is in place, it’s time to install the surround panels. These panels interlock and seal, creating a watertight barrier around your bathtub. Make sure to follow the manufacturer’s instructions for proper installation.
Finishing the Walls Around the Tub with Tile
To give your bathroom a neat finish, you can tile the walls around the bathtub. This not only enhances the aesthetic appeal but also protects the walls from moisture damage
Installing the Finished Plumbing
Now that your bathtub and surround are in place, you can install your finished plumbing fixtures. Connect the faucet to the water supply lines, ensuring that the connections are firm and tight(
Testing for Leaks
Finally, it’s time to test for leaks. Turn on the water supply and let the water run into the tub. Check the drain and supply lines for any signs of leakage.
By following these steps, your easy install bathtub project can be completed successfully in no time. However, if you’re unsure about any step or need professional assistance, don’t hesitate to reach out to us at Aqua Gleam Bathrooms. Our experienced team is always ready to assist you.
Tips for Easy Bathtub Installation
Installing a bathtub might seem daunting, but with a bit of preparation and the right tools, it can be a straightforward process. Below are some tips that can ensure a smooth and easy bathtub installation process.
Safety Considerations During Installation
Safety is always the top priority in any DIY project. Make sure you’ve shut off the water supply before starting the installation process. Use gloves and safety glasses to protect your hands and eyes. Also, ensure the area is well-ventilated if you’re using any strong adhesives or sealants. Remember, replacing a bathtub can be heavy work, so don’t hesitate to ask for help when lifting or moving the tub.
Connecting the Tap and Fixtures
Having the right fixtures for your bathtub not only adds to its aesthetic appeal but also ensures its functionality. When connecting the tap and other fixtures, turn off the water supply to prevent flooding. Use Teflon tape around each connection point to secure it and prevent leaks. As mentioned earlier, connecting one end of a flexible pipe to the hot water valve and one end to the cold water valve is a standard procedure. Make sure to tighten each connection properly but avoid over-tightening as it could lead to weak spots that leak.

Finishing the Installation and Checking for Flaws
Upon completing the installation, it’s important to check for any flaws or potential issues. Fill the bathtub with water and inspect for any leaks or irregularities. Make sure the faucet operates correctly and the water drains properly. Also, check for any gaps between the tub and the wall or floor. If you find any, use caulk to seal them.
DIY Installation vs. Professional Installation
Should you install the bathtub yourself or hire a professional? This decision largely depends on your confidence and budget. If you’re comfortable with DIY projects and have the necessary tools, installing a bathtub can be a cost-effective option. However, it’s crucial to remember that a bathtub installation requires plumbing, fixtures, and general construction knowledge.
Although DIY installation might seem appealing, hiring a professional is highly recommended for several reasons. Professional installers like us at Aqua Gleam Bathrooms, have the expertise and experience to ensure an accurate and safe installation. We adhere to industry standards to guarantee your installation meets the highest quality and safety benchmarks.
In conclusion, installing a bathtub can be a rewarding DIY project, but it requires careful planning and preparation. Always remember that safety comes first and never hesitate to seek professional help when needed. We at Aqua Gleam Bathrooms are always here to assist you with your bathroom upgrade needs.
Maintaining Your Newly Installed Bathtub
Installing a bathtub is a rewarding home improvement project, but the work doesn’t stop after the installation. To ensure that your new bathtub remains in top-notch condition and serves you for a long time, regular maintenance is a must. Here are some essential tips to keep your bathtub in pristine condition.
Checking for Clogs Regularly
One of the most common maintenance issues with bathtubs is clogging. Hair, soap scum, and other debris can accumulate in your drain over time, causing slow drainage or even complete blockage. It’s crucial to check for clogs regularly and clear them before they become a serious issue. You can use a simple plunger or a plumber’s snake to remove minor clogs. If the clog is severe, you may need to disassemble the drain trap or call in a professional plumber for help.
Using Mild Cleaning Components
Keeping your bathtub clean not only enhances its appearance but also extends its lifespan. However, it’s essential to choose the right cleaning products. Avoid abrasive cleaners as they can scratch and damage the surface of your bathtub, especially if it’s made of acrylic or fibreglass. Instead, opt for mild, non-abrasive cleaners and use a soft cloth or sponge for cleaning. Also, remember to rinse thoroughly after cleaning to prevent soap scum buildup.
Avoiding Strong Cleaning Solutions
Strong cleaning solutions can potentially damage the finish of your bathtub and cause discolouration. Therefore, it’s best to avoid them. Instead, you can use a solution of warm water and dish soap or a commercially available bathroom cleaner specifically designed for bathtubs. If your bathtub has stubborn stains, baking soda and vinegar can be an effective, non-abrasive solution.
Checking the Floor Drain and Faucet for Rust or Grease
Over time, the floor drain and faucet can accumulate rust or grease, which can hamper their functionality and mar the look of your bathtub. Regularly inspect these fixtures and clean them as needed. If you notice signs of rust, you can use a rust remover to clean them. To remove grease, a mixture of vinegar and baking soda can work wonders.
Regular maintenance is a small price to pay for the comfort and functionality of a well-installed bathtub. At Aqua Gleam Bathrooms, we understand that the beauty of a bathroom lies in the details. Following these tips will help you keep your bathtub looking and performing its best for years to come.
Remember, a well-maintained bathtub not only enhances the aesthetics of your bathroom but also provides a relaxing retreat where you can unwind after a long day. So, go ahead and enjoy your easy install bathtub, knowing you’ve mastered the art of its maintenance as well.
Conclusion
Recap of the Article
We’ve journeyed together through the process of installing a bathtub, from the initial stages of choosing your perfect tub to the final step of maintaining its pristine condition. We’ve emphasized the importance of selecting the right bathtub material and size for your unique space, taking precise measurements, and understanding the plumbing requirements. We’ve also delved into the step-by-step process of installation, highlighting essential tips and tricks that make the process more manageable.
Throughout the article, we’ve stressed the need for careful preparation, accurate measurements, and meticulous attention to detail – all vital steps in ensuring a successful installation. Our experts at Aqua Gleam Bathrooms have also provided valuable insights on connecting the tap and fixtures, checking for flaws, and comparing the benefits of DIY installation versus professional installation.
Encouragement for the Reader to Install Their Own Bathtub
Now, it’s your turn to bring all these tips and tricks to life in your own bathroom. We’re confident that with this guide, you’re well-equipped to embark on your bathtub installation journey. Whether you’re replacing an old tub or installing a new one, this project is a chance for you to upgrade your bathroom and create a space that’s both functional and relaxing.
And remember, if you ever feel overwhelmed or unsure, our team at Aqua Gleam Bathrooms is always here to help. With our wealth of experience, we’re more than capable of tackling any installation challenges that come our way. So go ahead and take that first step towards your new, easy install bathtub. We’re rooting for you, and we can’t wait to see the beautiful results of your hard work!
Soak in your achievements, enjoy your new centrepiece, and relish in the satisfaction of a job well done. After all, there’s nothing like a relaxing bath in a tub you’ve installed yourself. Good luck, and happy bathing!