
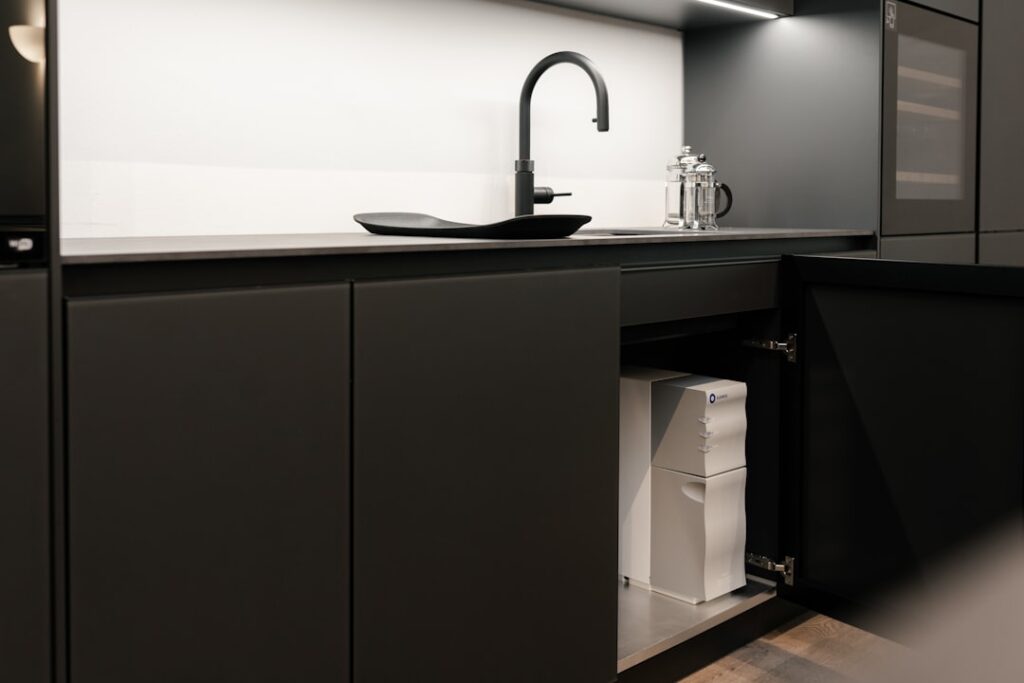
Upgrade Your Kitchen: Installing a New Faucet
When it comes to a kitchen upgrade, changing your faucet can make a huge difference in both style and functionality. Whether you’re adding a sleek single-handle faucet or replacing an old, leaky one, this DIY project can be done in under two hours. By following a few simple steps, you can transform your kitchen with minimal tools and effort.
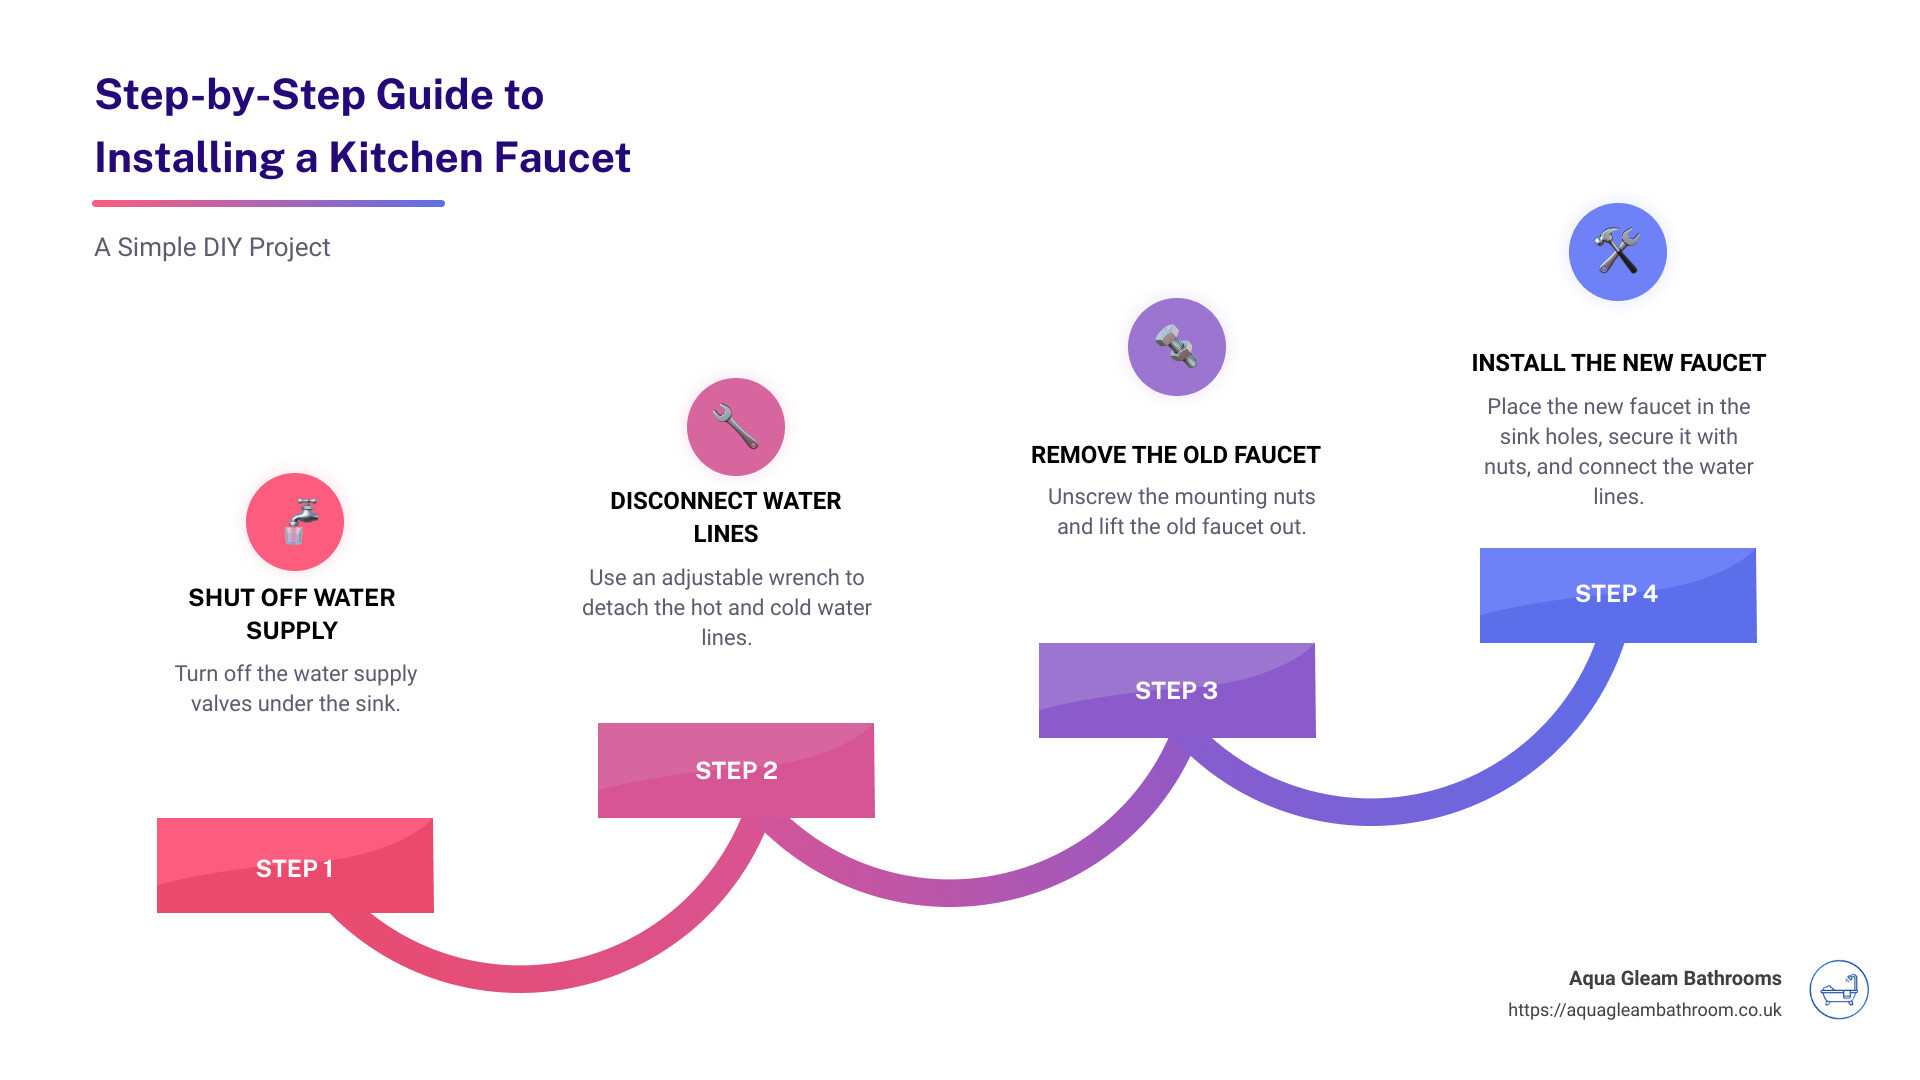
Here’s a quick overview of how to install a kitchen faucet:
- Shut Off Water Supply: Turn off the water supply valves under the sink.
- Disconnect Water Lines: Use an adjustable wrench to detach the hot and cold water lines.
- Remove the Old Faucet: Unscrew the mounting nuts and lift the old faucet out.
- Install the New Faucet: Place the new faucet in the sink holes, secure it with nuts, and connect the water lines.
- Test for Leaks: Turn the water back on and check for leaks.
By following these simple steps, you can have a new kitchen faucet installed and working in no time.
At Aqua Gleam Bathrooms, we understand the importance of quality and attention to detail. Our expert tips and detailed guides can help you complete your home improvement projects with confidence. Ready to tackle your kitchen upgrade? Let’s get started!
Tools and Materials Needed
Before you start installing your new kitchen faucet, gather all the tools and materials you’ll need. Having everything ready will make the process smoother and quicker. Here’s a list of essentials:
Tools
- Phillips Screwdriver: Useful for removing screws from the old faucet and securing the new one.
- Adjustable Wrench: Versatile for tightening and loosening various sizes of nuts and bolts.
- Basin Wrench: Specifically designed for reaching and manipulating the hard-to-access nuts under the sink.
- Flashlight: Helps you see clearly in the often dimly lit area under the sink.
- Pliers: Handy for gripping and turning small parts.
- Allen Wrench: Required for faucets that use hex screws for assembly.
- Safety Glasses: Protect your eyes from debris and splashes.
- Shallow Pan: Place under the sink to catch any water that may spill during the process.
- Old Towels: Useful for wiping up spills and keeping the workspace dry.
- Pillow: Kneel on it to make working under the sink more comfortable.
Materials
- Plumber’s Putty: Creates a watertight seal around the base of the faucet.
- Thread Seal Tape (Teflon Tape): Wrap around threads to ensure a tight, leak-free connection.

Tip: Double-check that you have all these items before you start. It’ll save you from running to the store mid-project!
Quick Checklist
- Phillips Screwdriver
- Adjustable Wrench
- Basin Wrench
- Flashlight
- Pliers
- Allen Wrench
- Safety Glasses
- Shallow Pan
- Old Towels
- Pillow
- Plumber’s Putty
- Thread Seal Tape
How to Install a Kitchen Faucet
Step 1: Shut Off Water Supply
Before you start installing your new faucet, you need to shut off the water supply. Look under the sink for the hot and cold water supply valves. Turn these valves clockwise to close them.
If your sink doesn’t have individual valves, you’ll need to turn off the main water supply for the entire house.
Next, open the faucet to relieve any pressure in the lines. This step ensures there’s no water left in the pipes, making the removal process cleaner and easier.
Step 2: Disconnect Water Supply Lines
Once the water is off, it’s time to disconnect the water supply lines. Use an adjustable wrench to loosen the threaded nuts connecting the supply lines to the valves. Turn the nuts counterclockwise.
Tip: Stabilize the water pipe with one hand while loosening the nut with the other to prevent damaging the connections behind the cabinets.
If you encounter a faulty valve that drips even when fully closed, you may need to turn off the main water supply and replace the valve.
Step 3: Remove the Old Faucet
Now, it’s time to remove the old faucet. Start by using a basin wrench to unscrew the mounting hardware. These are usually found underneath the sink and can be tricky to reach.
Pro Tip: If the mounting nuts are stubborn, a bit of penetrating oil can help loosen them.
Once the nuts are off, lift the old faucet out. You may need to apply pressure to break any caulk seal around the base.
Clean the area around the sink with an approved cleaner before installing your new faucet.
Step 4: Install the New Faucet
For this guide, we’re installing a single handle faucet. If your faucet comes with an escutcheon plate, place the gasket onto the underside of the plate and slide it over the supply lines onto the shank of the faucet.
Insert the faucet into the sinkholes. Under the sink, screw the mounting nut onto the shank and tighten it. Ensure the faucet is aligned properly before tightening the nut completely.
If your faucet comes with PEX tubing or flexible supply lines, make sure they are labeled as hot and cold and connect them to the respective valves.
Step 5: Connect Water and Flush Lines
Now, it’s time to connect the water supply lines. Wrap the threads of each valve with Teflon tape to ensure a leak-free connection.
Attach the supply lines to the bottom of the faucet body and tighten the coupling nuts with an adjustable wrench. Secure the pipe for the water supply valve running into the wall to avoid damaging any connections.
With everything connected, turn the water back on at the supply valves and test your faucet. Check for leaks and flush the lines to remove any debris that may have accumulated.
Tip: If you detect a slight drip, use a wrench to tighten the connections a bit more, but be careful not to over-tighten.
Tips for a Successful Installation
When you’re learning how to install a kitchen faucet, a few tips can make the process smoother and more successful. Here are some key things to keep in mind:
Number of Holes
The number of holes in your sink or countertop is crucial. Most sinks have between one and four holes. The extra holes can be used for accessories like soap dispensers or sink sprayers.
- One Hole: Ideal for single-handle faucets.
- Two Holes: Often used for single-handle faucets with an accessory.
- Three Holes: Common for two-handle faucets.
- Four Holes: Used for two-handle faucets plus additional accessories.
Spread Measurement
The spread is the distance between the centers of the holes. This measurement is essential for ensuring your new faucet fits properly.
- 8-Inch Spread: The most common spread, suitable for most centerset faucets.
Centerset Faucet
A centerset faucet has the handles and spout as one unit. These are popular because they are easy to install and fit well into a three-hole sink configuration.
- Single-Handle Centerset: The handle is connected directly to the spout. Can be mounted with an escutcheon plate to cover extra holes.
- Two-Handle Centerset: Separate hot and cold handles connected to the base. Fits into the outer holes cleanly.
Widespread Faucet
A widespread faucet features separate handles and spout. These can be installed with any spread, offering more flexibility in design.
Pull-Down Kitchen Faucet
Consider a pull-down kitchen faucet for added functionality. These faucets have a spray head that can be pulled down into the sink, making it easier to clean dishes and the sink itself.
Soap Dispenser
A built-in soap dispenser can be a handy addition. If you have an extra hole in your sink, this is a great way to use it.
Sink Sprayer
A sink sprayer is another useful feature. It can be installed in an extra hole and makes rinsing dishes and cleaning the sink much more convenient.
By keeping these tips in mind, you can ensure a smooth installation process and a faucet that meets all your needs.
Frequently Asked Questions about Installing a Kitchen Faucet
Do I need a plumber to install a kitchen faucet?
You don’t necessarily need a plumber to install a kitchen faucet. Many homeowners find this to be a manageable DIY project. If you’re handy with tools and can follow instructions, you should be able to handle it. However, it’s crucial to shut off the water supply before starting any work. If you encounter any complications or feel unsure, don’t hesitate to call a professional.
What tools do I need to install a kitchen faucet?
To install a kitchen faucet, you’ll need a few basic tools:
- Phillips screwdriver
- Adjustable wrench
- Basin wrench
- Flashlight
- Pliers
- Plumber’s putty
- Thread seal tape
- Allen wrench
Having these tools on hand will make the installation process smoother. A basin wrench is particularly useful for reaching tight spaces, while thread seal tape ensures a leak-proof connection.
Do I need to caulk around a kitchen faucet?
Yes, it’s a good idea to caulk around the base of your kitchen faucet to prevent leaks. You can use plumber’s putty or silicone caulk for this purpose.
- Plumber’s putty is easy to work with and creates a watertight seal.
- Silicone caulk is also effective and provides a durable seal.
Apply a small amount around the base of the faucet before securing it to the sink. This will help seal the faucet base and prevent water from seeping underneath.
Conclusion
Upgrading your kitchen by installing a new faucet is a rewarding DIY project that can transform the look and functionality of your space. Whether you’re looking to replace a leaky faucet or simply want a modern update, following the steps in our guide ensures a smooth installation process.
At Aqua Gleam Bathrooms, we believe in high-quality workmanship and attention to detail. These principles are crucial not just for a professional finish but also for the longevity and functionality of your kitchen fixtures. Ensuring proper sealing, accurate alignment, and secure connections can make a world of difference.
Feel confident in your DIY skills, but remember, if you ever feel out of your depth, our team is here to help. From selecting the perfect faucet to expert installation, we are committed to bringing your vision to life.
Ready to design your custom kitchen? Click here to get started.