

How to Remove a Kitchen Faucet: A Simple DIY Guide
Removing a kitchen faucet may seem daunting, but it’s a manageable DIY project that any homeowner can tackle with the right guidance and tools. If you’re wondering how to remove a kitchen faucet, here’s a quick overview:
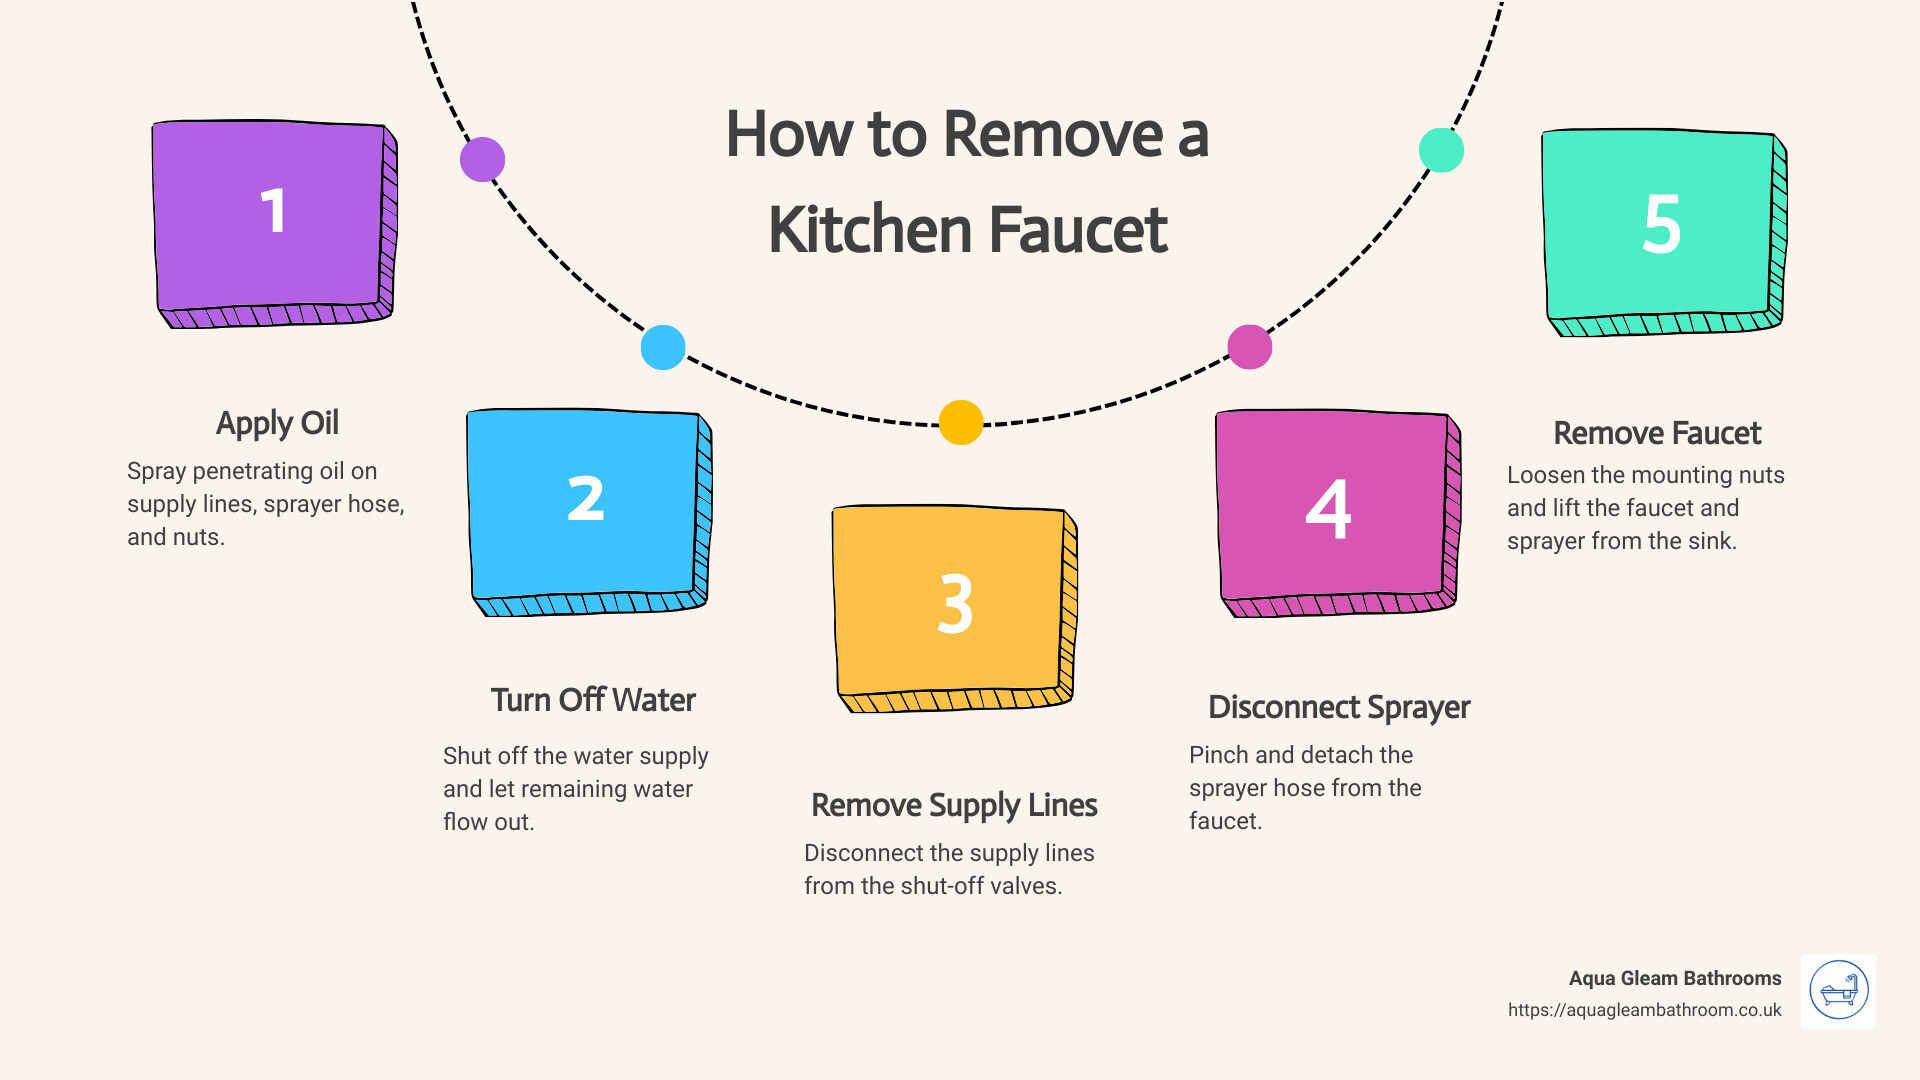
- Spray with penetrating oil: Apply oil to the supply lines, sprayer hose, and nuts.
- Turn off the water: Shut off the water supply and let remaining water flow out.
- Remove supply lines: Disconnect them from the shut-off valves.
- Disconnect the sprayer: Pinch and detach the sprayer hose.
- Remove mounting nuts: Loosen the nuts holding the faucet.
- Pull out the faucet: Lift the faucet and sprayer from the sink.
Tools you’ll need: Penetrating oil, wrench, headlamp, pliers, and white vinegar.
Removing a kitchen faucet isn’t just about improving the look of your space; it’s about ensuring the functionality of your sink. High-quality workmanship and attention to detail are vital, and this guide will help you achieve just that.
Aqua Gleam Bathrooms is here to support you through every step of your home improvement journey, from DIY tips to professional services.
Tools and Supplies Needed
Before starting your DIY project on how to remove a kitchen faucet, gather all the necessary tools and supplies. Having everything ready will save you time and frustration.
Basin Wrench
A basin wrench is a must-have tool for this job. It’s designed to reach and turn nuts and bolts in tight spaces. This is especially useful when working under the sink.
Adjustable Wrench
An adjustable wrench is versatile and can handle various nut sizes. It’s essential for loosening and tightening the supply lines.
Screwdriver
A standard or Phillips head screwdriver will help you remove screws that secure the faucet or other components.
Utility Knife
A utility knife can be handy for cutting through sealant or caulk around the faucet base.
Putty Knife
Use a putty knife to scrape off any old caulk or sealant. This will help ensure a clean surface for your new faucet.
Work Gloves
Work gloves will protect your hands from sharp edges and provide a better grip on tools and components.
Penetrating Oil
Penetrating oil is crucial for loosening rusted or stuck nuts and bolts. Spray it on and give it some time to work its magic.
Plastic Bucket
A plastic bucket is useful for catching any water that may spill when you disconnect the supply lines.
Paper Towels
Keep paper towels handy for wiping up any water or debris that might spill during the process.
Headlamp
A headlamp will provide much-needed light in the dark, cramped space under your sink. This will make it easier to see what you’re doing.
White Vinegar
White vinegar is excellent for cleaning off any gunk or mineral deposits left behind after you remove the faucet.
Towel or Rag
A towel or rag will help you clean up and dry off any components or surfaces. It’s also useful for wiping down tools after use.

By having these tools and supplies at your disposal, you’ll be well-prepared to tackle the task of removing your kitchen faucet efficiently and safely. Up next, we’ll guide you through the step-by-step process, starting with turning off the water supply.
Step-by-Step Guide on How to Remove a Kitchen Faucet
Turn Off the Water
Before you start, turn off the water supply to avoid any messy accidents. Locate the shut-off valves under the sink and turn them firmly to the “Off” position. If there are no shut-off valves under the sink, you’ll need to turn off the main water supply, usually found in a basement or garage.
To ensure the water is fully off, turn on the kitchen faucet and let any remaining water drain out. Don’t forget to drain the kitchen faucet sprayer if you have one.
Tip: For stubborn shut-off valves, apply penetrating oil and let it soak in for a few minutes.
Disconnect Supply Lines
Next, you need to disconnect the water supply lines. These lines are located under the sink, right beneath the faucet. There are usually two lines: one for hot water and one for cold.
- Block the sink drain with a cloth to prevent any small parts from falling in.
- Place a bucket under the sink to catch any water that might drip out.
- Use an adjustable wrench to loosen the nuts attaching the supply lines to the sink. Turn the nuts counter-clockwise until the lines are free.
Tip: Lay towels on the edge of the lower kitchen sink cabinet. This will make it more comfortable when you lay down to work.
Remove Mounting Nuts or Screws
After disconnecting the supply lines, you need to remove the mounting nuts or screws that hold the faucet in place. These nuts are usually located under the sink and may be tricky to reach.
- Locate the locking nut.
- Use a basin wrench to loosen and unscrew the nut. This tool is designed to work in tight spaces.
- If the nut is stuck, spray it with penetrating oil and wait 15 minutes before trying again.
Tip: Always turn the nut counter-clockwise to loosen it.
Remove the Faucet
Once you’ve removed the nuts, you can take out the faucet.
- Gently pull the entire faucet straight up. Be careful to avoid cracking or chipping the countertop.
- If the faucet sticks, use the edge of a plastic putty knife to carefully work it loose.
- Use the putty knife to remove any old caulk or plumber’s putty from the sink surface.
Tip: You may need to disassemble some parts of the faucet before removing it. Always check the manufacturer’s manual for specific instructions.
By following these steps, you can efficiently and safely remove your kitchen faucet. Next, we’ll cover how to handle difficult faucet removals, including dealing with stuck nuts and limited space solutions.
Handling Difficult Faucet Removal
Removing a kitchen faucet can sometimes be tricky, especially if it’s been in place for years. Corrosion, mineral deposits, and tight spaces can make the task challenging. Here’s how to tackle these common issues.
Stuck Nuts and Screws
Penetrating Oil: When nuts and screws are stuck, the first step is to apply penetrating oil. Saturate the stuck parts and let it soak in. The longer, the better.
Heat Application: If penetrating oil doesn’t work, try applying heat. Use a hair dryer, heat gun, or even a propane torch (with caution). Heat can expand the metal, making it easier to turn.
Hammer: Sometimes a gentle tap with a hammer can help. Tap the nut gently to break the corrosion and make it easier to turn.
White Vinegar and Wire Brush: For nuts and bolts covered in mineral deposits, use white vinegar and a wire brush. Vinegar dissolves the deposits, making the parts easier to remove.
Hacksaw: As a last resort, use a hacksaw to cut through the bolt or screw. Be careful not to damage the sink or countertop.
Limited Space Solutions
Basin Nut Wrench: A basin nut wrench is designed for tight spaces. It has a long handle and pivoting jaw to reach difficult areas.
Mini Hacksaw: If a regular hacksaw is too large, a mini hacksaw can be more maneuverable in tight spots.
Socket Wrench: Sometimes, a socket wrench with an extension can reach nuts in tight spaces. Use a deep well socket if necessary.
Remove Sink Clips: In extreme cases, you may need to remove the sink and lift it out to get better access. This can be a bit of a hassle, but it gives you more room to work.
New Sink Clips: If you remove the sink, consider getting new sink clips. Old clips can be rusty or damaged, and new ones will ensure a secure fit when you reinstall the sink.
By using these techniques, you can overcome the common challenges of removing an old kitchen faucet. Next, we’ll address some frequently asked questions about this process.
Frequently Asked Questions about How to Remove a Kitchen Faucet
How do you unscrew a kitchen faucet?
To unscrew a kitchen faucet, you’ll need to locate the locking nut that holds it in place. This nut is usually found under the sink, securing the faucet to the countertop.
-
Use a Basin Wrench: A basin wrench is designed for tight spaces and helps you reach the nut easily. Place the wrench around the nut and turn it counter-clockwise.
-
Apply Penetrating Oil: If the nut is stuck, spray it with penetrating oil and let it sit for 15 minutes. This helps loosen any rust or mineral deposits.
-
Use an Adjustable Wrench: For additional leverage, an adjustable wrench can be handy. Just be careful not to strip the nut.
How to remove a stuck kitchen faucet nut?
Removing a stuck kitchen faucet nut can be tricky, but here are some effective methods:
-
Apply Heat: Heat can expand the metal, making it easier to turn the nut. Use a hair dryer, heat gun, or even a propane torch to apply heat directly to the nut. Be cautious to avoid damaging surrounding areas.
-
Tap with a Hammer: Gently tap the nut with a hammer to help break the rust or mineral deposits.
-
Use White Vinegar: Soak a cloth in white vinegar and wrap it around the nut. Let it sit for a few hours to dissolve mineral deposits.
-
Cut with a Hacksaw: As a last resort, use a hacksaw to cut through the nut. This will destroy the nut, so only do this if you have a replacement ready.
What tools are needed to remove a kitchen faucet?
Removing a kitchen faucet requires a few essential tools:
-
Basin Wrench: This is crucial for reaching and turning the locking nuts in tight spaces.
-
Adjustable Wrench: Provides extra leverage to unscrew stubborn nuts.
-
Penetrating Oil: Helps loosen rusted or stuck nuts.
-
Screwdriver: Useful for removing screws and prying off covers.
-
Utility Knife or Putty Knife: For scraping off old caulk and plumber’s putty.
-
Work Gloves: Protect your hands from sharp edges and debris.
-
Plastic Bucket and Paper Towels: To catch and clean any water drips.
-
Heat Source: A hair dryer, heat gun, or propane torch can help loosen stuck nuts.
-
Extra Set of Hands: Sometimes, having someone hold the faucet in place while you work can make the job easier.
With these tools and tips, you’ll be well-equipped to handle any challenges when removing your kitchen faucet.
Conclusion
Removing a kitchen faucet might seem daunting, but with the right tools and a bit of patience, it’s a manageable DIY project. Turn off the water supply first, disconnect the supply lines, and then remove the mounting nuts or screws. If you encounter any issues, such as stuck nuts or limited space, refer to our tips on handling difficult faucet removal.
Once you’ve successfully removed your old faucet, consider recycling it instead of tossing it in the trash. Many metal recycling centers will accept old faucets, helping you reduce waste and support sustainability.
If you find the task too challenging or time-consuming, don’t hesitate to reach out to professionals. Aqua Gleam Bathrooms offers expert services to ensure your kitchen renovation is seamless and stress-free. Our team of approved installers brings high-quality workmanship and attention to detail to every project, making your dream kitchen a reality.
By following our guide and leveraging professional help when needed, you’ll have a beautifully updated kitchen in no time. Happy renovating!