

Introduction
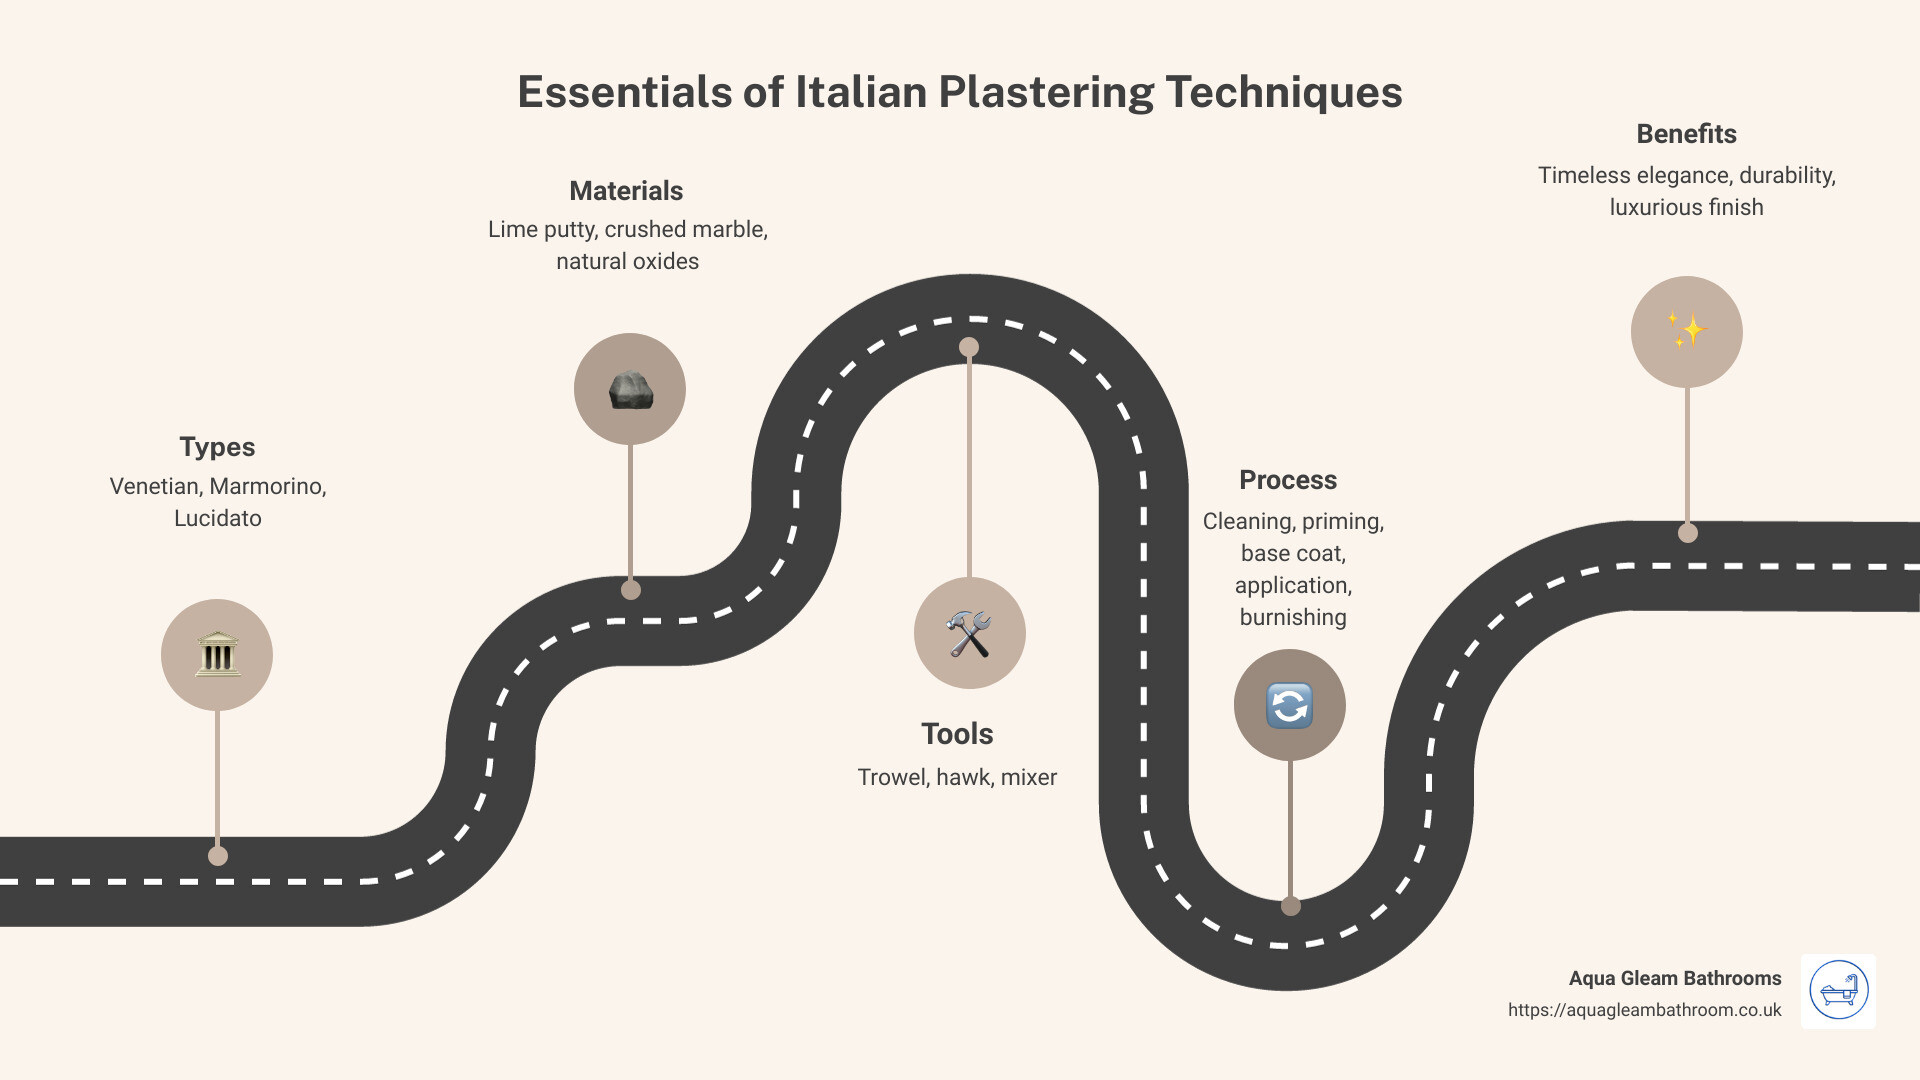
Italian plastering techniques offer a sophisticated way to transform walls with a timeless elegance. By combining traditional craftsmanship with modern materials, homeowners can achieve finishes that are both stunning and durable. If you’re in Cardiff and looking to upgrade your living space with a touch of Italy, here are the essentials:
- Types: Venetian, Marmorino, Lucidato
- Materials: Lime putty, crushed marble, natural oxides
- Tools: Trowel, hawk, mixer
- Process: Cleaning, priming, base coat, application, burnishing
Inspired by ancient Roman practices, Italian plastering has evolved over centuries to become a hallmark of quality and beauty. Historically, it graced the walls of grand villas and palaces, reflecting the cultural importance of craftsmanship in Italy. Today, it stands out for its luxurious finish and durability, making it a favorite among interior designers and homeowners alike.
Its cultural significance can’t be overstated. From the Colosseum to modern homes, the techniques of Italian plastering carry forward the legacy of Roman engineering and artistry. As Gabriel Zuchtriegel, director of the Pompeii site, points out: “Without concrete, we would have neither the Colosseum, nor the Pantheon.” This ancient tradition has withstood the test of time, adapting and thriving in contemporary settings.
When you choose Italian plastering for your home, you’re not just applying a finish; you’re connecting with a rich history of innovation and art.
Understanding Italian Plastering Techniques
Italian plastering is an art form that has been refined over centuries. Let’s dive into the materials, tools, and preparation needed, as well as the different types of Italian plaster.
Types of Italian Plaster
Venetian Plaster: This is the most well-known type of Italian plaster, made from slaked lime putty mixed with crushed marble. Its smooth, iridescent finish mimics the look of polished marble. Venetian plaster is ideal for creating a luxurious and timeless look.
Marmorino: Similar to Venetian plaster, Marmorino also uses lime and marble dust but has a slightly coarser texture. This type of plaster can create a variety of finishes, from smooth to highly textured surfaces. It’s perfect for adding depth and character to walls.
Lucidato: This is a highly polished form of Venetian plaster that achieves a mirror-like finish. The application process involves multiple layers and extensive burnishing to create its distinctive glossy look. Lucidato is often used in high-end interiors to add a touch of elegance.
Essential Tools for Italian Plastering
To achieve the best results with Italian plastering techniques, you need the right tools. Here are the essentials:
Trowel: A flexible steel trowel is crucial for applying and smoothing the plaster. Make sure to round off the corners with 100-grit sandpaper to avoid leaving lines or scratches on the plaster.
Hawk: This tool is used to hold the plaster while you work. It helps in managing the material and applying it evenly on the wall.
Mixer: Thorough mixing is essential for consistency. Use a mechanical mixer to ensure that the plaster is well-blended before application.
Materials and Preparation
Before you start, ensure you have all the necessary materials:
- Venetian plaster: Available in pre-mixed or powder form.
- Painting primer: Essential for prepping unfinished drywall.
- Sandpaper: 400- to 600-grit for burnishing.
- Topcoat or paste wax: Optional but recommended for high-traffic areas.
Preparation Steps:
-
Clean the Surface: Ensure the wall is free from dirt, grease, and any loose particles.
-
Prime the Wall: Apply a coat of primer or flat wall paint to bare drywall. This helps the plaster adhere better.
-
Mix the Plaster: Mix thoroughly before each use to maintain a consistent texture and color.
By understanding these materials, tools, and preparation steps, you’re well on your way to mastering Italian plastering techniques. Next, we’ll explore the step-by-step process of applying Italian plaster, from the initial coat to the final burnishing.
The Process of Applying Italian Plaster
Preparing the Surface
-
Clean the Surface: Ensure the wall is free from dirt, grease, and any loose particles. A clean surface is crucial for the plaster to adhere properly.
-
Prime the Wall: Apply a coat of primer or flat wall paint to bare drywall. This helps the plaster adhere better.
-
Mix the Plaster: Mix thoroughly before each use to maintain a consistent texture and color.
Application Techniques
-
Apply the First Coat: Start at a corner of the room. Use a flexible steel trowel or a 4- to 6-inch-wide drywall knife. Hold the trowel at a 15- to 30-degree angle and apply a thin coat of plaster. Use strokes that vary in length and angle to create a textured base.
-
Apply the Second Coat: After the first coat dries (typically 24 hours), apply a second thin layer. Hold the trowel at a 60- to 90-degree angle and use overlapping, X-shaped strokes. This layer will give the wall more depth and texture.
-
Burnish the Finish: Once the second coat is dry, burnish the surface with very fine sandpaper (400- to 600-grit) using a circular motion. This step smooths the surface and brings out the plaster’s natural sheen. For a more polished look, rub the surface with the flat side of a clean trowel or putty knife.
Finishing Touches
-
Sealing: For high-traffic areas or rooms with high moisture, like bathrooms, a topcoat is recommended. This clear protective coating is applied with a trowel and may slightly darken the color.
-
Waxing: Paste wax can also be used as a topcoat. It is troweled on and then burnished, just like the plaster. Waxing adds an extra layer of protection and enhances the sheen.
-
Polishing: For the final touch, polish the surface with a clean, dry cloth. This step enhances the iridescent finish, making the wall look like polished marble.
By following these steps and techniques, you can achieve a stunning, professional-quality Italian plaster finish on your walls. Next, we’ll dive into some design ideas to help you get creative with textures, colors, and effects.
Design Ideas Using Italian Plastering Techniques
Creating Textural Depth
Italian plastering techniques offer a variety of ways to create stunning textural depth on your walls. Stucco and Scagliola are two popular methods that can transform any space.
Stucco is a versatile plastering technique that dates back centuries. It involves applying multiple layers of plaster to create a textured, durable finish. Stucco can be smooth, coarse, or even shaped into intricate patterns. This makes it perfect for adding architectural details and a sense of timeless elegance to your walls.
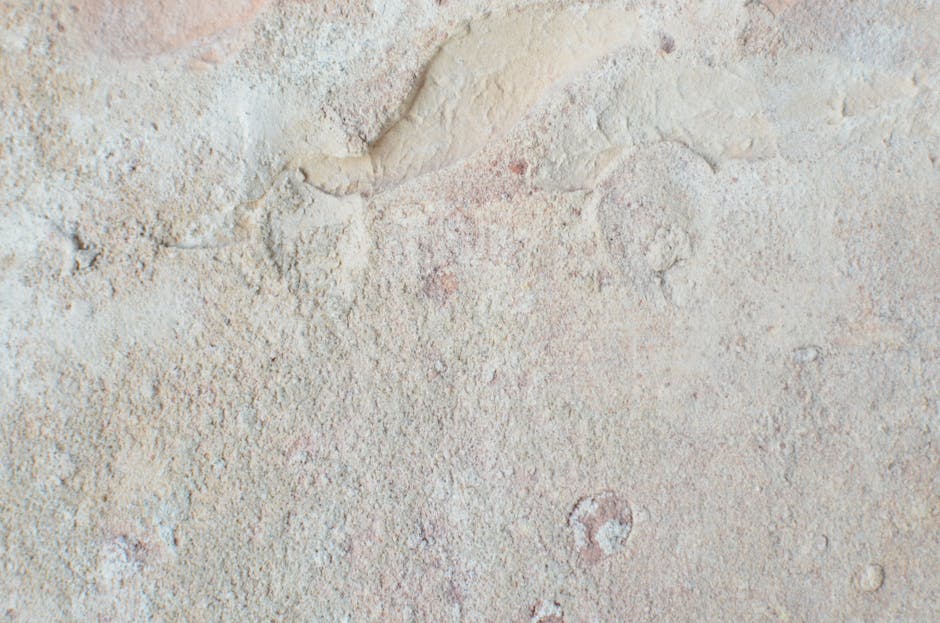
Scagliola is another ancient technique used to imitate marble. It involves mixing plaster with pigments to create veined patterns that look like real stone. This technique is ideal for adding luxurious touches to your home without the expense of real marble.
Color Mixing and Layering
Color plays a significant role in Italian plastering. You can create a wide range of effects by experimenting with tinting and color washing.
Tinting involves adding colorants to the plaster mix. This allows you to achieve custom colors that match your design vision. Some Venetian plaster products come pre-tinted, but mixing your own colors offers more flexibility. Remember to mix small batches first and take notes to find the perfect shade.
Color washing is a technique where a thin, translucent glaze is applied over a base coat. This creates a layered effect that adds depth and richness to the walls. You can use complementary or contrasting colors to achieve different looks. For instance, a neutral base with a bold color wash can create a striking visual contrast.

By using these Italian plastering techniques, you can create walls that are not only beautiful but also unique. The combination of textures and colors can turn any room into a work of art.
Next, we’ll answer some frequently asked questions about Italian plastering techniques to help you get started on your project.
Frequently Asked Questions about Italian Plastering Techniques
What is the difference between Venetian plaster and regular plaster?
Venetian plaster is made from slaked lime putty mixed with crushed marble. This unique mix gives it a smooth, shiny finish that regular plaster doesn’t have. Regular plaster, on the other hand, is typically made from gypsum and doesn’t have the same sheen or depth.
Venetian plaster also offers more versatility in terms of texture and finish. You can achieve a highly polished look or a more matte, textured finish. Regular plaster is generally used for basic wall finishing and doesn’t offer the same range of decorative options.
What colors does Venetian plaster come in?
Venetian plaster can be found in a variety of colors. Some products are sold pre-tinted, while others allow you to add your own universal colorants. This flexibility means you can create almost any color you want.
For those who prefer a custom look, mixing small batches with different quantities of colorants is recommended. Experimenting with different mixes can help you achieve the perfect shade for your project. Always take notes on your colorant quantities to replicate your desired color consistently.
Does Venetian plaster contain VOCs?
Most Venetian plaster is made from natural materials, making it non-toxic and free from volatile organic compounds (VOCs). This makes it a healthier choice for indoor environments. However, check the product label. Some Venetian plaster products may contain polymers or additives that include VOCs.
Using Venetian plaster not only gives you a beautiful finish but also contributes to a healthier indoor air quality, provided you choose a product free from harmful chemicals.
By addressing these common questions, we hope to make your journey into Italian plastering techniques smoother and more informed.
Next, we’ll delve into the fascinating design possibilities you can achieve with Italian plaster.
Conclusion
At Aqua Gleam Bathrooms, we pride ourselves on delivering high-quality workmanship and meticulous attention to detail. Our team of skilled professionals is dedicated to transforming your spaces with the timeless beauty of Italian plastering techniques.
High-Quality Workmanship
We understand that the art of Italian plastering requires not just skill, but also patience and precision. Our craftsmen are trained to apply Venetian plaster, Marmorino, and Lucidato with expertise, ensuring each layer is perfect and every surface is flawlessly smooth. We use only the finest materials and the latest techniques to bring out the best in your walls.
Attention to Detail
Attention to detail is what sets us apart. From the initial surface preparation to the final burnishing and sealing, we make sure every step is executed with care. Our team takes the time to mix colors accurately, apply coats evenly, and polish the finish to a stunning sheen. We believe that the little things make a big difference, whether it’s rounding the corners of trowels to avoid scratch marks or burnishing the plaster to achieve that perfect iridescent finish.
Why Choose Aqua Gleam Bathrooms?
Choosing Aqua Gleam Bathrooms means choosing a team that values quality and precision. We are committed to providing you with the best possible results, ensuring your walls not only look beautiful but also stand the test of time. With our expertise in Italian plastering techniques, we can help you create a space that is both elegant and unique.
Thank you for considering Aqua Gleam Bathrooms for your plastering needs. We look forward to helping you achieve the stunning wall finishes you’ve always dreamed of.
For more information or to schedule a consultation, please contact us.