
Transform Your Bathroom: A Comprehensive Guide to Wall Tiling
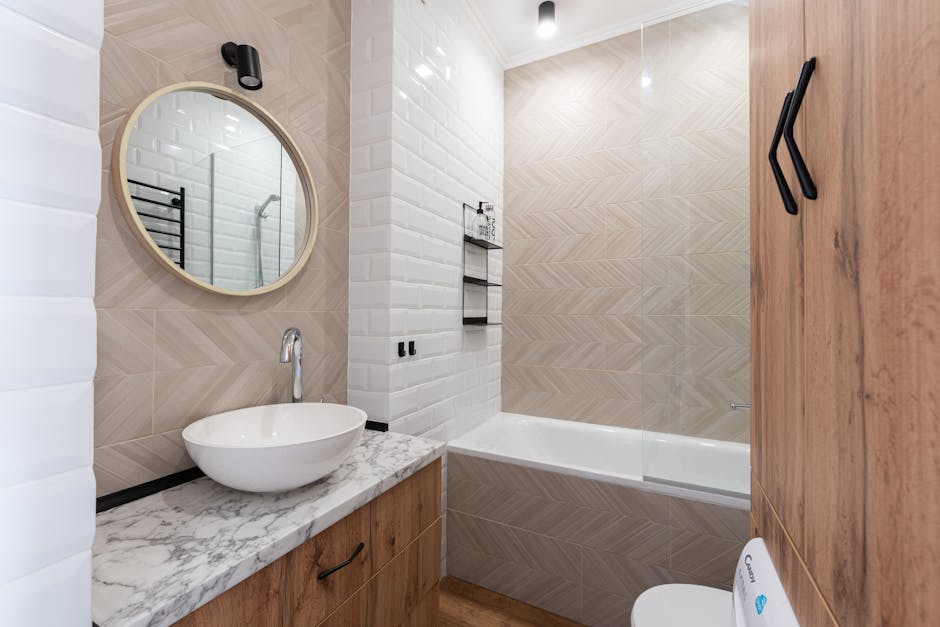
Your bathroom shouldn’t just be a functional space; it should also reflect your style and offer a spa-like retreat. Bathroom wall tiling is an ideal way to achieve this change. Tiles can protect your walls from water damage, add aesthetic appeal, and even increase the value of your home.
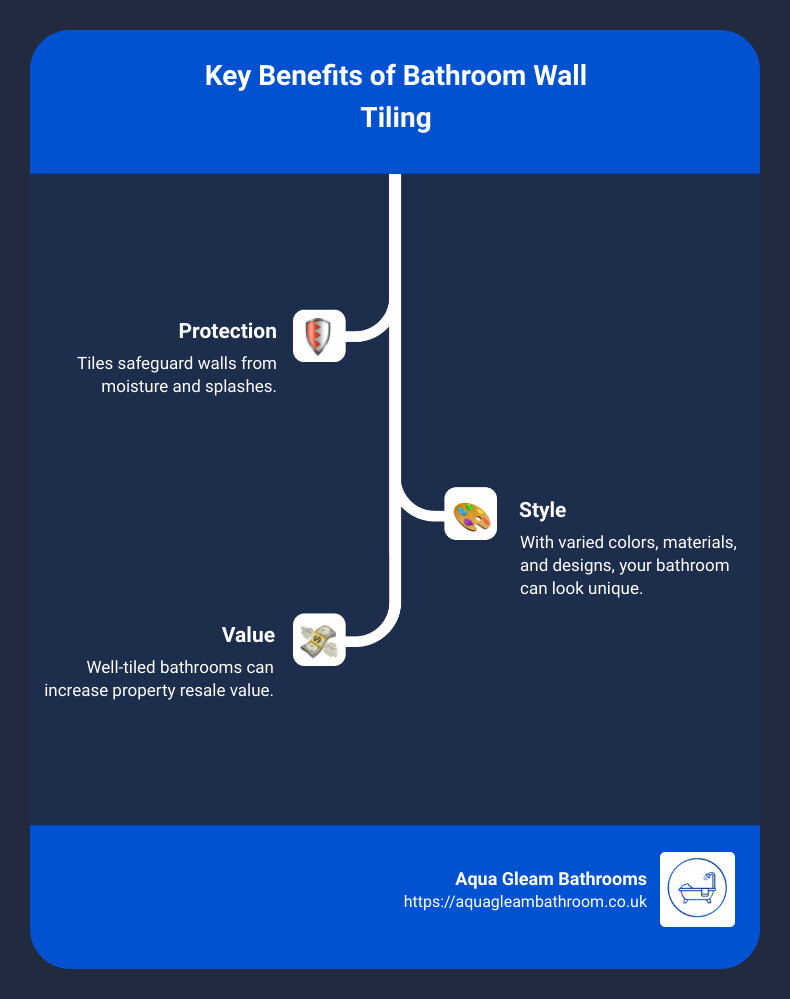
Key Benefits:
– Protection: Tiles safeguard walls from moisture and splashes.
– Style: With varied colors, materials, and designs, your bathroom can look unique.
– Value: Well-tiled bathrooms can increase property resale value.
Whether you prefer the timeless look of subway tiles, the elegance of natural stone, or the modern finish of large-format tiles, our guide will walk you through every step.
At Aqua Gleam Bathrooms, we understand attention to detail and high-quality workmanship are crucial. Located in Cardiff, we specialize in changing outdated spaces into beautiful, functional bathrooms.
Preparing Your Bathroom Walls for Tiling
Before you start tiling, it’s crucial to prepare your bathroom walls properly. This ensures the tiles adhere well and last long. Here’s how to get your walls ready:
Cleaning the Walls
First, clean your walls thoroughly. Use a TSP cleaner or an ammonia-based cleaner to remove any dirt, grease, or soap scum. This step is essential because a clean surface helps the tiles stick better.
- TSP Cleaner: Trisodium Phosphate (TSP) is excellent for removing heavy grime. Mix it with water according to the instructions on the package, apply it to the walls, and scrub with a sponge.
- Ammonia-Based Cleaner: For a milder option, an ammonia-based cleaner can also work well. Spray it on the walls, let it sit for a few minutes, then wipe it off.
Ensuring a Smooth Surface
After cleaning, inspect your walls for any imperfections like holes or chipped paint. Sand down rough spots and fill any holes with a suitable wall filler. A smooth surface is crucial for tile adhesion.
Choosing the Right Backer Board
Tiles can be applied to various surfaces like drywall, plaster, cement block, or cement backer board. However, for areas exposed to a lot of moisture, like showers, using a cement backer board is recommended.
- Drywall: Suitable for areas not directly exposed to water. Ensure it’s clean and smooth.
- Plaster: Like drywall, plaster walls need to be clean and smooth. Sand any rough areas.
- Cement Block: Durable and water-resistant, but make sure it’s free of dust and debris.
- Cement Backer Board: The best option for wet areas. It’s water-resistant and provides a strong base for tiles.
Installing Backer Board
If your current wall isn’t suitable for tiling, you may need to install a backer board. Measure the area to be tiled and cut the backer board to size. Attach it to the wall using galvanized screws and a power drill.
- Measure and Cut: Use a tape measure and a wet tile saw to cut the backer board to fit the wall.
- Attach: Apply a thin layer of adhesive to the wall, then screw the backer board in place.
- Seal Joints: Use joint tape and thin-set mortar to seal the seams between the boards.

By following these steps, you ensure your walls are well-prepared for tiling, setting the stage for a beautiful and long-lasting bathroom change.
Next, we’ll dive into selecting the perfect wall tiles for your bathroom.
Selecting the Right Wall Tiles for Your Bathroom
Choosing the right wall tiles can transform your bathroom into a stylish and functional space. Whether you prefer natural stone, classic subway tiles, or modern large-format tiles, there’s something for everyone. Let’s explore the best options.
Stone and Stone-Look Tiles
Stone and stone-look tiles bring a touch of nature into your bathroom. They create a warm, spa-like atmosphere that can make your bathroom feel like a retreat.
- Travertine Tiles: These tiles have warm, neutral tones that evoke a sense of calm. Perfect for creating a serene environment.
- Marble and Marble-Look Tiles: Known for their natural veining, these tiles add movement and elegance to your bathroom walls. They are ideal for a luxurious, high-end look.
Example: The Assorted Claros Silver and Savannah Antique tiles are great choices for a spa-like bathroom.
Versatile Subway Tiles
Subway tiles are a classic choice that never goes out of style. They are incredibly versatile and can be arranged in various patterns to suit your design preferences.
- Classic and Chic: Subway tiles can be staggered for a brick-layered look or stacked for a clean, modern appearance.
- Pattern Options: Install them in a herringbone pattern for added texture and visual interest.
- Contrasting Grout: Using a contrasting grout, like black grout with white tiles, can make your design pop.
Example: The Glass Rosewater and Tribeca Basalt tiles offer a fresh take on the classic subway tile look.
Large Format Tiles
Large-format tiles create a sleek, modern look with fewer grout lines, making your bathroom walls appear more cohesive and spacious.
- Modern Slab-Look: These tiles give your bathroom a contemporary feel. Their large size means fewer interruptions in the pattern, enhancing the room’s overall flow.
- Variety of Styles: Available in marble-look, wood-look, and even 3D textures, large-format tiles can make a grand impression.
Example: The Macchia Vecchia and Cell Light Gold tiles are perfect for achieving a modern, slab-look.
Accent and Mosaic Tiles
Accent tiles and mosaic tiles can add a unique touch to your bathroom. They are perfect for creating focal points or adding a splash of color.
- Mixed-Material Mosaic: Use these tiles in a picture-frame layout above your bathtub for a striking effect.
- Contrasting Tiles: Pair two different tiles on the top and bottom of a wall to create visual interest.
Example: The Bardot Double Vintage Rose & Retro Perla and Casablana tiles are excellent for accentuating specific areas.
By carefully selecting the right wall tiles, you can create a bathroom that is not only beautiful but also functional and inviting. Next, we’ll guide you through the step-by-step process of tiling your bathroom walls.
Step-by-Step Guide to Tiling Your Bathroom Walls
Ready to transform your bathroom? Follow this step-by-step guide to achieve a professional-looking tile installation.
Tools and Materials Needed
Before you start, gather these essential tools and materials:
- Cement wall tiles
- Thin set adhesive
- Grout (preferably light-colored)
- Grout release
- Cement penetrating sealer (like STAIN-PROOF from DryTreat)
- Trowel
- Paintbrush
- Grout float
- Sponge
- Carpenter’s pencil
- Level
- Gloves
- Wet tile saw
- Power drill
- Backer board
- Tape measure
- Galvanized screws
Measuring and Planning Your Layout
-
Measure the Wall: Start by measuring your bathroom wall to determine the number of tiles needed. For example, a 5’ x 10’ wall requires 50 square feet of tiles. If using 6” x 6” tiles, you’ll need 200 tiles (4 tiles per square foot). Order 10-15% extra to account for cuts and breakages.
-
Determine the Layout: Use a layout tool to plan the placement of your tiles. Cut a piece of wood just longer than half the wall’s length, place tiles along it with spacers, and mark the positions. Move this tool horizontally and vertically along the wall to ensure your layout avoids small slivers of tiles at the edges.
-
Mark the Center Point: Find the center point of the wall and draw horizontal and vertical lines using a level. This helps in aligning the tiles symmetrically.
-
Install Datum Boards: Screw in long, thin wooden datum boards along the lines you drew. These will guide you in placing the tiles evenly.
Installing the Tiles
-
Mix the Adhesive: Follow the manufacturer’s instructions to mix the thin set adhesive. You want a smooth, paste-like consistency.
-
Apply the Mortar: Using the trowel, spread the adhesive on a small section of the wall. Work in manageable sections to prevent the adhesive from drying out.
-
Place the Tiles: Start from the center point and work your way out. Press each tile firmly into the adhesive. Use spacers to ensure even gaps between tiles.
-
Check for Level: Continuously check that the tiles are level. Adjust as needed before the adhesive sets.
-
Remove Datum Boards: Once you’ve placed all the tiles, carefully remove the datum boards. Fill in the gaps left by the boards with tiles.
Grouting and Sealing
-
Apply Grout Release: Before grouting, apply grout release to the tiles to prevent staining. Use a paintbrush for an even application.
-
Grout the Tiles: Mix the grout according to the package instructions. Use a grout float to spread the grout over the tiles, pressing it into the gaps. Work in small sections.
-
Clean Excess Grout: After about 15 minutes, use a damp sponge to wipe off excess grout from the tile surfaces. Rinse the sponge frequently to keep it clean.
-
Seal the Tiles: Once the grout has cured (usually 24 hours), apply a cement penetrating sealer to protect your tiles from moisture and stains. Follow the sealer’s instructions for the best results.
By following these steps, you’ll have beautifully tiled bathroom walls that are both stylish and durable. Next, we’ll explore some creative design ideas to make your bathroom truly unique.
Design Ideas for Bathroom Wall Tiling
Highlighting Accent Tiles
Accent tiles can transform your bathroom into a stunning focal point. Consider a mixed-material mosaic to add both texture and color. For example, a picture-frame layout above your bathtub can create a beautiful centerpiece.
Imagine a serene bathroom with a mixed-material mosaic of glass, stone, and metal tiles. This combination not only adds visual interest but also reflects light, making the space feel brighter.
Contrasting tiles can also make a bold statement. Pair two different styles or colors of tiles on the top and bottom of a wall. For instance, use dark tiles on the lower half and light tiles on the upper half. This creates a dynamic look while maintaining balance.
Using Trim and Accessories
Trim and accessories add the perfect finishing touch to your bathroom walls. A band of colorful trim can break up a plain tile wall and add a playful element. Think of it as adding a frame to a beautiful painting.
For more sophisticated designs, use wainscoting to separate a half wall of tiles. This technique not only looks neat but also protects the lower part of your wall from water splashes.
Skirting along the bottom edge of your wall tiles can also provide a smooth transition to the floor. It gives your bathroom a more polished look.
Accessories like corner shelves and seats can be both functional and stylish. For example, a Calacata Evora Corner Seat can add a touch of luxury while providing a practical place to sit or store items.
By using these design ideas, you can create a bathroom that is not only functional but also a true reflection of your personal style. Ready to start tiling? Let’s move on to some frequently asked questions to ensure you have all the information you need.
Frequently Asked Questions about Bathroom Wall Tiling
What do you put on bathroom walls before tiling?
Before tiling, it’s crucial to prepare your bathroom walls properly. Start by cleaning the walls to remove any dirt, grease, or soap residue. Use a TSP cleaner (trisodium phosphate) or an ammonia-based cleaner for this task. These cleaners are effective at cutting through grime and ensuring a clean surface.
Next, check the wall’s surface. It should be smooth, waterproof, and strong enough to support the tiles. If the wall is uneven, consider installing a backer board to create a flat surface. Backer boards are specifically designed for tile installations and can handle the weight and moisture exposure in bathrooms.
When tiling a bathroom wall, where do you start?
When tiling a bathroom wall, it’s important to start from the right place to ensure a balanced and professional look. Begin by finding the center of the wall. This step helps you create a symmetrical pattern and avoid awkward cuts at the edges.
Using a datum board can help with this process. Measure the wall and mark the center point. From there, plan your tile layout, ensuring that you use half-tiles at the edges if needed. This method helps in achieving a more symmetrical and visually pleasing result.
Can you tile a bathroom wall over drywall?
While you can tile over drywall in some areas of your bathroom, it is not recommended for areas exposed to high moisture, such as showers. Drywall is not moisture-resistant and can lead to problems like mold and tile failure over time.
For areas exposed to water, it’s best to use a cement backer board or another moisture-resistant surface. This ensures that your tiles stay secure and your walls remain in good condition. If you must tile over drywall, make sure it is properly sealed and not exposed to direct water.
By addressing these common questions, you can ensure a successful bathroom wall tiling project. Ready to dive deeper into tiling techniques and tips? Continue reading to learn more about creating your dream bathroom.
Conclusion
Changing your bathroom with wall tiling can lift the space’s aesthetic and functionality. From selecting the right tiles to mastering the installation process, each step plays a crucial role in achieving a flawless result.
Aqua Gleam Bathrooms is here to help you every step of the way. Our team of professionals excels in attention to detail, ensuring that every tile is perfectly placed and every grout line is seamless. We believe that the beauty of a bathroom lies in the details, and we are committed to delivering high-quality workmanship in every project.
Whether you’re looking to create a spa-like retreat with stone tiles or a modern masterpiece with large-format tiles, our expertise and dedication will bring your vision to life. Our meticulous approach ensures not only stunning aesthetics but also long-lasting durability and functionality.
Ready to transform your bathroom with expert wall tiling? Contact Aqua Gleam Bathrooms today to get started on your dream bathroom. Let us help you create a space that is both beautiful and practical, with the highest standards of quality and care.