

Importance of waterproofing, Shower renovation
When diving into a shower renovation project, the importance of ensuring your space is waterproof cannot be overstated. A correctly installed shower membrane is crucial in preventing leaks and water damage, ultimately saving you time, stress, and costly repairs down the line. For homeowners in Cardiff aiming to enhance their bathrooms, understanding how to choose and install a shower membrane efficiently is key.
Selecting the right shower membrane involves considering factors such as type (liquid vs. sheet), material, and the specific needs of your bathroom space. Installation, while seemingly daunting, can be straightforward when armed with the right information and tools. Within this piece, we’ll guide you through the essentials of shower membranes – what they are, why they’re important, and how to install them swiftly, aiming for renovation success in less than an hour.
With a focus on achieving high-quality workmanship and attention to detail, this guide is designed to make your shower renovation project smoother and more manageable, transforming an outdated bathroom into a functional and visually appealing space.
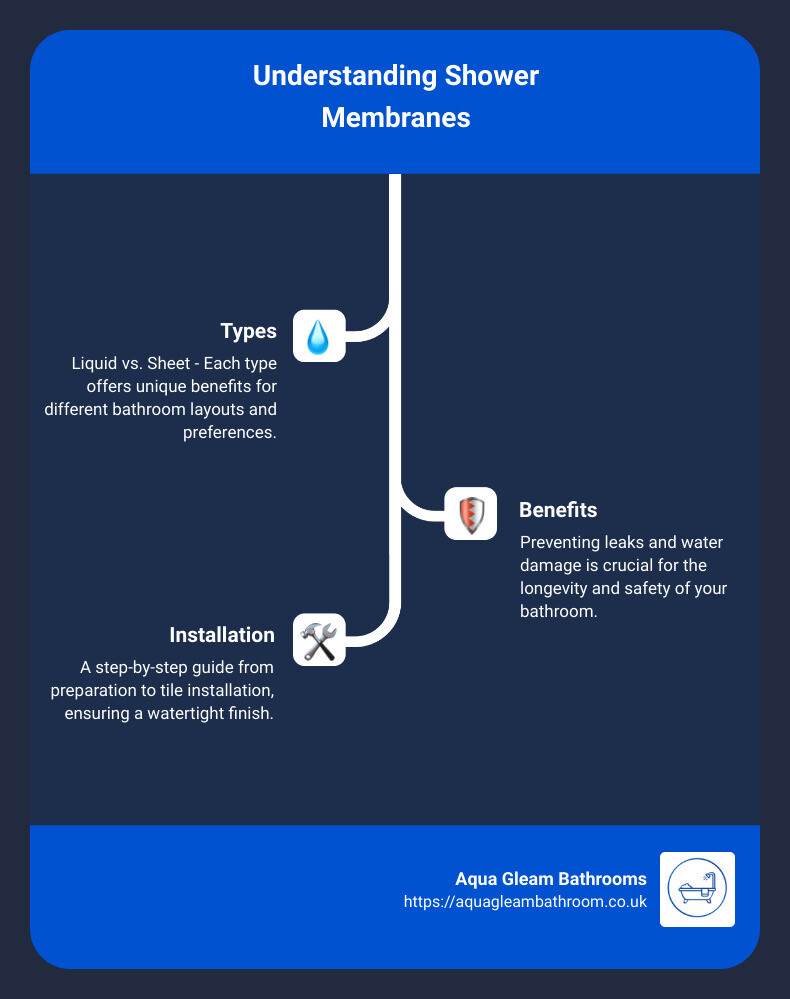
Understanding Shower Membranes
When diving into bathroom renovations, the term “shower membrane” might pop up frequently. But what exactly is it, and why is it so crucial for your shower? Let’s break it down into simple terms.
Types of Shower Membranes
There are two main types of shower membranes: liquid and sheet.
-
Liquid Membranes are applied with a brush or roller and form a seamless, waterproof barrier once dried. They’re flexible and can easily fit around any shape or corner in your shower area.
-
Sheet Membranes come in rolls of varying sizes and are cut to fit your shower. They’re physically laid out and attached to the surface, providing a sturdy waterproof layer.
Functions
The primary function of a shower membrane is to prevent water from seeping into the structural parts of your home. Water damage can lead to mold growth, rot, and costly repairs. By creating a waterproof barrier, shower membranes keep water where it’s supposed to be—flowing down the drain.
Benefits
-
Protection Against Water Damage: As mentioned, the most significant benefit is the protection it offers against water damage and the costly repairs that come with it.
-
Mold and Mildew Prevention: By keeping water out of the walls and floor, it also prevents the growth of mold and mildew, which can be harmful to your health.
-
Versatility: Whether you’re working on a brand-new shower or renovating an old one, there’s a shower membrane that fits your project. Liquid membranes are great for complex shapes, while sheet membranes offer quick and reliable coverage for larger areas.
-
Longevity of Your Bathroom: With proper installation, a shower membrane can significantly extend the life of your bathroom, maintaining its beauty and functionality for years to come.
Understanding these aspects of shower membranes is crucial before moving on to the selection and installation process. They are the unsung heroes of bathroom renovations, working behind the scenes to ensure your shower area remains dry and damage-free. With this knowledge, you’ll be better prepared to choose the right shower membrane for your project, ensuring a successful and long-lasting bathroom upgrade.
In the next section, we’ll guide you through choosing the right shower membrane for your needs, considering factors like material, coverage area, and the specific conditions of your bathroom renovation project in Cardiff.
Choosing the Right Shower Membrane
When it comes to selecting the perfect shower membrane for your bathroom, the choices boil down to two main types: liquid and sheet membranes. Each has its own set of advantages and considerations. Let’s dive into how to make the right choice for your project.
Liquid vs. Sheet Membranes
Liquid Membranes:
– Easy to Apply: You can roll or brush them onto the surface, making them great for DIY projects.
– Seamless Coverage: They create a continuous, seamless barrier against moisture.
– Flexibility: Ideal for irregular shapes or areas with lots of corners.
– Quick Drying Time: Some products, like the Mapelastic AquaDefense, dry within 30 to 50 minutes.
Sheet Membranes:
– Strong and Durable: They offer robust protection against water.
– Precision: Sheets are cut to size, providing a more predictable application.
– Compatibility: Works well with a variety of tile adhesives.
– Versatility: Products like the XFasten Waterproofing Membrane Fabric Sheet are easy to maneuver around tight corners and are compatible with different liquid membranes.
Material Considerations
The material of your shower membrane plays a crucial role in its effectiveness and longevity. Look for options that are:
– Alkali-Resistant: To ensure durability against the chemical components of cement.
– Flexible: To accommodate slight movements or shifts within the building structure without cracking.
– Compatibility: Especially if you’re using a combination of products, ensure they work well together to avoid any adhesive or chemical conflicts.
Coverage Area
Determining the right coverage area is essential to ensure complete protection against water damage. Consider the following:
– Measure Accurately: Calculate the square footage of your shower area, including the walls, to determine how much membrane you’ll need.
– Extra Coverage: It’s better to have a bit more material than needed, especially around corners, edges, and where the floor meets the walls.
– Consider the Slope: If applying a liquid membrane, make sure your shower base has a proper slope towards the drain to avoid water pooling.
Making Your Choice
When deciding between a liquid or sheet membrane, take into account the complexity of your shower’s design, your comfort with the application process, and the overall cost. Liquid membranes might be more suitable for DIY enthusiasts due to their ease of application, while sheet membranes provide a sturdy option that professionals often prefer for its predictability and strength.
The goal is to achieve a waterproof barrier that will protect your bathroom from moisture for years to come. Whether you choose a liquid or sheet membrane, ensure it’s applied correctly, covering every nook and cranny to prevent leaks and potential water damage.
In the next section, we’ll walk you through a step-by-step guide on how to prepare your surface and apply the shower membrane, ensuring a watertight seal for your newly renovated bathroom.
Step-by-Step Installation Guide
Preparing the Surface
Before you jump into the thick of things, it’s crucial to start with a clean slate. Literally. Cleaning your shower area is the first step. Remove any dust, debris, or existing material that could interfere with the adhesion of the new shower membrane. A clean surface ensures that the membrane sticks properly and provides effective waterproofing.
Measuring comes next. You need to know exactly how much area you’re working with. Use a tape measure to get the dimensions of your shower floor and walls. This step is vital because it determines how much membrane material you’ll need. No one likes a mid-project hardware store run!
Cutting the membrane to fit your measurements is the final step in preparation. If you’re using a sheet membrane, use a sharp utility knife for precise cuts. It’s better to cut a piece slightly larger than needed; you can always trim it later.
Applying the Membrane
Now, let’s get to the main event: Applying the membrane. If you’re using a liquid application, start at one end and work your way to the other, using a paint roller for an even coat. Make sure to cover the entire surface without leaving any gaps. For those tricky corners and edges, a paintbrush might be more effective.
For sheet positioning, lay the cut pieces on the prepared surface. Start from the bottom up if you’re doing walls. It helps prevent water from seeping under the membrane. Use a hand roller or a similar tool to smooth out any bubbles or wrinkles, ensuring full contact with the surface beneath.
Sealing corners is where most people slip up. Whether you’re using a liquid or sheet membrane, ensure that all corners and edges are sealed tight. Special corner pieces or additional membrane strips can be applied to these areas to reinforce the waterproof barrier.
Finalizing Installation
After applying the membrane, it’s a waiting game. Drying time varies depending on the product used. Liquid membranes might need anywhere from a few hours to a full day to dry completely. Check the manufacturer’s instructions for specific drying times.
Testing for leaks is a critical step that should not be skipped. Once the membrane is dry, conduct a water test by blocking the drain and filling the shower area with a small amount of water. Leave it for 24 hours to see if any water escapes. This test ensures that your membrane is fully waterproof before moving on.
Finally, tile installation can begin once you’ve confirmed there are no leaks. Follow the tile manufacturer’s instructions for the best results. The tile is not just decorative; it also adds an extra layer of protection over your waterproof membrane.
By following these steps, you ensure a leak-free, durable shower that looks great and functions even better. Taking your time during the installation process can save you from headaches and costly repairs down the line. Aqua Gleam Bathrooms recommends always referring to product-specific instructions for the best outcome in your shower renovation project.
Common Mistakes to Avoid
When it comes to installing a shower membrane, a few common missteps can turn your bathroom renovation project from a dream into a nightmare. Let’s dive into how to steer clear of these pitfalls with insights from Aqua Gleam Bathrooms.
Incomplete Coverage
One of the biggest mistakes is not covering the entire area that needs waterproofing. Imagine putting up an umbrella that only covers your head but not your shoulders; you’re still going to get wet. The same principle applies here.
- Double-check your measurements before cutting your membrane.
- Ensure the membrane reaches all the way to the edges and corners.
- Overlap sheets by at least 2 inches if you’re using more than one piece.
Poor Seam Sealing
Seams and corners are like the weak spots on a knight’s armor. If they’re not properly sealed, water will find its way through.
- Use a quality sealant that’s compatible with your membrane.
- Apply generous amounts at overlaps, corners, and around fixtures.
- Press firmly to ensure the membrane bonds well with the surface and sealant.

Incorrect Membrane Choice
Not all shower membranes are created equal. Choosing the wrong type can lead to compatibility issues with your tiles or substrate. It’s like wearing sneakers for a hike when you really need boots.
- Liquid vs. Sheet: Consider the shape and size of your shower area. Liquid membranes offer more flexibility for irregular shapes, while sheet membranes might be quicker to install in standard spaces.
- Material Matters: Ensure the membrane material is compatible with your substrate and finishing tiles. When in doubt, consult with professionals at Aqua Gleam Bathrooms.
Remember: A well-installed shower membrane is the foundation of a waterproof bathroom. Avoiding these common mistakes ensures your shower remains dry and functional for years to come. As we move into the final sections of our guide, keep these tips in mind to ensure success in your bathroom renovation project.
Frequently Asked Questions about Shower Membranes
When it comes to keeping your bathroom renovation watertight, understanding shower membranes is key. Here are some frequently asked questions that can help guide you through the process.
What does a shower membrane do?
A shower membrane acts like a protective layer. It stops water from seeping through your shower walls and floor, preventing damage to the structure of your home. Think of it as a waterproof jacket for your shower. Without it, water could leak into places it shouldn’t, leading to mold, mildew, and costly repairs.
Can you tile a shower without a membrane?
Short answer: No, you shouldn’t. Tiling directly onto surfaces without a shower membrane invites water damage. Tiles and grout are not fully waterproof by themselves. Over time, water will find its way through, causing damage to the structure beneath. Always use a shower membrane before tiling to ensure a waterproof seal.
What is the best membrane for tile shower?
The “best” membrane depends on your project’s specific needs. However, liquid waterproofing membranes like Mapelastic AquaDefense are popular for their ease of application and quick drying times. They are painted onto surfaces, creating a seamless, watertight barrier once dry. For those favoring sheet membranes, products like XFasten Waterproofing Membrane Fabric Sheet offer robust protection with optimal flexibility for tight corners.
Both types are designed to work under tiles, making them ideal choices for creating a waterproof bathroom. Be sure to consider factors like ease of installation, drying time, and compatibility with your chosen tiles when deciding.
With these questions answered, you’re ready to make informed decisions about waterproofing your shower. A correctly installed shower membrane is crucial for keeping your bathroom dry and mold-free. Aqua Gleam Bathrooms can provide further guidance and products to ensure your bathroom renovation is a success.
Conclusion
Congratulations on taking a significant step towards ensuring the longevity and functionality of your bathroom with the proper installation of a shower membrane. A well-installed membrane not only protects your home from water damage but also provides peace of mind. However, the journey doesn’t end with installation. To maintain the effectiveness of your waterproofing, a few maintenance tips are essential.
Maintenance tips:
- Regular Inspections: Periodically check the edges and corners of your shower area for any signs of wear or peeling. Early detection of these issues can prevent water from breaching your waterproofing membrane.
- Gentle Cleaning: Use mild cleaners and avoid abrasive tools that could damage the membrane surface. Harsh chemicals and scrubbing brushes can degrade the waterproofing layer over time.
- Sealant Check: Keep an eye on the silicone sealant around the shower base, doors, and fixtures. If you notice any cracks or gaps, reapply the sealant promptly to prevent water infiltration.
- Professional Advice: If you’re unsure about any aspect of your shower’s condition, don’t hesitate to reach out to professionals. A quick consultation can save you from costly repairs down the line.
At Aqua Gleam Bathrooms, we understand the importance of a well-protected bathroom. Our expertise doesn’t just stop at installation; we’re here to support you throughout the lifespan of your bathroom. Whether you’re in need of maintenance advice, quality materials, or professional installation services, we’ve got you covered.
The key to a durable and functional bathroom lies not only in the quality of installation but also in the ongoing care and maintenance of its components. By choosing Aqua Gleam Bathrooms, you’re not just getting a service provider; you’re gaining a partner dedicated to the beauty and longevity of your bathroom space.
Let us help you keep your bathroom in top condition for years to come. Invest in quality, invest in Aqua Gleam Bathrooms.