

Looking for a tileable shower pan? You’re in the right spot. Tileable shower pans are a stellar choice for anyone wanting to customize their shower’s look with tiles, without compromising on quality or durability. They’re designed to provide a solid, waterproof base that can be directly tiled over, offering both flexibility in design and ease of installation. Whether you’re renovating your bathroom or working on a new build, choosing the right tileable shower pan is crucial for achieving that perfect blend of style and functionality.
Tileable shower pans come in various types, like single curb, left & right dual curb, triple curb, and barrier-free designs, catering to different shower configurations and accessibility needs. They’re typically made from durable materials like composites or high-density foam, ensuring they can support the weight of tiles plus regular shower use without issue. Moreover, these pans are designed to be water-resistant and slip-resistant, promoting safety and longevity.
Choosing the right tileable shower pan involves considering factors such as size, drain location, curb style, and most importantly, the material it’s made from. It’s not just about the practicality; aesthetics play a significant role too. You’ll want a pan that complements your chosen tiles and the overall bathroom design, creating a cohesive and visually appealing space.
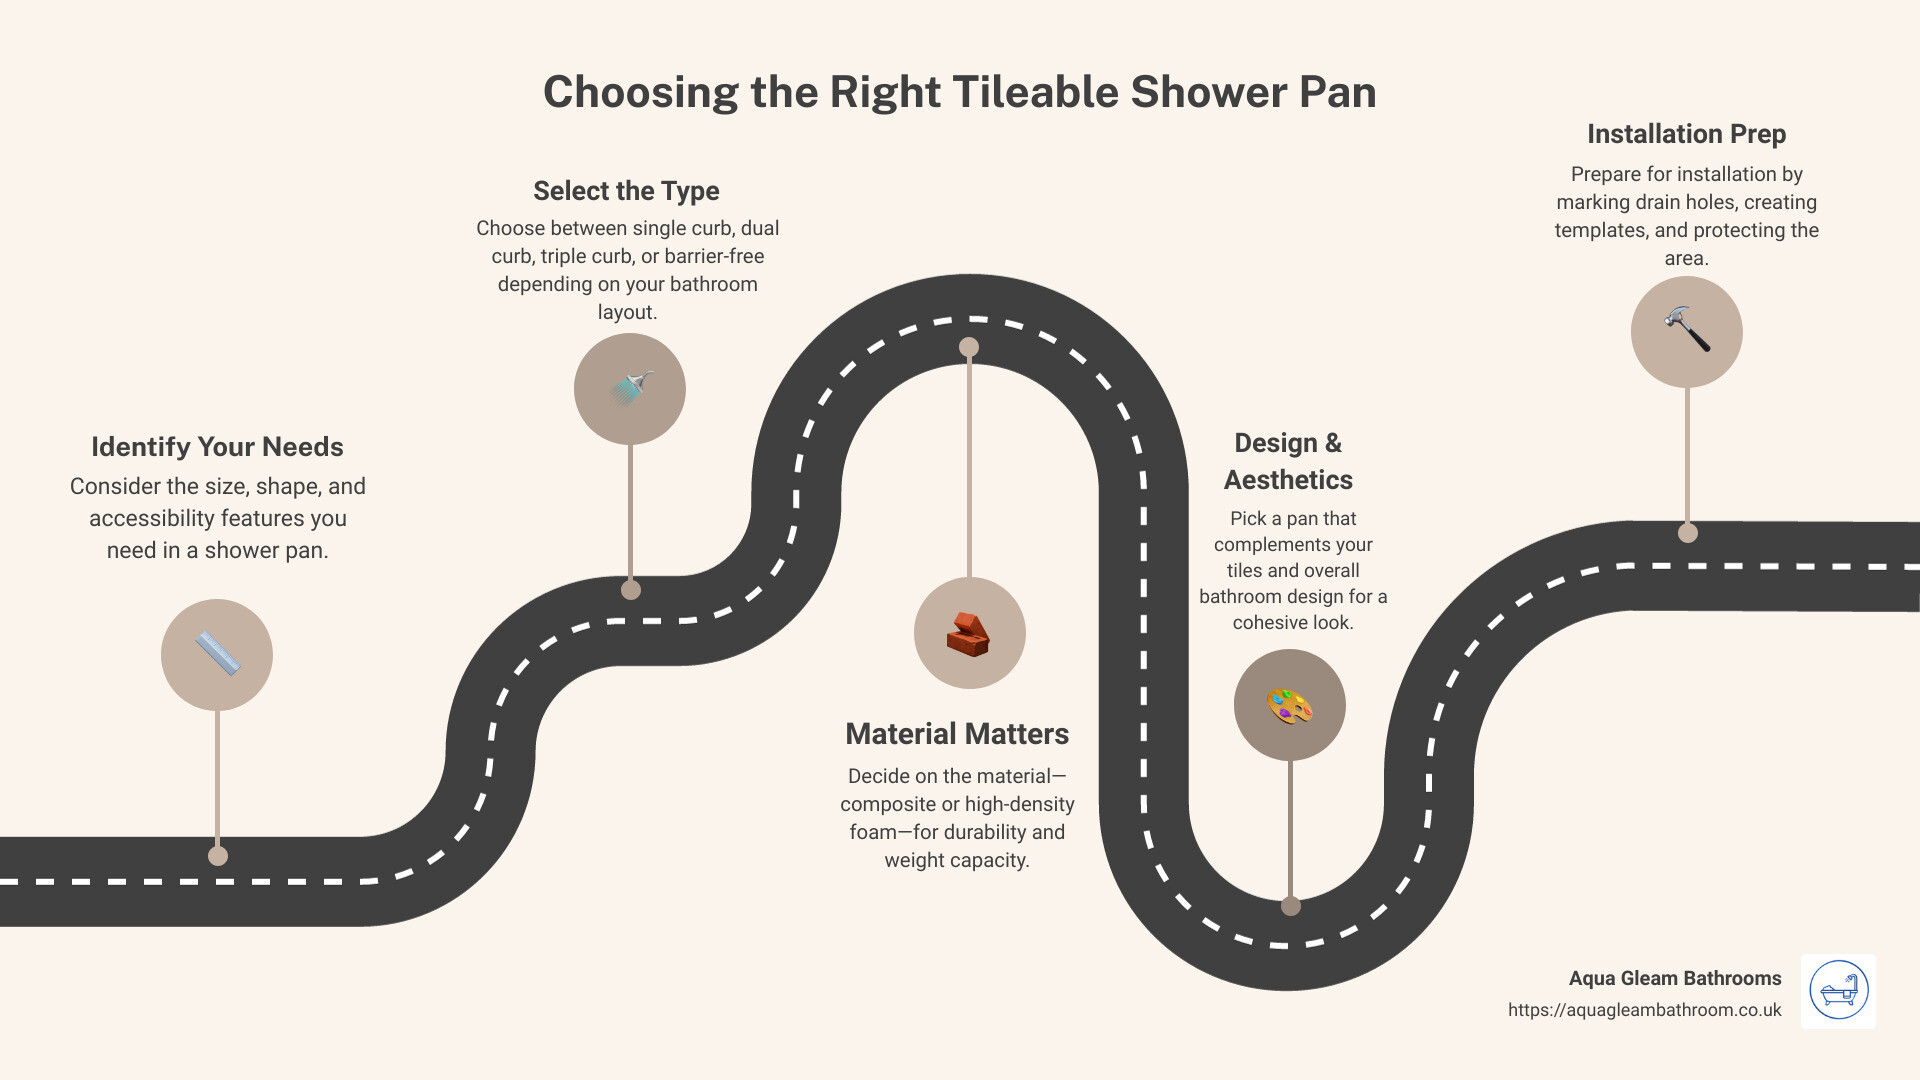
In this guide, we delve into everything you need to know about tileable shower pans – from understanding their benefits and the types available, to installation tips and maintenance advice. Whether you’re looking to create a spa-like sanctuary or a practical family bathroom, Aqua Gleam Bathrooms has got you covered. Let’s get started on transforming your bathroom into the functional, stylish space you deserve.
Understanding Tileable Shower Pans
When it comes to renovating your bathroom, choosing the right base for your shower is crucial. A tileable shower pan offers a seamless and customizable option that can fit any bathroom design. Let’s dive into what makes these pans a great choice, focusing on their tile-over nature, durability, and weight capacity.
Tile-Over Shower Pan
Unlike traditional shower bases, a tileable shower pan allows you to lay tile directly on top of it. This means you can match your shower floor with the rest of your bathroom tiles, creating a cohesive and high-end look. The surface of these pans is specially designed to bond with the tile adhesive, ensuring a secure fit that lasts.
Durability
Made with materials like KBRS Hard Core Technology, tileable shower pans are built to withstand the test of time. They’re not just strong; they’re also leak-proof and resistant to mold growth, addressing common concerns in bathroom areas. This durability means your shower base won’t crack or leak, preventing water damage and maintaining the integrity of your bathroom.
Weight Capacity
One might wonder if a tileable shower pan can support the weight of tiles, especially larger, heavier ones. The answer is a resounding yes. These pans are engineered to handle significant weight, ensuring that no matter the size or type of tile you choose, your shower floor will remain stable and intact.
By choosing a tileable shower pan, you’re investing in a long-lasting, aesthetically pleasing foundation for your shower. Not only do they offer practical benefits like durability and weight capacity, but they also allow for complete design flexibility. With the ability to tile over the pan, you can achieve the exact look you’re aiming for, making your bathroom a true reflection of your style.
Keep in mind that the right preparation and installation are key to maximizing the benefits of your tileable shower pan. Next, we’ll explore how to protect your shower pan during tiling, ensuring a smooth and successful bathroom renovation project with Aqua Gleam Bathrooms.
Types of Tileable Shower Pans
When choosing a tileable shower pan for your bathroom renovation, it’s important to consider the layout of your bathroom and your specific needs. Aqua Gleam Bathrooms offers a variety of tileable shower pans to fit different styles and functionalities. Let’s break down the options:
Single Curb
A Single Curb shower pan features a single raised edge on one side, where the shower door is typically located. This design is perfect for standard shower installations where the pan fits between three walls. It provides a sleek, clean look while ensuring water stays inside the shower area.
- Pros: Easy to step over; great for most standard shower sizes.
- Cons: Not barrier-free, so may not be the best choice for those seeking accessible shower options.
Left & Right Dual Curb
Left & Right Dual Curb shower pans have two raised edges: one at the entrance and another on either the left or right side, making them an ideal choice for corner shower installations. This design allows for a more flexible bathroom layout.
- Pros: Fits snugly in corner installations; provides additional water containment on two sides.
- Cons: Slightly more complex installation than single curb pans.
Triple Curb
Triple Curb shower pans are designed with three curbs around the entrance and the two adjoining sides, leaving only one side without a curb. This option is well-suited for larger bathrooms or for shower installations that are not enclosed by walls on three sides.
- Pros: Maximum water containment; versatile for unique bathroom layouts.
- Cons: May require more space and a larger bathroom for comfortable access.
Barrier-Free
Barrier-Free shower pans are designed without any curbs, allowing for easy walk-in or roll-in access. This option is ideal for those looking to create an accessible bathroom or simply prefer a more open and seamless shower design.
- Pros: Accessible design; modern look; easy to enter and exit.
- Cons: May require additional waterproofing measures outside the shower area to prevent water from escaping.
Choosing the right type of tileable shower pan depends on your bathroom’s layout, your personal needs, and the overall design you wish to achieve. Aqua Gleam Bathrooms provides a variety of options to ensure that you find the perfect match for your home. Whether you’re looking for the simplicity of a single curb, the flexibility of a dual or triple curb, or the accessibility of a barrier-free design, we have you covered.
The key to a successful bathroom renovation is not just choosing the right products but also ensuring they are installed correctly. In the next section, we’ll cover essential tips on how to protect your shower pan during tiling, setting you up for a flawless finish with Aqua Gleam Bathrooms.
How to Protect Your Shower Pan During Tiling
When it comes to installing a tileable shower pan, protecting it during the tiling process is crucial for a flawless finish. Here are some straightforward steps to ensure your shower pan remains in perfect condition through the installation.
Cardboard Protection
Firstly, cover the surface of your shower pan with cardboard. This simple yet effective method shields the pan from scratches or dents that can occur when tools or tiles are accidentally dropped. Cut the cardboard to fit snugly within the pan’s interior, ensuring every inch is covered. Secure it with painter’s tape, which won’t leave a sticky residue.
Drain Hole Marking
Secondly, accurately mark the drain hole. This step is critical to avoid any tiling mishaps around the most crucial part of your shower pan. Use a marker to outline the drain on the cardboard. This visual guide will help you tile accurately, ensuring proper drainage and avoiding potential water damage.
Template Creation
Lastly, create a template for the tile layout. This might sound like an extra step, but it’s a time-saver in the long run. Using paper or thin cardboard, lay out your tile design around the drain marking. This template acts as a blueprint, allowing you to cut and position tiles without guesswork. It ensures a precise fit around the drain, reducing the risk of leaks and enhancing the overall aesthetic of your shower.
By following these simple steps – cardboard protection, drain hole marking, and template creation – you’re setting yourself up for success. Not only do these methods protect your shower pan during the tiling process, but they also contribute to a more efficient and visually appealing installation. With Aqua Gleam Bathrooms, you can achieve that perfect bathroom renovation with confidence, knowing every detail has been carefully considered.
Keep these tips in mind for a smooth installation process, ensuring your tileable shower pan remains intact and functions flawlessly for years to come.
Installation Tips for Tileable Shower Pans
When it comes to installing tileable shower pans, a few key steps can make all the difference. Here’s how to ensure a successful installation:
Tiling on Top of the Tray
- Start with a Clean Base: Before you begin, ensure the shower tray is clean and free from any debris. A clean surface will help the tiles adhere better.
- Use the Right Adhesive: Choose a waterproof tile adhesive specifically designed for wet areas. This will ensure the tiles stay in place and remain water-resistant over time.
- Apply Evenly: Spread the adhesive evenly across the surface of the shower tray, using a notched trowel. This will create a uniform base for the tiles to sit on.
Tiling and Plastering Simultaneously
- Work in Sections: When tiling and plastering simultaneously, work in small sections. This approach allows you to focus on getting each area right before the adhesive or plaster dries.
- Maintain Consistency: Keep a consistent thickness of tile adhesive and plaster to avoid uneven surfaces. Use spacers to maintain equal distances between tiles for a professional finish.
- Seal the Deal: Once the tiles and plaster are in place, apply a waterproof sealant around the edges and over the grout lines. This extra step will protect against water damage and prolong the life of your shower pan.
Shower Area Preparation
- Measure Twice, Cut Once: Before any installation begins, accurately measure your shower area. This will help you purchase the correct size tileable shower pan and avoid any surprises during installation.
- Check for Level: Ensure the floor where you’ll be installing the shower pan is level. An uneven floor can lead to improper drainage and potential water damage.
- Waterproofing is Key: Apply a waterproof membrane over the area where the shower pan will sit. This extra layer of protection will help prevent leaks and water damage to the subfloor.
By following these installation tips, you’ll be well on your way to a successful tileable shower pan installation. The key to a long-lasting and visually appealing shower area is preparation, precision, and protection. With Aqua Gleam Bathrooms, you can achieve a professional-looking installation that stands the test of time.
Let’s delve into the maintenance and longevity of your tileable shower pan, ensuring it continues to serve you well for years to come.
Maintenance and Longevity
Maintaining your tileable shower pan is key to ensuring its longevity and performance. Here are some essential practices to keep your shower pan in top condition:
Re-grouting
Re-grouting is a process you might need to consider over time. Grout, the material that fills the spaces between tiles, can crack and wear away, especially in a high-moisture environment like a shower. If you notice the grout deteriorating, it’s time for a re-grout. This process involves removing the old grout and applying new grout to keep the area waterproof and looking fresh. It’s a relatively straightforward task that can significantly extend the life of your shower pan and tiles.
Re-sealing
Re-sealing is another critical maintenance step, particularly for the grout and any natural stone tiles you may have. Sealant acts as a barrier against moisture and dirt, preventing mold growth and tile staining. It’s recommended to re-seal the grout and tiles every one to two years, depending on the amount of use your shower gets. This process is simple yet effective in maintaining the aesthetic appeal and functionality of your tileable shower pan.
Shower Pan Liner Lifespan
The shower pan liner, an unseen yet crucial component, works behind the scenes to prevent water leakage. The lifespan of a shower pan liner can vary, but with proper installation and care, it should last as long as your bathroom does—potentially decades. Signs that a liner may need replacing include visible water damage or mold growth outside the shower area, indicating a breach in the liner. However, with Aqua Gleam Bathrooms’ high-quality tileable shower pans, you can rest assured that your liner is designed for durability.
Maintaining your tileable shower pan is not just about keeping it looking good; it’s about ensuring that it continues to function effectively, preventing water damage and mold growth. Regular checks, cleaning, and the occasional re-grouting and re-sealing can make a significant difference in the lifespan of your shower area. A little maintenance goes a long way in preserving the beauty and integrity of your bathroom.
We’ll address some of the most Frequently Asked Questions about Tileable Shower Pans, providing you with clear, concise answers to help you make the most of your bathroom installation.
Frequently Asked Questions about Tileable Shower Pans
When considering a tileable shower pan for your bathroom, it’s normal to have questions. Let’s dive into some of the most common inquiries to ensure you have all the information you need.
Can a shower pan be tiled?
Yes, a shower pan can definitely be tiled. Tileable shower pans are specifically designed to be covered with tiles. This allows for a seamless and customizable look that matches the rest of your bathroom decor. The key is choosing a pan that’s compatible with tile adhesion, ensuring a secure and lasting finish.
How do I protect my shower pan when tiling?
Protecting your shower pan during the tiling process is crucial. Here are a few steps to keep in mind:
- Use Cardboard: Lay cardboard over the pan to protect it from drops of mortar or grout, scratches, or chips from tools.
- Mark the Drain Hole: Carefully mark and cut out the area around the drain hole in the cardboard to avoid blockages.
- Create a Template: If your tile design is complex, consider creating a template. This allows you to cut and adjust tiles before laying them on the pan, minimizing the risk of damage.
These simple steps can help ensure your shower pan remains in prime condition throughout the installation process.
How long does a tile shower pan last?
The lifespan of a tileable shower pan can vary based on several factors, including the quality of the pan, the installation process, and how well it’s maintained. Generally, a well-installed and properly maintained tileable shower pan can last 20 years or more. Regular maintenance tasks, like re-grouting and re-sealing, can significantly extend the life of your shower pan, ensuring it remains functional and attractive for years to come.
As we’ve explored the essentials about tileable shower pans, it’s clear that with the right preparation and care, they offer a durable and stylish choice for any bathroom. The key to a long-lasting tileable shower pan lies in proper installation and regular maintenance.
Conclusion
In wrapping up our guide on tileable shower pans, it’s evident that these components are not only pivotal in creating a waterproof barrier but also offer an aesthetic appeal that can elevate the look of any bathroom. From understanding the different types to mastering installation and upkeep, we’ve covered the groundwork to help you make informed decisions for your bathroom renovations.
At Aqua Gleam Bathrooms, we pride ourselves on our expertise in transforming bathrooms into spaces that blend functionality with style. Our team of skilled professionals is dedicated to guiding you through the selection and installation of the perfect tileable shower pan that meets your needs and preferences. Whether you’re contemplating a single curb, dual curb, triple curb, or barrier-free shower pan, we’re here to ensure your bathroom embodies both elegance and practicality.
Maintaining your tileable shower pan is crucial for its longevity, and with our professional advice on re-grouting, re-sealing, and caring for your shower pan, you can rest assured that your bathroom will remain both functional and attractive for years to come. Our commitment to quality and customer satisfaction means that we’re always ready to address any queries or concerns you may have about tileable shower pans or any other aspect of bathroom renovation.
Choosing the right bathroom elements can be daunting, but with Aqua Gleam Bathrooms, you’re not alone in this journey. We invite you to explore our services and discover how we can help you achieve the bathroom of your dreams. Let us bring our expertise to your home and transform your bathroom into a space that you’ll love for years to come.
Thank you for joining us on this informative journey through tileable shower pans. We hope this guide has illuminated the path towards selecting, installing, and maintaining the ideal shower pan for your bathroom. At Aqua Gleam Bathrooms, your bathroom transformation is our passion. Let’s create something beautiful together.