

Sparkling Clean Faucets: A Must-Know for Every Homeowner
Keeping your kitchen faucet head clean is essential. Over time, it can accumulate grime, bacteria, and hard water deposits. These can not only affect how your faucet looks but also impact water flow.
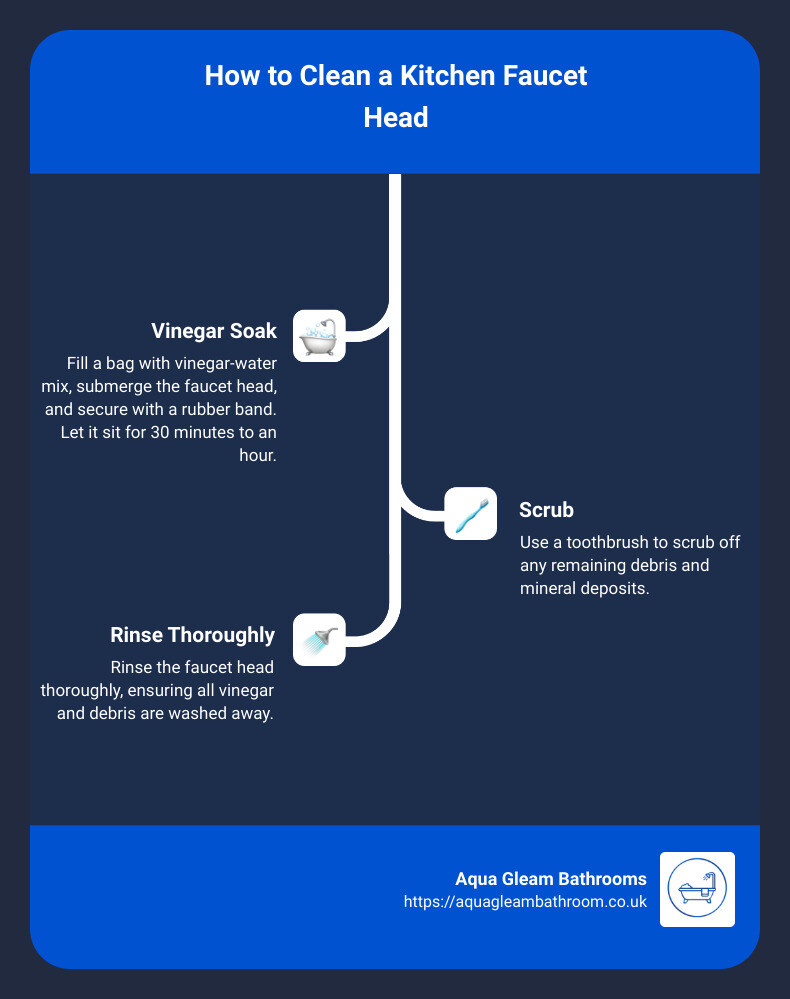
How to clean a kitchen faucet head:
1. Fill a plastic bag halfway with a vinegar-water mix.
2. Submerge the faucet head and secure with a rubber band.
3. Let it sit for 30 minutes to an hour.
4. Scrub any remaining debris with a toothbrush.
5. Rinse thoroughly.
Faucet heads are often overlooked in regular cleaning routines. However, they play a crucial role in maintaining good water flow and hygiene. Jennifer Parnell, co-founder of Humble Suds, emphasizes using vinegar to tackle hard water deposits effectively, making sure not to damage the finish. Similarly, Leanne Stapf, COO of The Cleaning Authority, swears by baking soda for its cleaning prowess on stainless steel.
At Aqua Gleam Bathrooms, we know that attention to detail makes all the difference. Regular cleaning of your faucet head can protect your investment and keep it functioning perfectly for years to come.
Quick how to clean a kitchen faucet head terms:
– how to fix a leaky kitchen faucet
– how to remove a kitchen faucet
– how to repair a leaking kitchen faucet
Why It’s Important to Clean Your Faucet Head
Cleaning your faucet head is more than just about appearances. It’s about ensuring your kitchen remains a clean and efficient space. Let’s dive into why it’s crucial.
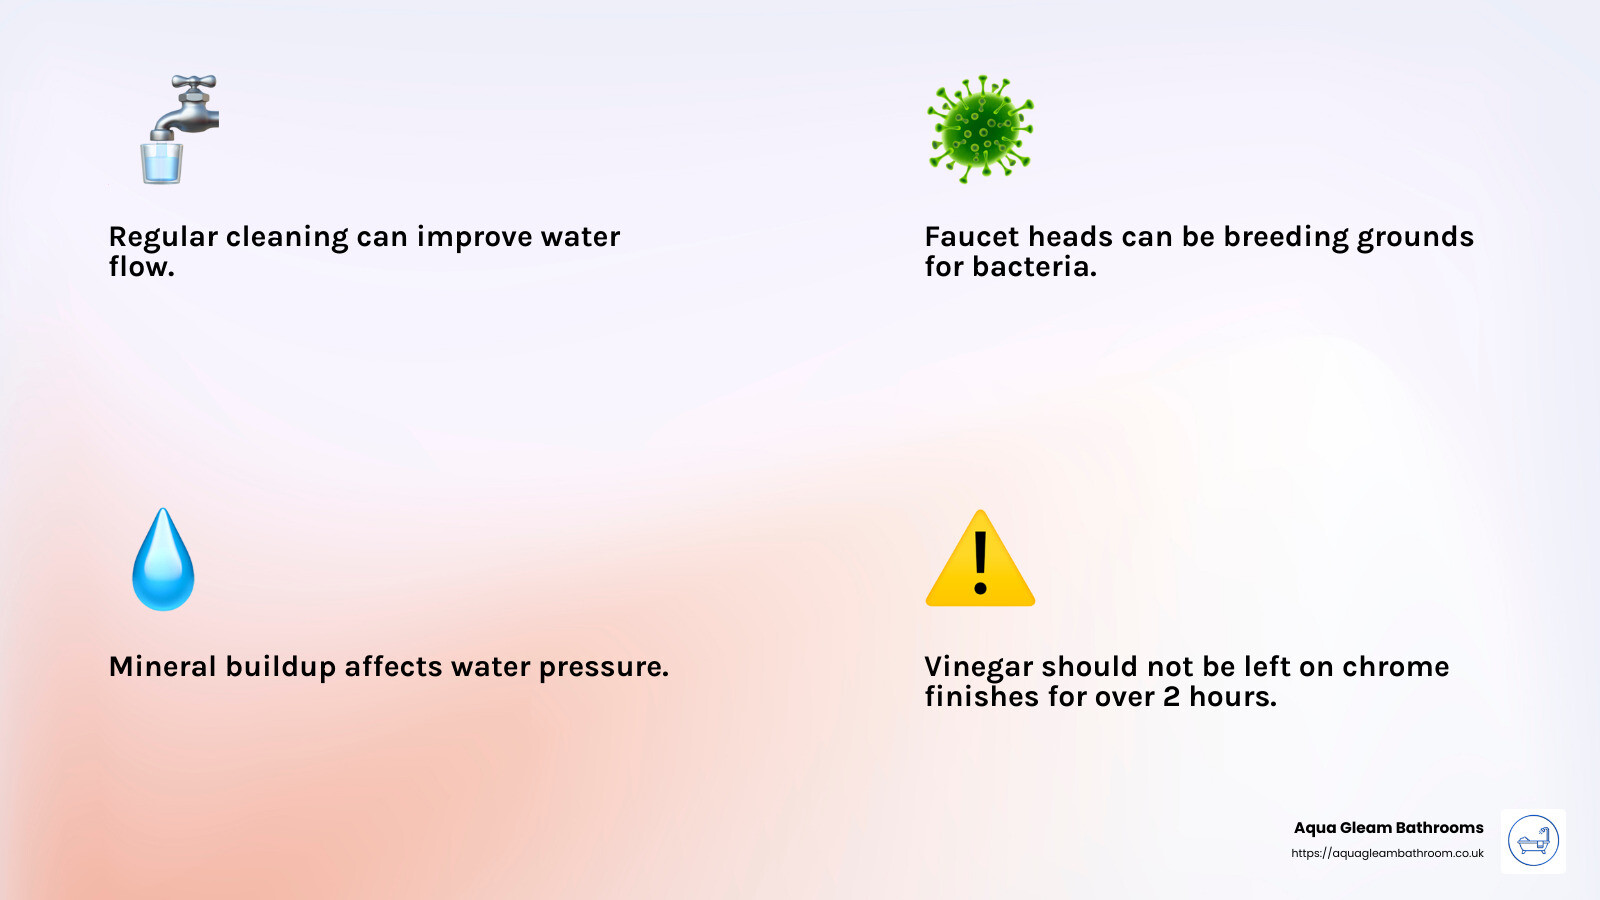
Water Flow Impact: Over time, mineral buildup and hard water deposits can clog the tiny holes in your faucet head. This can lead to reduced water pressure and uneven water flow. By regularly cleaning your faucet head, you can maintain optimal water flow and avoid the frustration of a weak stream.
Bacteria Buildup: Your faucet head is a breeding ground for bacteria. The damp environment is perfect for germs to thrive. Regular cleaning helps eliminate these bacteria, making your kitchen a safer place for food preparation and daily activities.
Hard Water Deposits: Hard water leaves behind mineral deposits, which can be particularly stubborn. Jennifer Parnell, co-founder of Humble Suds, highlights the effectiveness of vinegar in removing these deposits. However, she warns that vinegar should not be left on finishes like chrome for more than two hours to avoid damage.
Mineral Buildup: Beyond hard water deposits, other minerals can accumulate and affect the faucet’s performance. Leanne Stapf, COO of The Cleaning Authority, recommends using baking soda for its gentle yet effective cleaning properties.
Regular cleaning of your faucet head is a simple yet essential step in maintaining your kitchen’s functionality and hygiene. Aqua Gleam Bathrooms is here to help you keep every part of your kitchen sparkling clean and in top working condition.
Next, we’ll guide you through the process of cleaning your faucet head with vinegar—a tried and true method for tackling grime and buildup.
How to Clean a Kitchen Faucet Head with Vinegar
Cleaning your kitchen faucet head with vinegar is a simple and effective way to tackle grime and mineral buildup. This method is highly recommended by experts like Katie Dills, Brand President of The Cleaning Authority, and Guldeste Tursunbaeva, General Manager of Superb Maids Charlotte. Here’s how to do it.
Materials Needed
- Distilled white vinegar
- Plastic bag
- Rubber band
- Toothbrush
- Baking soda (optional)
Step-by-Step Process
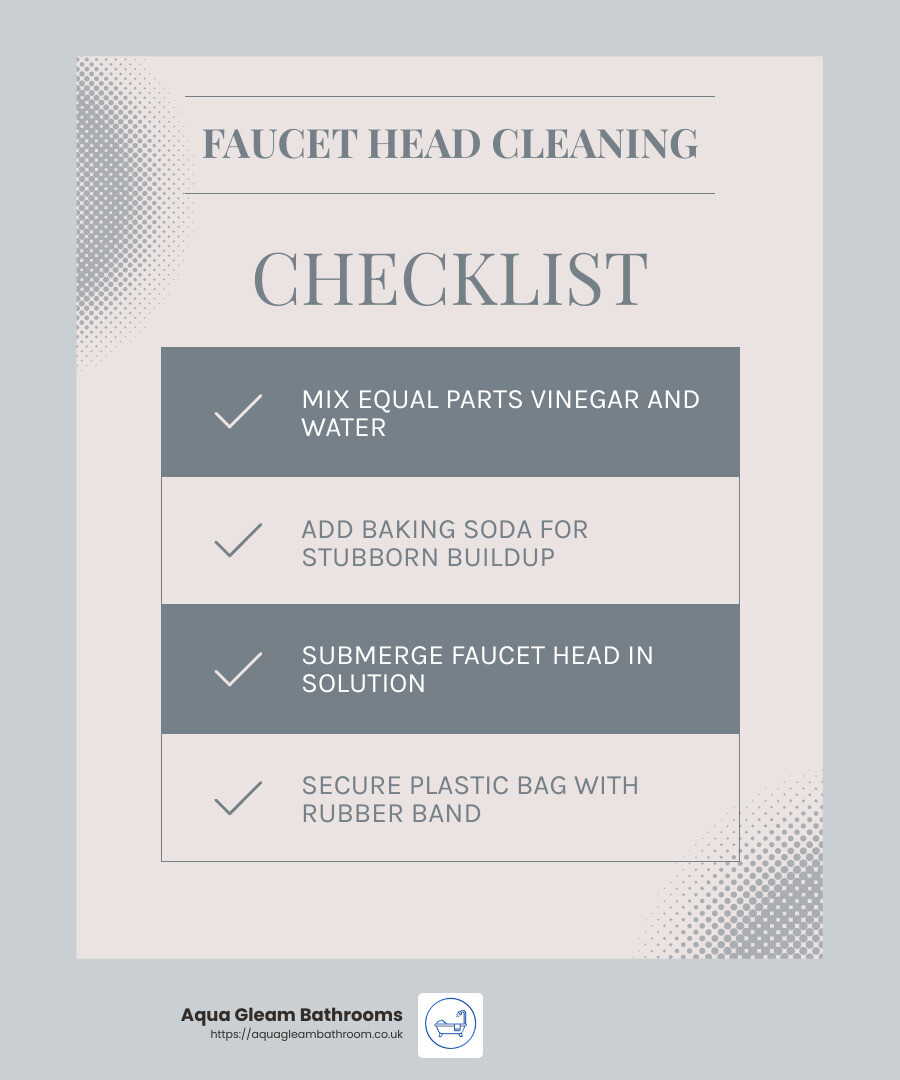
1. Mix Vinegar and Water
Start by mixing equal parts distilled white vinegar and water. If it’s been a while since your faucet head was last cleaned, Katie Dills suggests adding a couple of tablespoons of baking soda to the mixture. This will cause harmless fizzing and bubbling that helps break down stubborn buildup.
2. Submerge Faucet Head
Pour the vinegar and water solution into a plastic bag. Submerge the faucet head in the solution. Ensure that the entire faucet head is covered.
3. Secure with Rubber Band
Use a rubber band to secure the plastic bag around the faucet head. This keeps the faucet head submerged in the vinegar solution.
4. Soak for 30 Minutes
Let the faucet head soak in the solution for 30 minutes. This soaking time allows the vinegar to dissolve mineral deposits and kill bacteria.
5. Scrub with Toothbrush
After soaking, remove the bag and dispose of the solution. Use a toothbrush to scrub the faucet head gently. Focus on the small holes where water flows out, as these are prone to clogging.
6. Rinse Thoroughly
Finally, rinse the faucet head thoroughly with water. Run the faucet for a few seconds to ensure any remaining vinegar solution is flushed out.
This method not only helps maintain the water flow but also ensures your kitchen faucet head stays clean and free from harmful bacteria. For more tips on keeping your kitchen sparkling, stay tuned for our next section on how to clean a faucet head with baking soda.
How to Clean a Kitchen Faucet Head with Baking Soda
When it comes to how to clean a kitchen faucet head, baking soda is a fantastic option. It’s gentle yet effective and can handle stubborn grime and mineral buildup.
Materials Needed
- Baking soda
- Water
- Small bowl
- Toothbrush
- Hydrogen peroxide (optional)
Step-by-Step Process
1. Mix Baking Soda and Water
Start by pouring some baking soda into a small bowl. Add just enough water to create a thick, spreadable paste. If you need extra cleaning power, consider adding a bit of hydrogen peroxide to the mixture.
2. Apply the Paste
Spread the baking soda paste over the faucet head, making sure to cover all areas, including the nozzles. This paste works wonders in breaking down grime and mineral deposits.
3. Let Sit for 30 Minutes
Allow the paste to sit on the faucet head for about 30 minutes. This gives the baking soda time to work its magic on the buildup.
4. Scrub with Toothbrush
After 30 minutes, take a wet toothbrush and gently scrub the faucet head. Pay special attention to the nozzles where mineral deposits often accumulate.
5. Rinse Thoroughly
Finally, rinse the faucet head thoroughly with water. Make sure to remove all traces of the baking soda paste. Run the faucet for a few seconds to ensure everything is flushed out.
This method is straightforward and effective for maintaining a clean and functional kitchen faucet head. Next, we’ll explore how to clean a faucet head using CLR, a powerful commercial cleaner.
How to Clean a Kitchen Faucet Head with CLR
If you’re dealing with stubborn calcium, lime, and rust deposits, CLR (Calcium, Lime, and Rust remover) is a powerful commercial cleaner that can make your faucet head sparkle. It’s designed to tackle the toughest mineral buildup with ease.
Materials Needed
- CLR cleaner
- Water
- Bowl
- Toothbrush
Step-by-Step Process
1. Mix CLR and Water
Start by mixing a 50/50 solution of CLR and water in a bowl. This dilution is strong enough to break down tough deposits but safe for most faucet finishes.
2. Submerge Faucet Head
Detach the faucet head if possible and submerge it in the bowl containing the CLR solution. Ensure that the entire faucet head is covered by the liquid.
3. Soak for 2-3 Minutes
Allow the faucet head to soak in the solution for 2 to 3 minutes. CLR works quickly to dissolve calcium, lime, and rust deposits.
4. Scrub with Toothbrush
After soaking, use a toothbrush to gently scrub the faucet head. Focus on the nozzles and any areas with visible buildup. The deposits should come off easily after soaking in the CLR solution.
5. Rinse Thoroughly
Once scrubbing is complete, rinse the faucet head thoroughly with cold water. Make sure to remove all traces of the CLR solution. Submerge the faucet head in a bowl of clean, cold water for an additional 2 minutes to ensure it’s fully rinsed.
Important Note: CLR is safe for use on chrome, fiberglass, porcelain, and stainless steel but should be kept away from natural stone, brass, copper, aluminum, and galvanized metals.
Using CLR is a quick and efficient way to restore your faucet head to its original condition. Next, we’ll discuss how to remove and clean the aerator, a small but crucial part of your faucet.
How to Remove and Clean the Aerator
The aerator, a small screen at the tip of your faucet, can accumulate mineral deposits over time, affecting water flow. Cleaning it is a simple process that can make a big difference.
Materials Needed
- Pliers
- Towel
- Vinegar
- Baking soda
- Toothbrush
Step-by-Step Process
1. Remove the Aerator
First, check if your aerator is removable. Most are, and you’ll need to unscrew it from the faucet head.
- Cover the Drain: Place a towel or plug over the drain to catch any small parts that might fall.
- Use Pliers: Wrap a towel around the aerator to protect its finish. Grip it gently with pliers and twist counterclockwise to loosen. If it’s stuck, apply a bit more pressure but be careful not to damage it.
2. Soak in Vinegar
Once the aerator is removed, it’s time for a vinegar bath.
- Prepare the Solution: Mix equal parts vinegar and water in a small bowl.
- Soak: Submerge the aerator in the solution for 30 minutes. Vinegar is excellent for dissolving mineral deposits.
3. Scrub with Toothbrush
After soaking, it’s time to scrub away any remaining buildup.
- Use a Toothbrush: A soft-bristle toothbrush works well for this. Scrub all parts of the aerator, focusing on the screen where debris tends to accumulate.
- Add Baking Soda: For extra cleaning power, sprinkle a bit of baking soda on the toothbrush before scrubbing. The mild abrasiveness helps dislodge stubborn particles.
4. Rinse and Reattach
After scrubbing, rinse the aerator thoroughly with water.
- Rinse Well: Make sure all vinegar and baking soda residue is gone.
- Reattach the Aerator: Screw the aerator back onto the faucet. Hand-tighten first, then use the towel and pliers to secure it, but don’t over-tighten.
Cleaning the aerator can significantly improve your water flow and keep your faucet functioning properly.
Next, we’ll tackle some frequently asked questions about cleaning faucet heads.
Frequently Asked Questions about Cleaning Faucet Heads
What can I use to clean my kitchen faucet head?
You have several options for cleaning your kitchen faucet head, many of which involve common household items:
- Vinegar: Distilled white vinegar is a fantastic choice. It effectively removes hard water deposits and mineral buildup.
- Baking Soda: Baking soda is great for scrubbing away stains and grime.
- Dish Soap: A mild dish soap can help remove smudges and light dirt.
- Toothbrush: A soft-bristle toothbrush is perfect for scrubbing those hard-to-reach places.
A combination of these materials can often yield the best results.
How do you remove sediment from faucet heads?
Removing sediment from faucet heads is about loosening and washing away the buildup:
- Vinegar Soak: Submerge the faucet head in a solution of equal parts vinegar and water. This helps dissolve mineral deposits.
- Scrub: After soaking, use a toothbrush to scrub away any remaining debris. The bristles can reach into tiny crevices.
- Rinse Thoroughly: Make sure to rinse the faucet head well to remove any loosened particles and cleaning residues.
For particularly stubborn sediment, you might need to repeat the process or use a mild abrasive like baking soda.
How long to soak kitchen faucet head in vinegar?
The length of time you should soak your faucet head in vinegar depends on the material and level of buildup:
- Standard Soak: For most faucet heads, a 30-minute soak in a vinegar and water solution is sufficient.
- Sensitive Finishes: If your faucet has a sensitive finish, like chrome or brass, limit the soaking time to 30 minutes to avoid damage.
Always rinse thoroughly after soaking to ensure all vinegar is removed. This prevents potential damage and leaves your faucet sparkling clean.
By following these steps and using the right materials, you can keep your kitchen faucet head clean and ensure optimal water flow. For more tips on maintaining your kitchen and bathroom fixtures, stay tuned!
Conclusion
Regular cleaning of your kitchen faucet head is not just about keeping it looking shiny and new. It’s also crucial for maintaining proper water flow and preventing bacteria buildup. Ignoring this simple task can lead to hard water deposits and mineral buildup, which can affect your faucet’s performance and even your family’s health.
At Aqua Gleam Bathrooms, we believe in the importance of regular maintenance to extend the life of your kitchen and bathroom fixtures. Our high-quality workmanship and attention to detail ensure that every installation meets the highest standards. By following our expert tips, you can keep your faucet heads in top condition and enjoy a clean, efficient kitchen.
For more information on designing your custom kitchen and maintaining your fixtures, visit our service page.
Regular cleaning might seem like a small task, but it makes a big difference. So, say goodbye to grime and hello to a sparkling, well-functioning kitchen faucet head!