
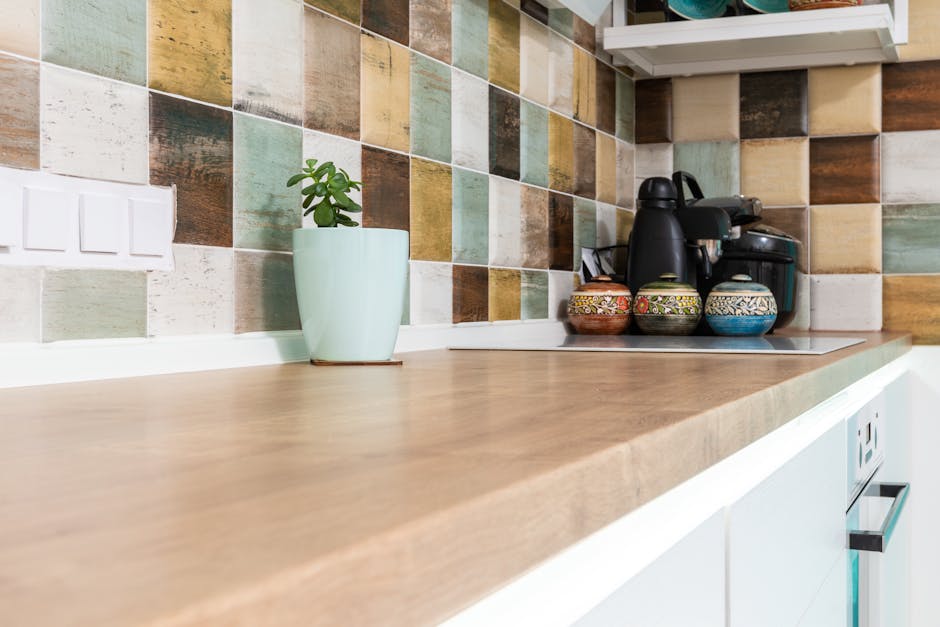
The Power of Kitchen Backsplash Tiling
Kitchen backsplash tiling is more than just a practical addition to your kitchen—it can transform the whole space. Whether you’re eyeing a sleek modern look or a timeless classic, your backsplash tile can be the perfect finishing touch that pulls your design together.
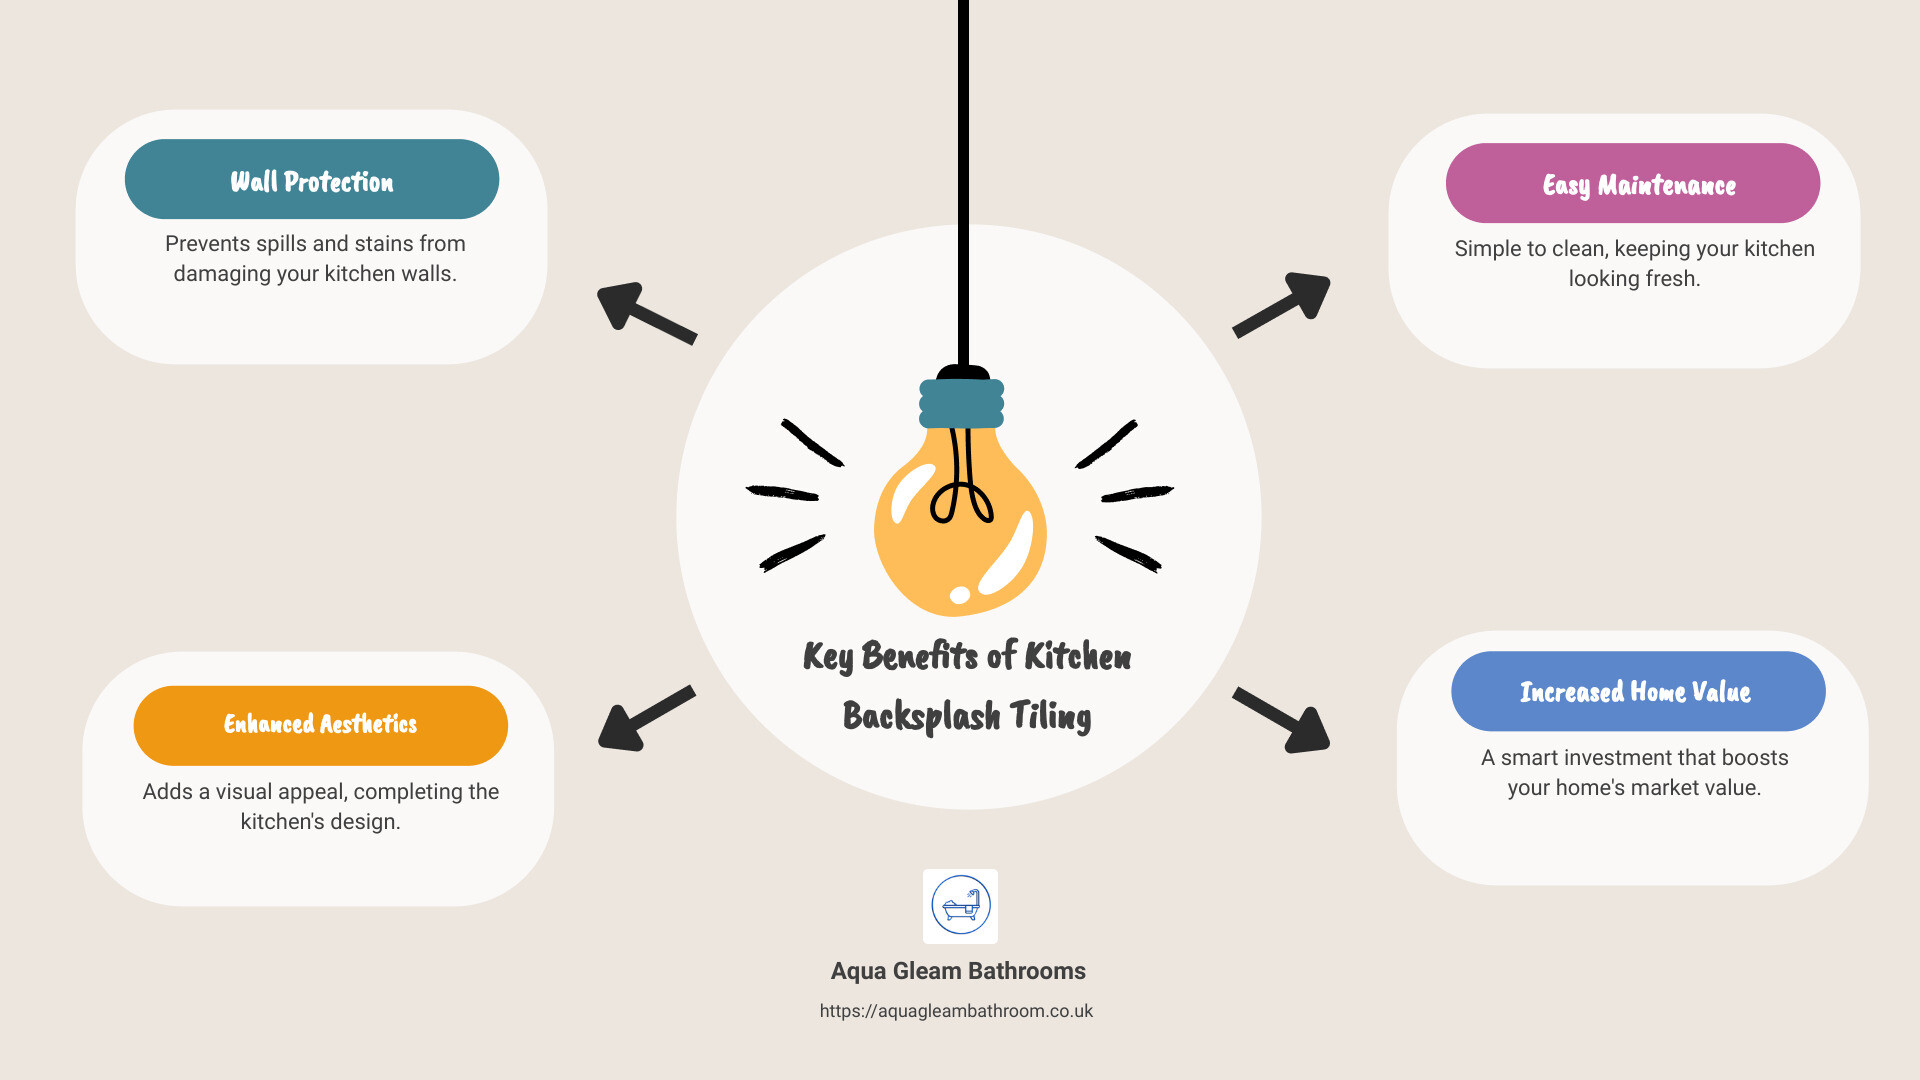
Key Benefits of Kitchen Backsplash Tiling:
– Protects your walls from spills and stains
– Improves your overall kitchen aesthetics
– Easy to clean and maintain
– Adds value to your home
A beautiful backsplash blends form and function seamlessly. From porcelain and ceramic tiles known for their durability to the vibrant and reflective glass tiles perfect for a contemporary vibe, your choices are vast. A well-chosen backsplash not only protects your walls but can also become the focal point of your kitchen, displaying your unique style.
Installing a stunning backsplash is one of the smartest upgrades you can make. Ready to get started? Here’s everything you need to know for a flawless finish.
Know your Kitchen backsplash tiling terms:
– Bathroom wall tiling
– High-quality bathroom tiles
– custom tiling services
Planning Your Kitchen Backsplash Tiling Project
Measuring Your Wall
Before diving into your kitchen backsplash tiling project, start by measuring your wall accurately. This step ensures you purchase the right amount of materials and avoid unnecessary trips to the store.
-
Calculate Square Footage: Measure the height and width of the area where you plan to install the backsplash. Multiply these numbers to get the square footage. Remember to subtract the space taken up by cabinets and appliances.
-
Account for Outlets and Switches: Measure around outlets and switches. You’ll need to cut tiles to fit these spaces, so having precise measurements helps.
-
Plan for an Expansion Gap: Leave a 1/8-inch expansion gap around the perimeter where the tile meets the cabinets and countertops. This allows for slight movements and prevents cracking.
Choosing the Right Tile
Selecting the right tile is crucial for both the aesthetic and functional aspects of your kitchen backsplash.
-
Ceramic and Porcelain Tiles: These are durable and versatile. They can withstand heat and are easy to clean. They come in various styles, including marble-look and patterned designs.
-
Glass Tiles: Perfect for a sleek, contemporary look. They reflect light and come in a variety of colors and shapes. Glass tiles are also easy to clean but can be more expensive.
-
Mosaic Tiles: These are small tiles mounted on sheets, making them easy to install. They come in various materials like porcelain, ceramic, marble, and glass. Mosaic tiles add a unique, artistic touch to your kitchen.
-
Natural Stone Tiles: These offer a rustic, neat look. However, they require sealing to prevent stains and are generally more challenging to maintain.
Gathering Tools and Materials
Having the right tools and materials on hand will make your kitchen backsplash tiling project smoother and more efficient.
Essential Tools:
- Trowel: A notched trowel is essential for spreading mortar evenly.
- Grout Float: For applying grout between the tiles.
- Tile Spacers: To ensure even spacing between tiles.
- Tile Cutter: For cutting tiles to fit around edges and outlets.
- Level: To keep your tiles straight.
- Utility Knife: Useful for cutting mesh backing on mosaic tiles.
- Drill/Driver: For any necessary drilling tasks.
- Bucket and Sponge: For mixing mortar and cleaning up excess grout.
- Safety Gear: Don’t forget gloves, safety glasses, and a dust mask.
Necessary Materials:
- Tiles: Choose based on your design and material preferences.
- Mortar: Essential for adhering the tiles to the wall.
- Grout: To fill the spaces between tiles. Choose a color that complements your tiles.
- Caulk: For sealing edges.
- Grout Sealer: To protect grout from stains and moisture.
- Outlet Extenders: Required if your outlet boxes are recessed behind the new tile surface.
By carefully planning your kitchen backsplash tiling project, measuring accurately, choosing the right tiles, and gathering all necessary tools and materials, you set yourself up for a successful and rewarding DIY experience. Next, let’s dive into preparing the wall for a flawless finish.
Preparing the Wall
Before installing your kitchen backsplash, properly preparing the wall is crucial. This ensures a smooth, durable, and professional-looking finish.
Cleaning and Repairing the Wall
-
Grease Removal: Kitchens are prone to grease buildup, especially around the stove. Start by cleaning the wall with a degreaser to remove any grease and grime. This step is essential as any residue can prevent tiles from adhering properly.
-
Deglosser: If your wall has a glossy paint finish, use a deglosser to dull the surface. This creates a better bonding surface for the mortar.
-
Patching Holes: Inspect the wall for any holes, cracks, or imperfections. Use a patching compound to fill these areas. Smooth the surface with sandpaper once the compound dries. A level and even wall are key to a successful tile installation.
Protecting Surfaces
-
Drop Cloths: Lay down drop cloths to protect your countertops and floors from mortar, grout, and tile debris. This makes cleanup easier and prevents any accidental damage.
-
Tape: Use painter’s tape to mask off areas that you want to protect, such as the edges of cabinets, countertops, and any trim work. This also helps create clean lines and prevents mortar or grout from getting where it shouldn’t.
-
Power Shut-Off: Safety first! Before you begin working around outlets and switches, turn off the power at the breaker box. This prevents any risk of electrical shock while you’re cutting tiles and applying mortar.
By thoroughly cleaning, repairing, and protecting your work area, you set the stage for a flawless kitchen backsplash installation. Next, we’ll move on to installing the tile itself.
Installing the Tile
Installing Backer Board
Using a backer board is essential for a durable and moisture-resistant kitchen backsplash. Here’s how to install it:
-
Cutting the Backer Board: Measure the area where the backer board will be installed. Use a utility knife to cut the backer board to fit the space. Ensure the thickness matches your kitchen drywall for a seamless transition.
-
Attaching the Backer Board: Secure the backer board to the wall studs using 1 1/4-inch backer board screws. Leave a 1/8-inch gap between each panel to allow for expansion.
-
Sealing Gaps: Fill the gaps between panels with silicone tile caulk. Then, apply fiberglass mesh tape to all seams and corners to reinforce the joints.
Applying Mortar
Proper mortar application is crucial for a strong bond between the tiles and the wall.
-
Mixing: Follow the manufacturer’s instructions to mix your mortar. Natural stone tiles typically work well with a 1/4-inch x 1/4-inch notch trowel.
-
Spreading: Start with a 2-foot section. Spread a thin layer of mortar using the flat side of the trowel. Press at a 45-degree angle to ensure the mortar adheres fully to the wall.
-
Notched Trowel: Using the notched edge, add extra mortar and comb even ridges in one direction. This ensures uniform coverage and helps the tile adhere properly.
Laying the Tile
Now comes the exciting part—placing the tiles on the wall.
-
Pre-Lay: Before applying mortar, lay out your tiles on the wall to mark starting and end points. Use a pencil to mark tile positions.
-
Tile Placement: Begin placing the tiles according to your pre-lay marks. Use tile spacers to maintain even gaps between tiles. Slightly rock each tile up and down to collapse the ridges in the mortar and help the tile settle into place.
-
Leveling: Check that each tile is level. Use a straightedge or level to ensure even placement.
-
Cutting Tiles: If you need to cut tiles to fit around outlets or edges, use a wet saw for precise cuts. Always smooth any uneven edges with a rubbing stone.
-
Drying: Allow the mortar to dry completely, which usually takes about 24 hours.
By following these steps, you ensure a strong and even kitchen backsplash tiling job. Next, we’ll cover the final steps: grouting and sealing your tiles.
Grouting and Sealing
Applying Grout
Grouting is the process that fills the spaces between your tiles, ensuring a solid, finished look. Here’s how to do it right:
-
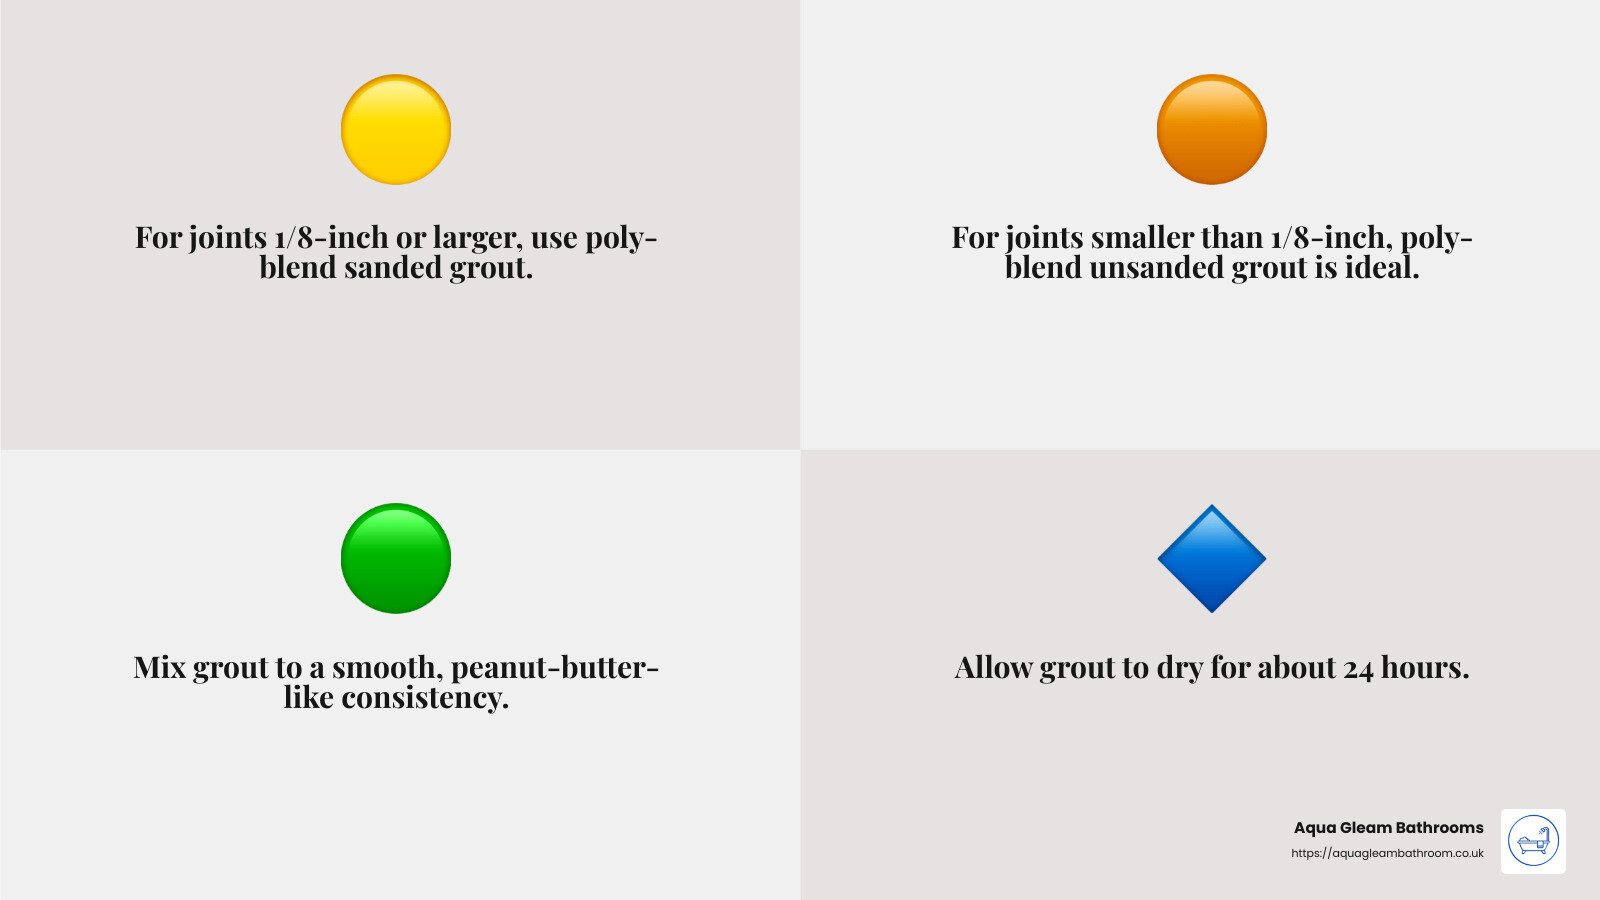
Choosing Grout Types: For joints 1/8-inch or larger, use poly-blend sanded grout. For joints smaller than 1/8-inch, poly-blend unsanded grout is ideal. Each type provides a secure, aesthetic finish.
-
Mixing Grout: Follow the package instructions to mix the grout. Typically, you’ll add the grout powder to water in a bucket and mix until you achieve a smooth, peanut-butter-like consistency. Let it stand for 5 to 10 minutes, then re-mix without adding more water.
-
Application: Apply the grout using a rubber float. Hold the float at a 45-degree angle and press the grout into the joints, moving diagonally across the tiles. This ensures the grout fills all gaps thoroughly.
-
Cleaning Excess Grout: Immediately after applying the grout, use a damp (not wet) sponge to wipe away excess grout from the tile surfaces. Rinse the sponge frequently to avoid spreading grout residue.
-
Drying: Allow the grout to dry according to the manufacturer’s instructions, usually about 24 hours. Keep the area well-ventilated to speed up drying.
Sealing the Tile
Sealing your grout and tiles is crucial for maintaining their appearance and durability. Here’s how to do it:
-
Grout Sealer: Once the grout has dried, apply a grout sealer to protect it from stains and moisture. Use a small brush or a sealer applicator bottle to apply the sealer evenly over the grout lines. Allow it to penetrate for the time specified on the product label, then wipe off any excess.
-
Caulking Gaps: Where the backsplash meets the countertops, cabinets, or other surfaces, use silicone caulk to seal these joints. This flexible sealant accommodates movement and prevents moisture from seeping behind the tiles.
-
Drying Times: Follow the drying times recommended by the sealer and caulk manufacturers. Typically, grout sealer needs about 24 hours to cure fully, while caulk may require a similar duration.
By paying attention to these steps, you’ll ensure a flawless and long-lasting finish for your kitchen backsplash tiling project. Next, we’ll address some frequently asked questions to help you further.
Frequently Asked Questions about Kitchen Backsplash Tiling
Where do you start when tiling a backsplash?
When tiling a backsplash, always start at the center of the wall. This is especially important in the area between the range and the vent hood, as it’s often the most visible spot.
- Draw a Center Line: Use a level to draw a vertical line in the center. This will be your guide for aligning the first tiles.
- Aligning Tiles: Place the first tile sheet directly above the spacers on the centerline. This ensures the tiles are straight and symmetrical.
Starting from the center helps you create a balanced look, making any cut tiles at the edges less noticeable.
Is tiling a kitchen backsplash easy?
Tiling a kitchen backsplash is a DIY-friendly project, but it requires intermediate skills. Here are some key points to consider:
- Preparation: Cleaning and repairing the wall are crucial steps. Grease removal and surface preparation ensure that the tiles adhere properly.
- Tools and Materials: You’ll need specific tools like a notched trowel, tile spacers, and a grout float. Having the right materials on hand makes the process smoother.
- Step-by-Step Process: Follow a structured approach, from applying mortar to placing tiles and grouting. Each step is manageable with patience and attention to detail.
While not overly complex, the project demands precision and care to achieve a professional finish.
Can you tile a kitchen backsplash over drywall?
Yes, you can tile a kitchen backsplash over clean, level drywall, but there are some conditions to consider:
- Drywall Condition: Ensure the drywall is in good shape—free from moisture damage, grease, and holes. Use a paint deglosser if needed.
- Moisture Considerations: Although kitchen areas are not as moisture-prone as showers, it’s still essential to use a proper grout sealer and caulk to prevent water from seeping behind the tiles.
Proper preparation and using the right materials will ensure your tiles stay securely in place and look great for years to come.
Conclusion
Kitchen backsplash tiling can transform your cooking space into a stylish and functional area. From planning to installation, each step requires attention to detail and the right materials. Here’s a quick recap:
- Planning: Measure your wall, choose the right tile, and gather essential tools.
- Preparing: Clean and repair the wall, and protect surfaces.
- Installing: Apply backer board, mortar, and lay the tiles with precision.
- Grouting and Sealing: Apply grout, clean excess, and seal the tile for durability.
At Aqua Gleam Bathrooms, we understand the importance of a flawless finish. Our team of experts is here to guide you through every step of the process, ensuring that your kitchen backsplash not only looks stunning but also stands the test of time.
Final Tips:
- Take Your Time: Rushing can lead to mistakes. Ensure each tile is level and properly spaced.
- Use Quality Materials: Invest in good quality tiles, grout, and tools. They make a significant difference in the final look and longevity.
- Follow Instructions: Adhere to the manufacturer’s guidelines for mixing mortar and grout. This ensures proper adhesion and durability.
For more inspiration and professional assistance, visit our custom tiling services page. Transform your kitchen with Aqua Gleam Bathrooms—where quality meets elegance.