
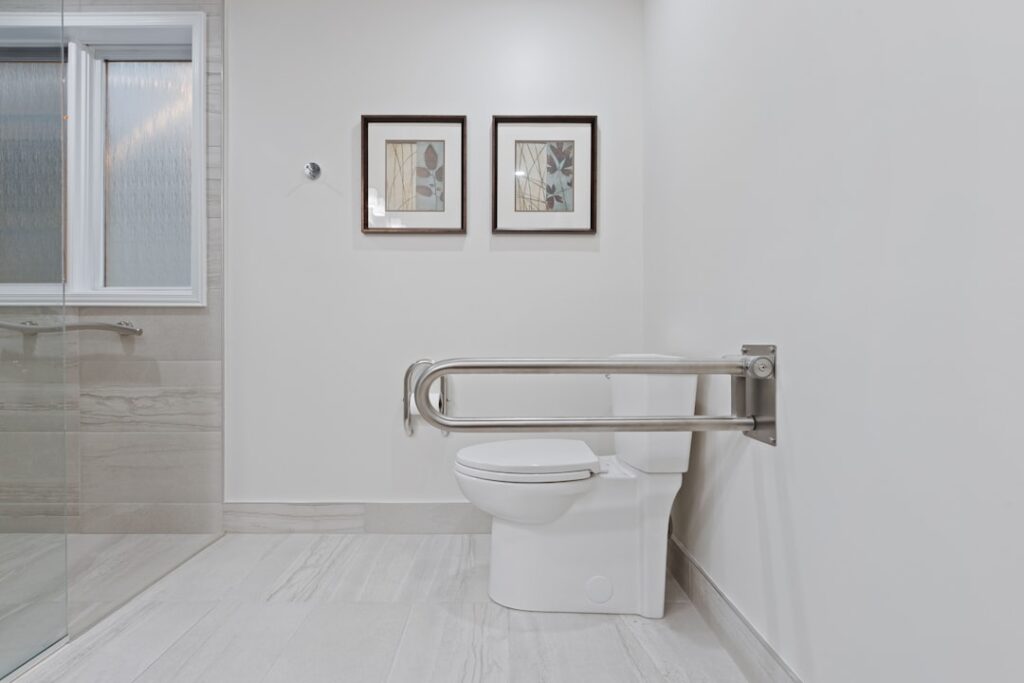
The Basics of Tiling a Bathroom Floor
Tiling a bathroom floor can be a rewarding DIY project that gives your bathroom a fresh, new look. It’s an intermediate-level task that, with the right tools and preparation, most homeowners can tackle themselves. The end result is a durable, moisture-resistant surface that stands up to the demands of daily use.
Here’s a quick overview to get you started:
- Benefits: Installing your own bathroom tile can save you money and give you the satisfaction of a job well done. Plus, tile floors are long-lasting and easy to maintain.
- Tools and Materials: Basic supplies like notched trowels, tile spacers, and a wet tile saw will make the job easier.
- Aqua Gleam Bathrooms: If you find the process overwhelming, the expert team at Aqua Gleam Bathrooms in Cardiff is ready to assist you. They offer high-quality workmanship and attention to detail, ensuring that your bathroom is both beautiful and functional.
Following the steps outlined in this guide, you can achieve professional-looking results without the hefty price tag.
Terms related to tiling a bathroom floor:
– ceramic tile installation
– laying 18 inch tile
– laying ceramic tile in a bathroom
Preparing Your Bathroom Floor for Tiling
Before diving into tiling a bathroom floor, it’s crucial to ensure that your floor is solid, level, clean, and dry. Proper preparation will make the tiling process smoother and help the tiles adhere better, ensuring a long-lasting finish.
Tools and Materials Needed
Having the right tools and materials on hand can make the job much easier. Here’s what you’ll need:
Tools:
– Notched trowel: Dispenses the right amount of thinset.
– Rubber grout float: For applying grout.
– Chalk snap line or laser level: Ensures straight lines and level surfaces.
– Multi-tool with wood cutting blade: For cutting door jambs and other small tasks.
– Wet tile saw: Essential for cutting tiles accurately.
– Rail tile cutter: For straight cuts on tiles.
– Tile nipper: For making small cuts and adjustments.
– Tile spacers: Keeps tiles uniformly spaced.
– Bucket: For mixing thinset and grout.
– Thin cardboard spacer: Helps in cutting door jambs to the right height.
Materials:
– 12-inch ceramic or porcelain tile: Durable and moisture-resistant.
– 3/4-inch tongue-and-groove plywood: If needed for subfloor repairs.
– Uncoupling tile membrane: Adds waterproofing and prevents tile cracking.
– Floor leveling compound: For filling in low spots on the floor.
– Thinset: Pre-mixed is easiest for beginners.
– Tile grout: Fills the gaps between tiles.
– Grout sealer: Protects grout from moisture.
– Grout haze remover: Cleans off the haze left by grout.
Safety Considerations
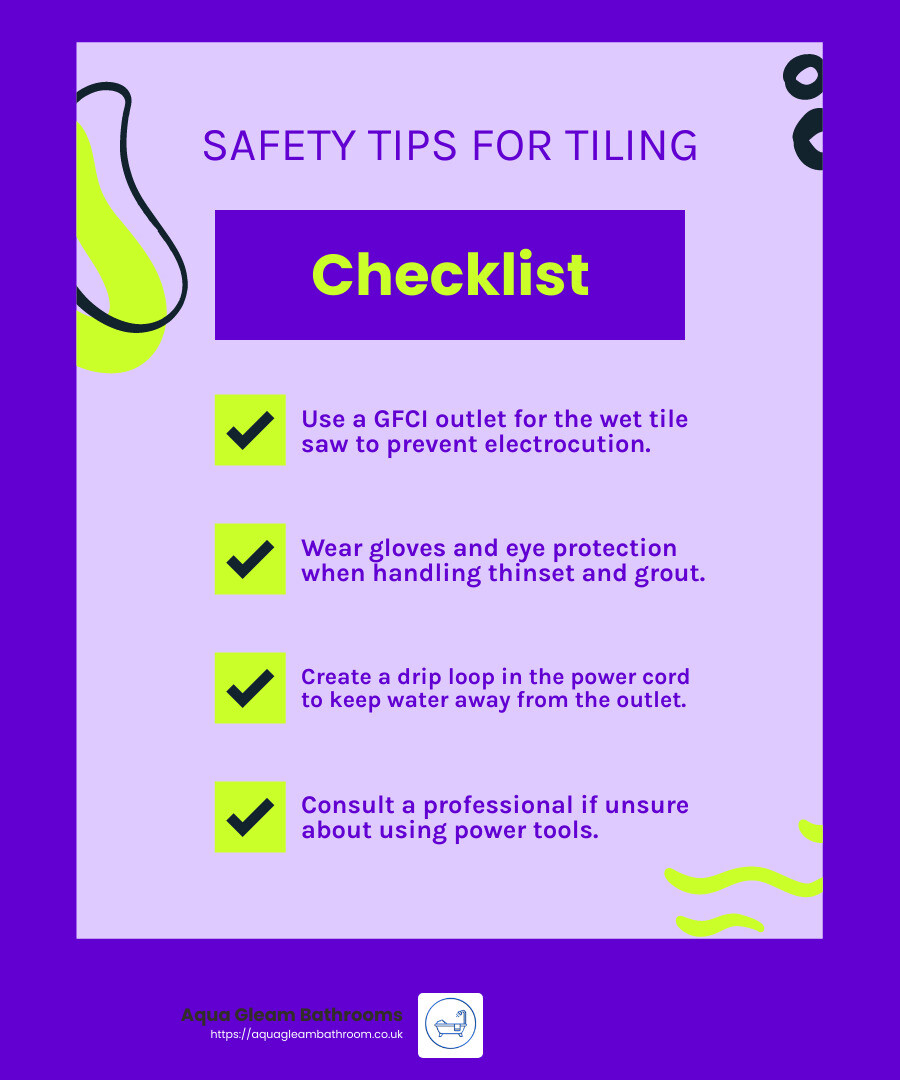
Working with power tools and materials like thinset and grout can be hazardous if proper precautions aren’t taken. Here are some key safety tips:
- Wet Tile Saw: This tool can be dangerous because it mixes water with electricity. Always plug it into a Ground Fault Circuit Interrupter (GFCI) outlet to prevent electrocution. Create a drip loop in the power cord to keep water from running into the outlet.
- Protective Gear: Wear gloves when handling thinset and grout, as they can draw moisture from your skin and cause burns. Eye protection is also essential when mixing these materials.
- Power Tools: Be cautious when using power tools in a bathroom. If you’re unsure about your skills, consult or hire a professional to avoid accidents.
Solid, Level, Clean, and Dry
For the best results, your subfloor needs to be in excellent condition. Here’s how to prepare it:
- Solid: Ensure your subfloor is sturdy. Drive 2-1/2-inch screws every eight inches into the floor joists to secure it.
- Level: Use a floor leveling compound to fill any low spots. Check for bulges and sand them down if necessary.
- Clean: Scrub the floor with an abrasive pad and vinyl floor stripper to remove wax and residue. This helps the thinset bond better.
- Dry: Make sure the floor is completely dry before you start tiling. Moisture can weaken the bond between the tile and the floor.
Subfloor and Cement Backer Board
If your subfloor is damaged or not level, you may need to replace it or add a cement backer board. Here are the steps:
- Assess the Subfloor: Check for water damage or warping. Replace any damaged sections with 3/4-inch tongue-and-groove plywood.
- Install Cement Backer Board: Lay the backer board over the subfloor, leaving a 1/8-inch gap between pieces. Secure it with cement board screws.
Mortar Bed
A mortar bed provides a solid base for your tiles. Here’s how to apply it:
- Mix Thinset: Follow the manufacturer’s instructions to mix the thinset.
- Apply Thinset: Use a notched trowel to spread the thinset evenly over the backer board.
- Lay the Membrane: Press the uncoupling tile membrane into the thinset to add waterproofing and prevent cracking.

By preparing your bathroom floor properly and using the right tools and materials, you set the stage for a successful tiling project. Next, we’ll dive into the step-by-step process of tiling a bathroom floor, from layout design to sealing the grout.
Step-by-Step Guide to Tiling a Bathroom Floor
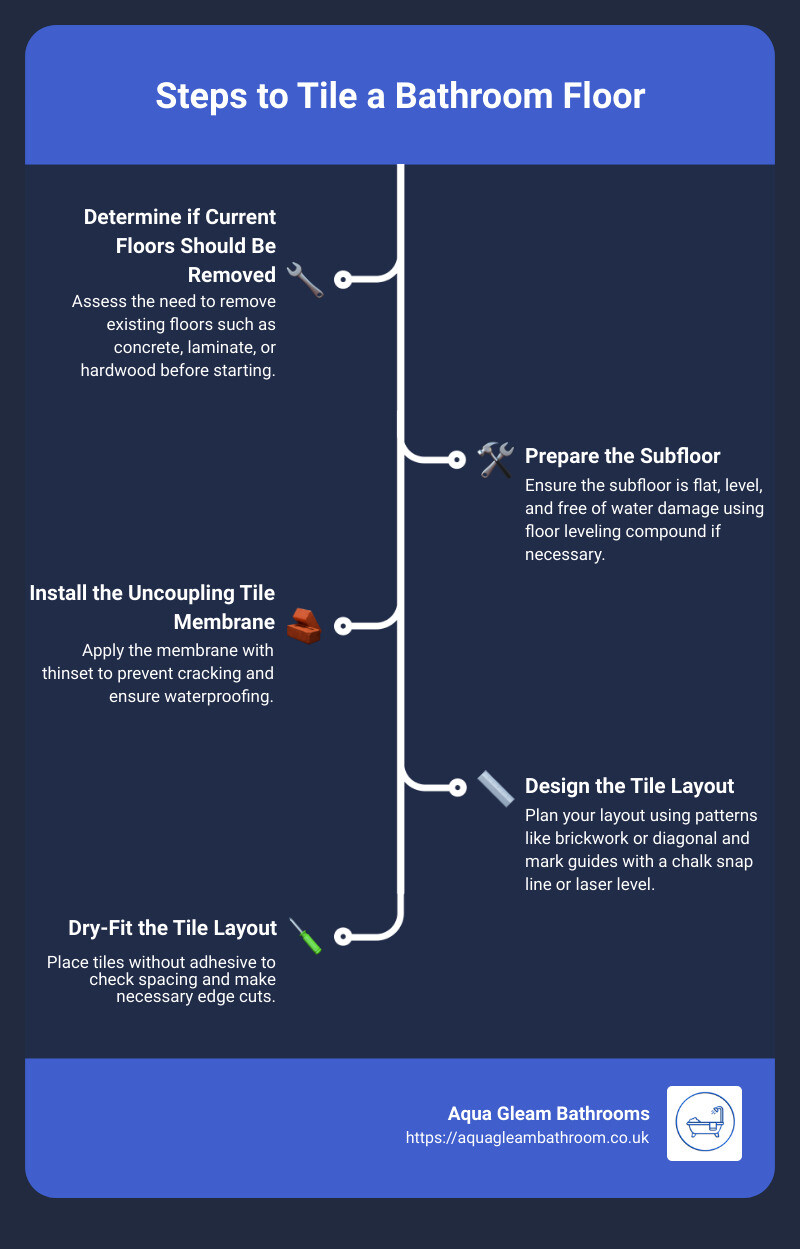
Step 1: Determine if Current Floors Should Be Removed
Before you begin, decide if you need to remove the existing flooring. Here’s a quick guide:
- Concrete or Laminate: You can tile directly over these if they’re in good condition.
- Hardwood: These floors can be tricky due to potential warping. If they’re not level, consider using a backer board.
Step 2: Prepare the Subfloor
A solid, level, clean, and dry subfloor is crucial for a successful tiling job.
- Assess for Damage: Check for water damage, especially near the shower, tub, toilet, and sink. Replace any damaged areas with 3/4-inch tongue-and-groove plywood.
- Level the Floor: Use a floor leveling compound to fill in any low spots. Make sure the subfloor is flat and level.
- Clean the Subfloor: Remove any debris, wax, or residue to ensure the thinset bonds well.
Step 3: Install the Uncoupling Tile Membrane
This step helps prevent cracks and adds waterproofing.
- Measure and Cut: Measure your bathroom floor and cut the uncoupling tile membrane to size.
- Apply Thinset: Spread unmodified thinset with a notched trowel.
- Install the Membrane: Press the membrane firmly into the thinset and let it bond for 24 hours.
Step 4: Design the Tile Layout
Plan your tile pattern for a cohesive look.
- Choose a Pattern: Options include grid, brickwork, or diagonal.
- Mark the Center Line: Use a chalk snap line or laser level to find the center of the room.
- Dry-Fit Tiles: Place tiles with spacers to visualize the layout and make adjustments.
Step 5: Dry-Fit the Tile Layout
Dry-fitting helps ensure an even layout.
- Start at the Center Line: Place tiles from the center outward.
- Use Spacers: This keeps the tiles uniformly spaced.
- Adjust for Edge Cuts: Ensure the most visible areas have full-size tiles.
Step 6: Cut the Door Jambs
Ensure tiles fit neatly under door jambs.
- Use a Spacer: Place a tile with a thin cardboard spacer beneath it.
- Mark the Jambs: Use a pencil to mark where to cut.
- Cut with a Multi-tool: Make precise cuts to fit the tiles.
Step 7: Fill the Tile Membrane Cavities
Prepare the surface for tiling.
- Mix Thinset: Follow the instructions for mixing.
- Fill Cavities: Use the straight edge of a trowel to fill the membrane cavities with thinset.
Step 8: Install the Tiles with Thinset
Now, it’s time to start laying the tiles.
- Spread Thinset: Use a notched trowel to spread thinset over a small area (about 2 feet by 2 feet).
- Butter the Tiles: Apply thinset to the back of each tile.
- Place Tiles: Press tiles firmly into the thinset and insert spacers.
Step 9: Cut the Tile
Cut tiles as needed for edges and around obstacles.
- Use a Rail Tile Cutter or Wet Tile Saw: For straight cuts.
- Tile Nipper: For small, intricate cuts around objects like pipes.
Step 10: Apply Tile Grout
Grout fills the gaps between tiles.
- Mix Grout: Follow the instructions on the package.
- Apply with a Rubber Grout Float: Press grout into the seams, pulling the float diagonally across the tiles.
- Curing Time: Let the grout set for 24 to 48 hours.
Step 11: Remove the Grout Haze
Clean off the grout residue.
- Grout Haze Remover: Mix with cool water in a bucket.
- Clean with a Sponge: Wipe the tiles to remove the haze.
Step 12: Seal the Grout
Protect the grout from moisture.
- Apply Grout Sealer: Use a foam brush or roller to apply the sealer.
- Drying Time: Allow the sealer to dry completely before using the bathroom.
By following these steps, you’ll achieve a professional-looking tile floor that lasts for years. Next, we’ll address some common questions about tiling a bathroom floor.
Frequently Asked Questions about Tiling a Bathroom Floor
How do you prepare a bathroom floor for tile?
Preparing your bathroom floor is crucial for a successful tiling job. Here’s a quick guide to get it right:
-
Ensure the Subfloor is Solid: Your subfloor should be sturdy and free of any movement. If needed, reinforce it with 3/4-inch tongue-and-groove plywood.
-
Make it Level: Use a floor leveling compound to fill in any low spots. Uneven surfaces can cause tiles to crack.
-
Clean the Subfloor: Remove any debris, wax, or residue. A clean surface ensures the thinset bonds well.
-
Dry the Subfloor: Make sure the subfloor is completely dry before you start tiling. Moisture can weaken the bond between the tile and the floor.
-
Install Cement Backer Board: This adds stability and prevents water damage. Apply thinset mortar to the subfloor, lay the backer board, and secure it with cement board screws.
Can I tile straight onto the bathroom floor?
Tiling directly onto an existing floor depends on the type of flooring:
-
Concrete Floors: Yes, you can tile directly onto concrete as long as it’s clean, level, and free of cracks. Consider using an uncoupling membrane to prevent future cracks.
-
Laminate Floors: You can tile over laminate if it’s in good condition. However, it’s often better to remove it to avoid height issues.
-
Hardwood Floors: It’s not recommended to tile directly over hardwood. Wood expands and contracts, which can cause tiles to crack. Use a cement backer board for better results.
-
Old Tiles: If the existing tiles are firmly attached, dirt-free, and grease-free, you can tile over them. Lightly scuff glossy surfaces with 60-grit sandpaper for better adhesion.
What should be under bathroom floor tiles?
A proper underlayment is key to a durable tile floor:
-
Cement Backer Board: This is a must-have. It provides a stable, water-resistant surface for your tiles. Use 1/4-inch backer board for floors.
-
Mortar Bed: Use thinset mortar to bond the tiles to the backer board. Follow the manufacturer’s instructions for mixing and applying the thinset.
-
Uncoupling Tile Membrane: This is optional but highly recommended. It adds waterproofing and prevents cracks by separating the tile from the subfloor.
By following these guidelines, you’ll ensure your bathroom floor is well-prepared for tiling, leading to a professional and long-lasting finish.
Next, we’ll dive into the step-by-step guide for tiling your bathroom floor.
Conclusion
Tiling a bathroom floor can be a rewarding DIY project, but it requires careful planning and attention to detail. At Aqua Gleam Bathrooms, we pride ourselves on our high-quality workmanship and meticulous approach to every project.
Why Choose Aqua Gleam Bathrooms?
Our team of professionals is dedicated to delivering exceptional results. We understand that every detail matters, from selecting the perfect tile to ensuring precise alignment and flawless grout application. Our commitment to excellence ensures that your bathroom floor not only looks stunning but also stands the test of time.
Attention to Detail
We believe that the beauty of a tiled bathroom floor lies in the details. Our experts pay close attention to every aspect of the installation process, ensuring that each tile is perfectly placed and every grout line is seamless. This meticulous approach not only improves the aesthetic appeal of your bathroom but also contributes to its durability and functionality.
High-Quality Workmanship
At Aqua Gleam Bathrooms, we use only the highest quality materials and the latest techniques to ensure that your bathroom floor is both beautiful and long-lasting. Whether you’re looking for a classic ceramic tile or a modern porcelain design, we have the expertise to bring your vision to life.
Ready to transform your bathroom with a stunning tiled floor? Visit Aqua Gleam Bathrooms to learn more about our services and get started on your next home improvement project.
By choosing Aqua Gleam Bathrooms, you’re investing in a team that values precision, quality, and customer satisfaction. Let us help you create a bathroom floor that you’ll love for years to come.